How to Upcycle a Plastic Jar into a Beautiful DIY Coin Bank
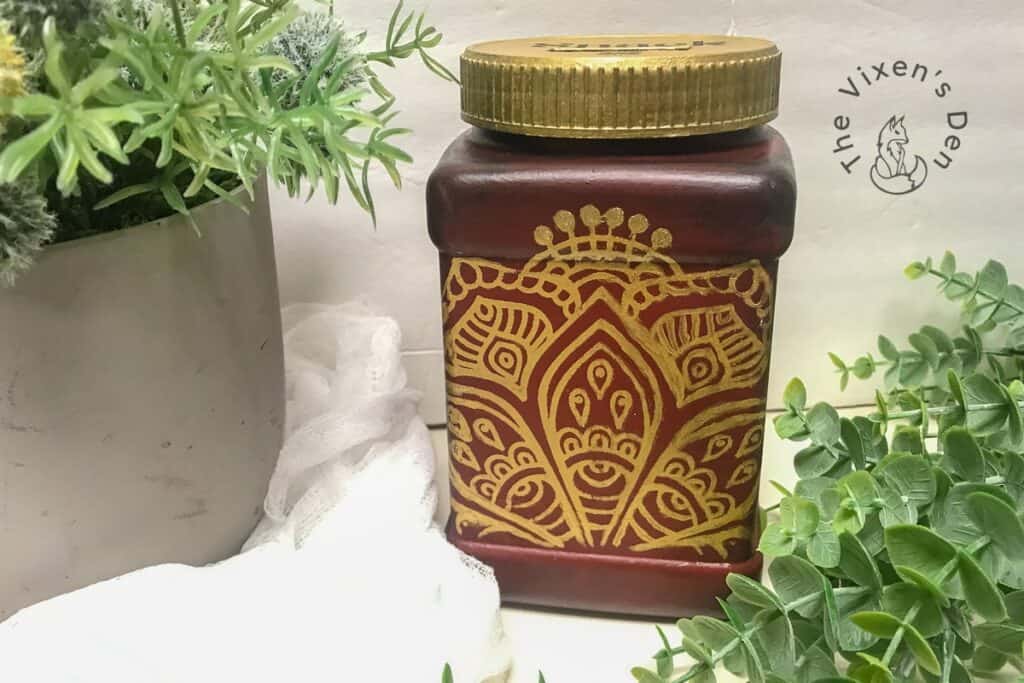
This project places heavy emphasis on the word “saving” as we upcycle an old jar into a beautiful and elegant coin bank! Upcycling trash into something useful is so rewarding. Taking literal garbage and transforming it into functional art just gives me all kinds of warm and fuzzies.
Before we dive into the nitty gritty, here is some important legalese for your reading pleasure…
This post is sponsored by Dixie Belle Paint Company. While they provided some of the products for this project, all of the opinions are my own. Follow this affiliate link to see all of their amazing products!
AS AN AMAZON ASSOCIATE I EARN FROM QUALIFYING PURCHASES AT NO COST TO YOU.
YOU CAN SEE MY FULL DISCLOSURE HERE.
Tools and Materials
Tools
- Box blade
- Small Synthetic Paintbrush
- Artists brush
- Continuous Spray Mist Bottle
- Mandala Stencil
Materials
- Oxi-clean
- Peroxide
- Slick Stick
- Chalk Mineral Paint: Rustic Red, Honky Tonk Red, Coffee Bean
- Metallic Paint: Gold Digger
- DIY Transfer
- Satin Clear Coat
- Dixie Mud (only if you don’t read the Hindsight is 20/20 notes)
- Medium and 220 grit sanding pads (only if you don’t read the Hindsight is 20/20 notes)
Cleaning & Prepping
I went to the very depths of the trash can with this project, choosing the absolute stinkiest and least appealing container possible to see if I could resurrect it. Yes, I chose a minced garlic jar.
Believe it or not, I was able to get the smell out!
My powerhouse cleaners for nasty odors are Oxi-clean and peroxide. I filled the container most of the way with water, added about 1/4 of a cup of each, and put the lid on. I shook the mixture several times and then just let it sit for 24 hours. About halfway through, I turned the jar upside down so it was a fairly even soaking time. After 24 hours, I emptied the jar, let it dry and then gave it the sniff test.
It passed! This jar was officially ready to begin its transformation!
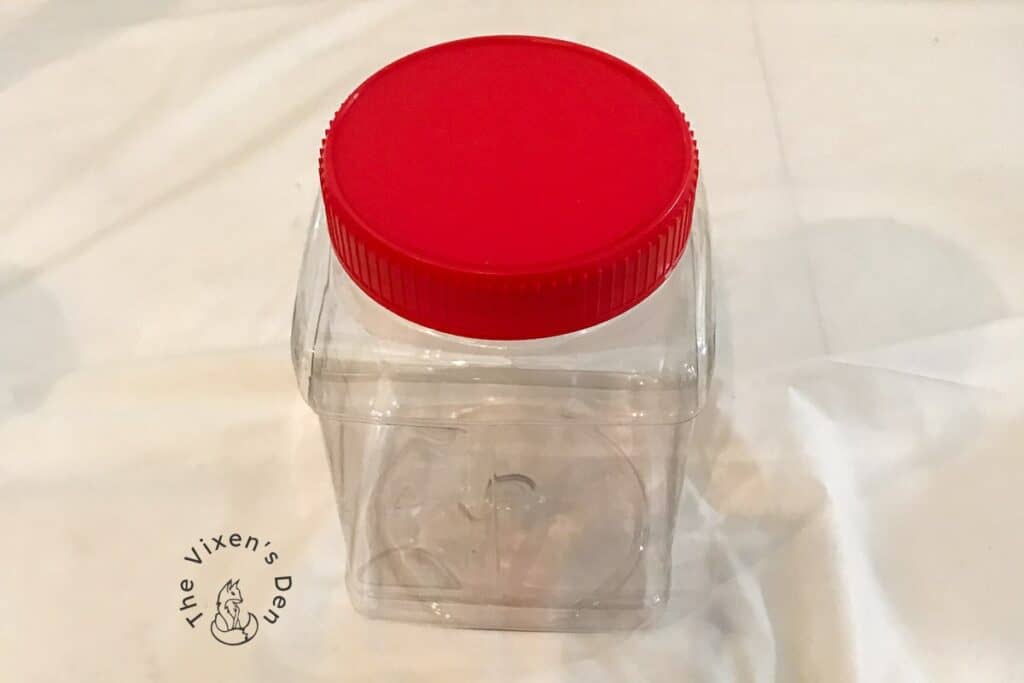
The first step was to trace the opening on the lid. Then, using a box blade I traced the blade along the lines repeatedly, until the blade pushed through and a slot was cut into the lid.
Hindsight is 20/20: It’s a much smoother cut if the tracing and cutting occur on the inside of the lid.
Prime the Plastic Jar
The next step was to prime that shiny slick plastic with a bonding primer using a synthetic brush. For this project, I used two coats of Dixie Belle’s Slick Stick with my favorite 1.5″ small flat brush.
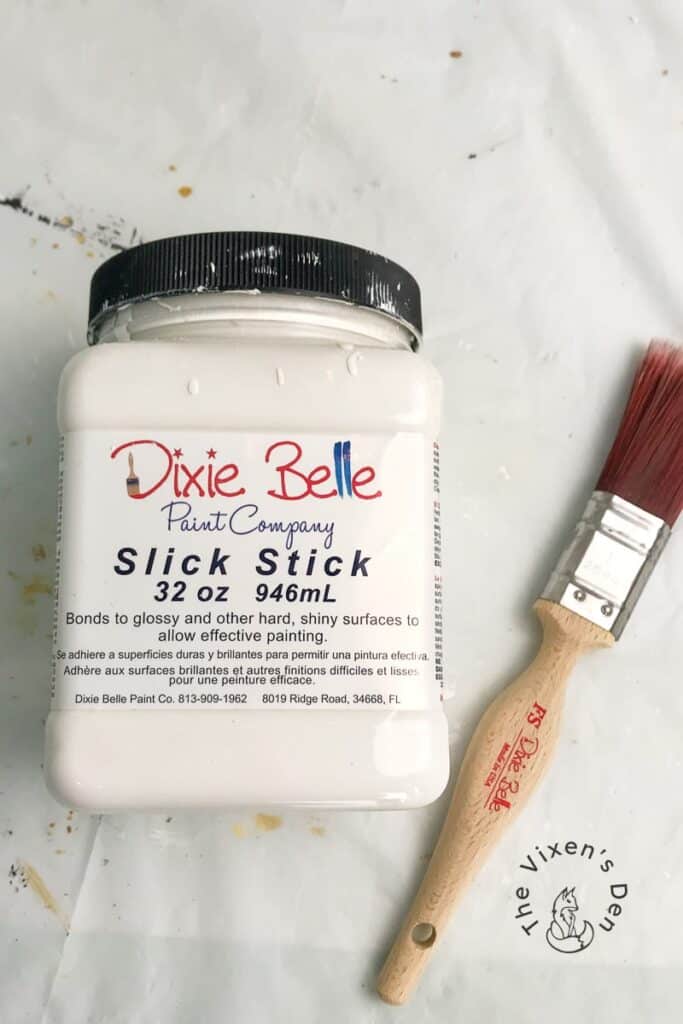
I applied a coat to both the outer lid and the outside of the jar. The Slick Stick dried for a couple of hours before I applied a second coat, and then it dried overnight before moving to the next step.
Pro Tip: When painting with darker colors, such as red, it helps if the primer is also a darker color.
Paint the Plastic Jar
Once the Slick Stick had time to bond, I used the same brush to apply two coats of Honky Tonk Red Chalk Paint.
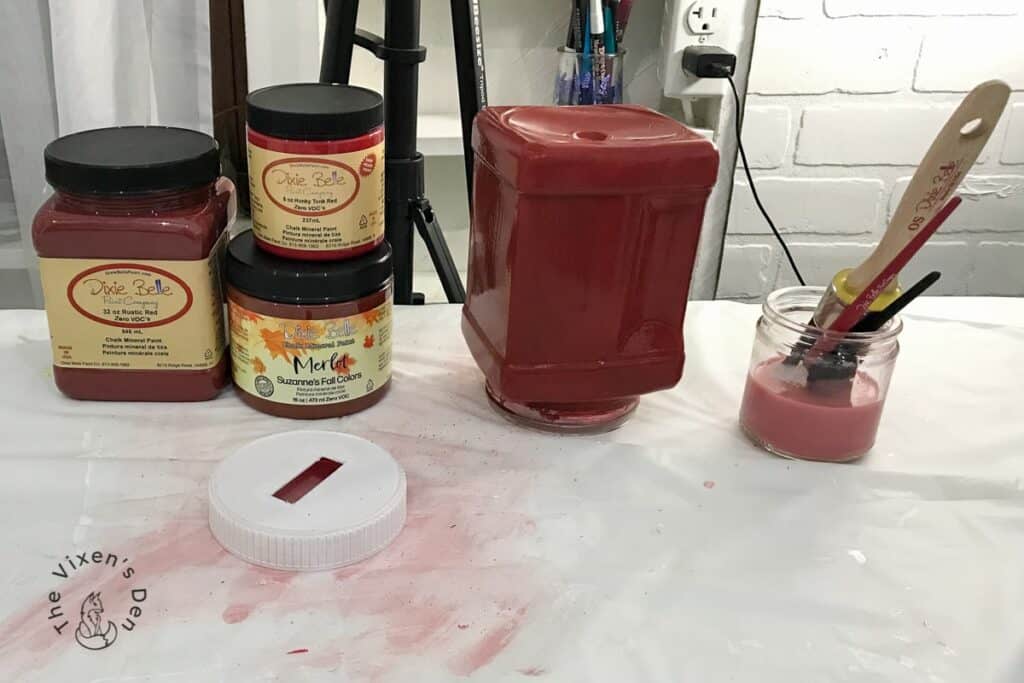
After about an hour of drying time, I then began layering Rustic Red and Coffee Bean, to apply lowlights and give the jar an aged look. The paintbrush was first misted with a Continuous Spray Mister before applying the paint to the edges and sweeping it gently toward the center.
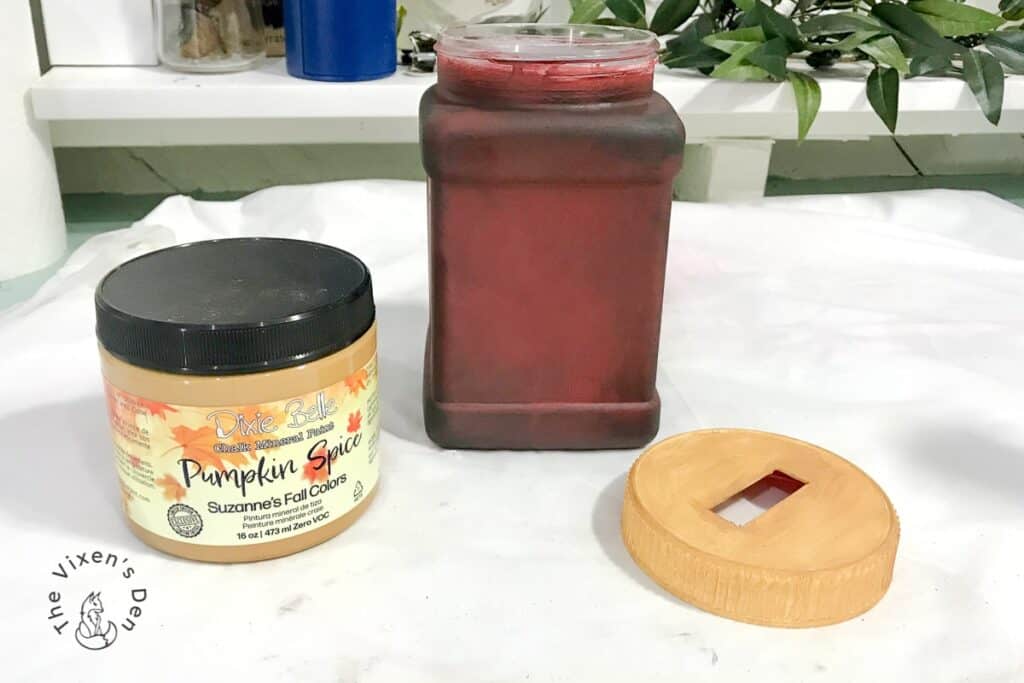
Once I achieved the desired effect, I painted the lid with two coats of Pumpkin Spice using an Artist Brush. This provided the perfect base for the next step, which was to apply two coats of my favorite gold paint of all time: Moonshine Metallics Gold Digger!
Add a Stencil Design
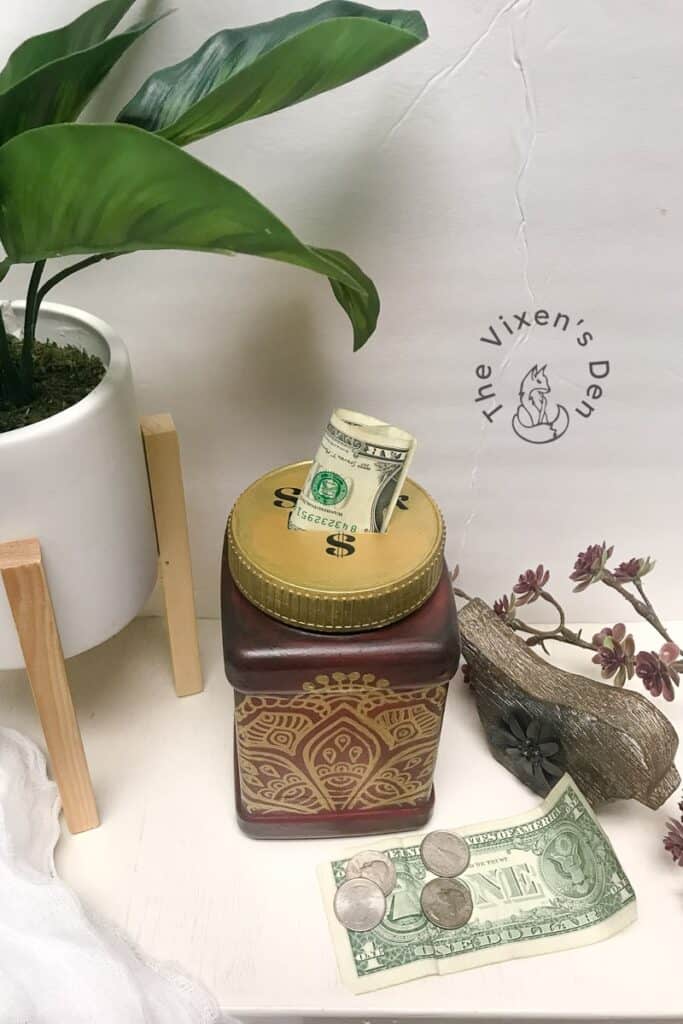
Then, to add some extra elegance, I used the Dixie Belle Mandala silk screen stencil with Gold Digger to create a design on the front of the coin jar.
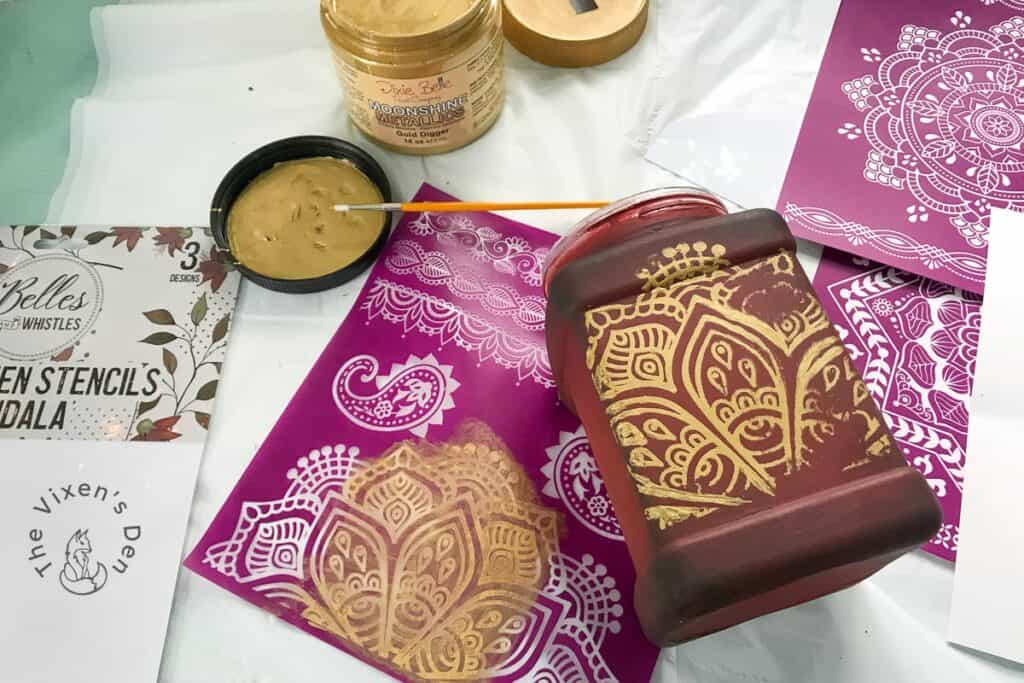
The stencil left some gaps on the curved and raised surfaces, so I filled those in by hand. What the stencil did NOT do was cause any of the paint to lift from the jar itself. Yay for prep work!
Hindsight is 20/20 – wash a silkscreen stencil right after use. I left mine for a little too long and ended up with a permanently painted stencil. Oops!
Bonus Step: Add a Transfer
This coin bank was a custom request for a friend who needed a way to collect money for the office snack store. I used my super easy DIY Transfer Technique to create a custom transfer for the lid. There was only one small snafu along the way…
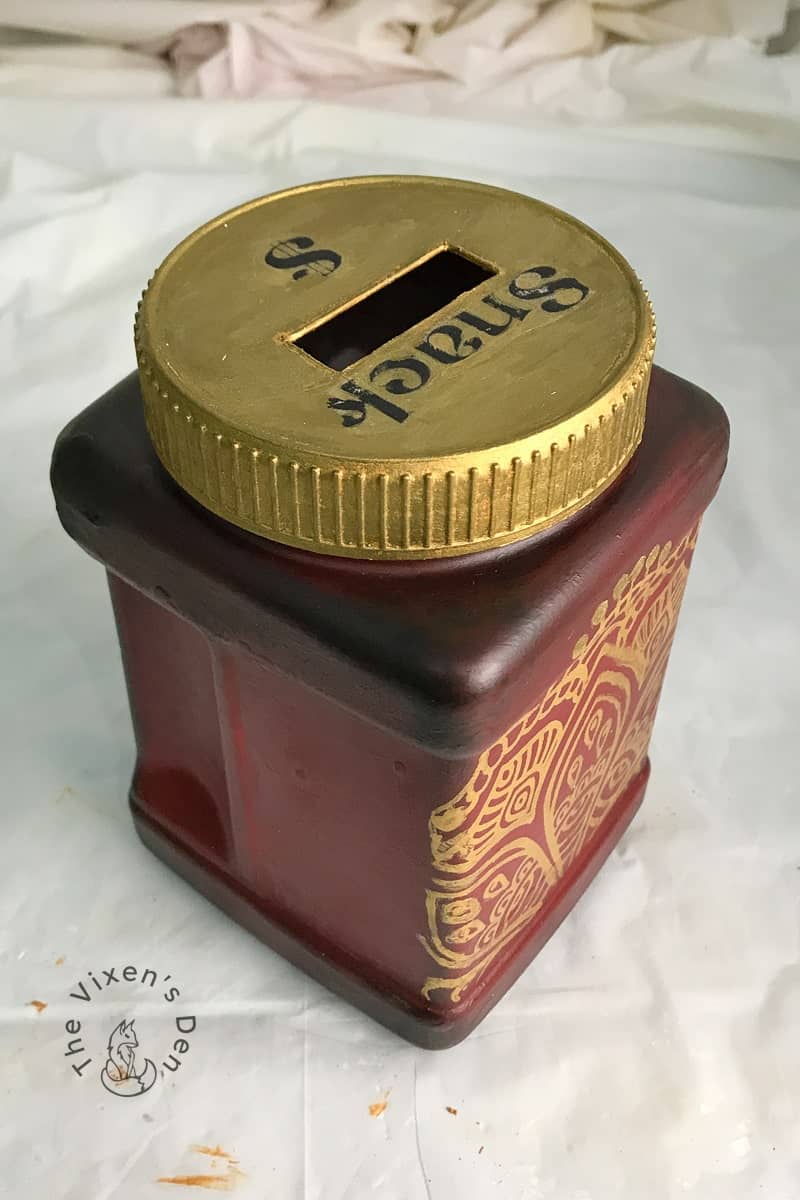
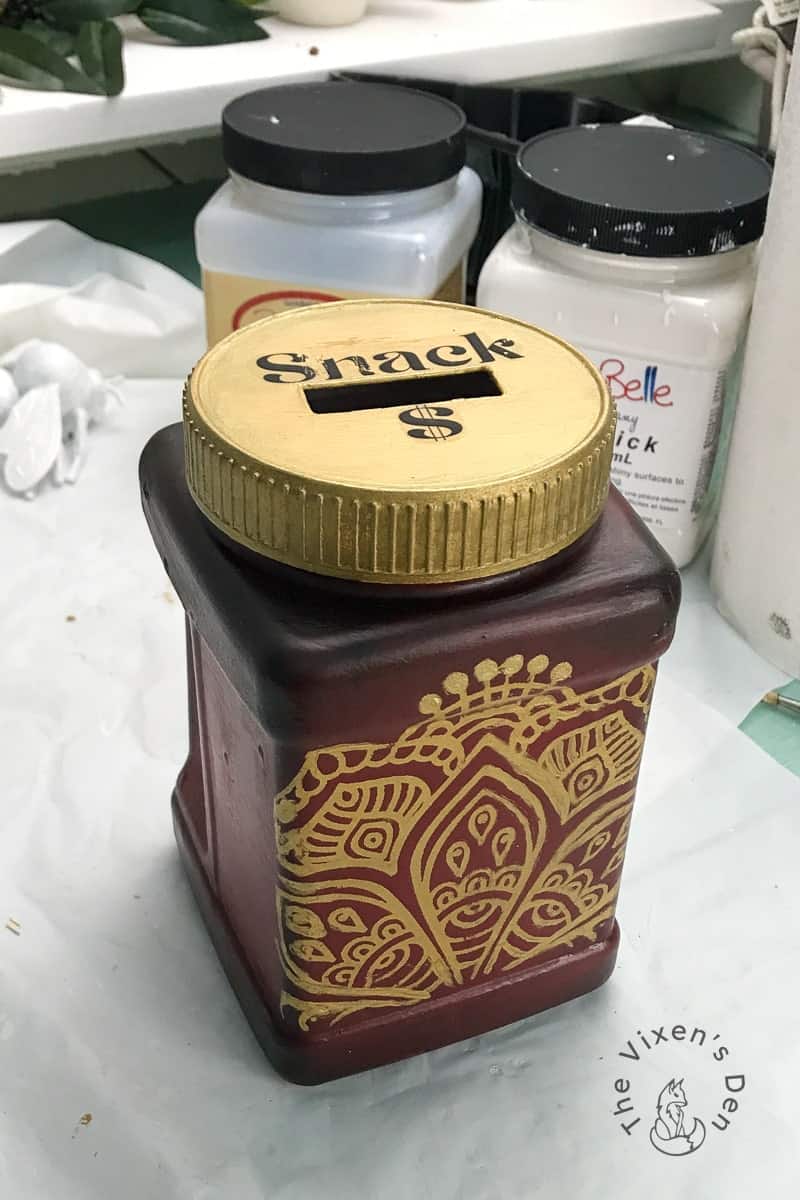
Hindsight is 20/20 – screw the lid onto the jar and mark the top and bottom, so that you aren’t looking at the transfer upside down, or with the pretty stencil facing away from you.
Sealing the Artwork
To seal in all of that beautiful paint and protect it from lots of handling, I painted on two coats of Dixie Belle Clear Coat in Satin. This durable product has protected this piece for over two years without signs of chipping or wear!
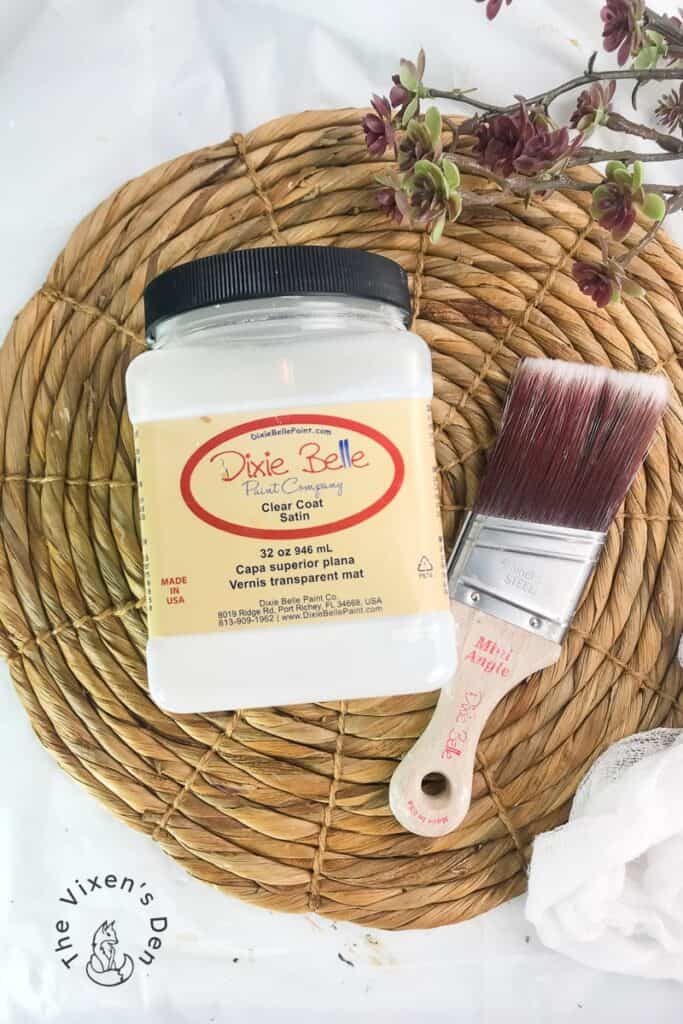
Hindsight is 20/20 – as with any paint or sealer, several thin coats are always better than goopy drippy coats
Final Reveal
Are you ready for a good before and after?
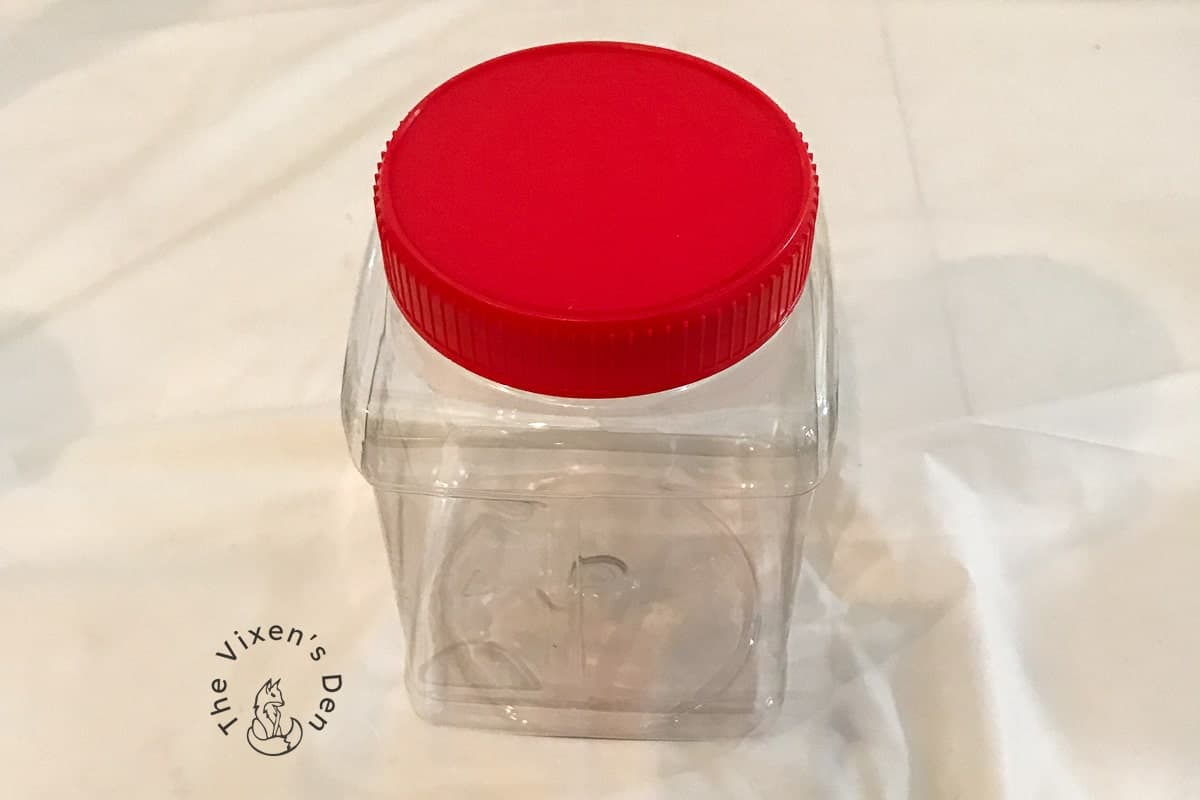

Now this former trash is the epitome of both functional and pretty! Would you have believed that an old garlic jar could look so good?
What are some of your favorite trash-to-treasure makeovers? Let me know in the comments below!
Thank you so much for stopping by! Check out the other amazing projects at the link parties below. I know the hostesses will appreciate your visit and comments.
Until next time, have a beautiful and blessed day!


Linked up to these lovely link party hostesses at:
Don’t forget to sign up so you hear all about the next misadventure! Until then, you may also like this Magazine Rack makeover or this Dresser upcycle.

Really interesting, Becky! And it doesn’t look like plastic – which is way cool! I also like products that are faux wood resin.
This look reminds me of that.
I appreciate your hindsight mentions, by the way!!
We have similar clear plastic ware with mixed nuts in them. (Wouldn’t have to get the stink out) Greg sometimes will save them to use for other foods.
You, my dear, are VERY creative!
Thanks!
:Donna