Metal Garage Cabinet Makeover
Functional furniture can also be pretty! I was gifted this very sturdy metal garage cabinet by my sweet husband for my new studio. While
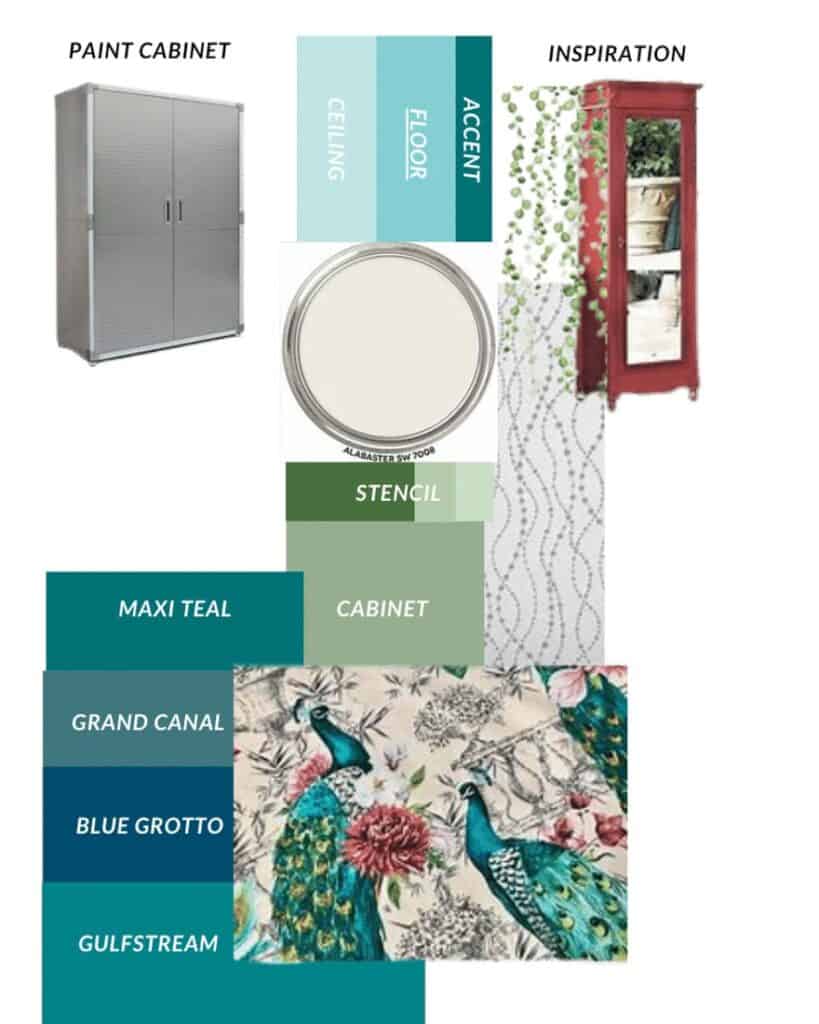
The solution was a total makeover. I went all out on the design board for this project, because I wanted this to be a statement piece for my studio. It’s a direct reflection of my love for rich colors, texture, and fun details.
I really enjoy the design process. It’s sort of like going on a trip. The planning stage is half the fun for me!
With the design sketched out, it was time to get to work and transform this functional garage cabinet into a thing of beauty!
THIS POST CONTAINS AFFILIATE LINKS TO PRODUCTS THAT I HAVE OR WOULD USE.
AS AN AMAZON ASSOCIATE, I EARN FROM QUALIFYING PURCHASES AT NO COST TO YOU.
YOU CAN SEE MY FULL DISCLOSURE HERE.
The Makeover Process
Tools
Materials
- Metal garage cabinet –
Seville Classics UltraHD Mega Storage Cabinet Locking storage cabinet casters - Metal screws –
- Sandpaper – 220 grit
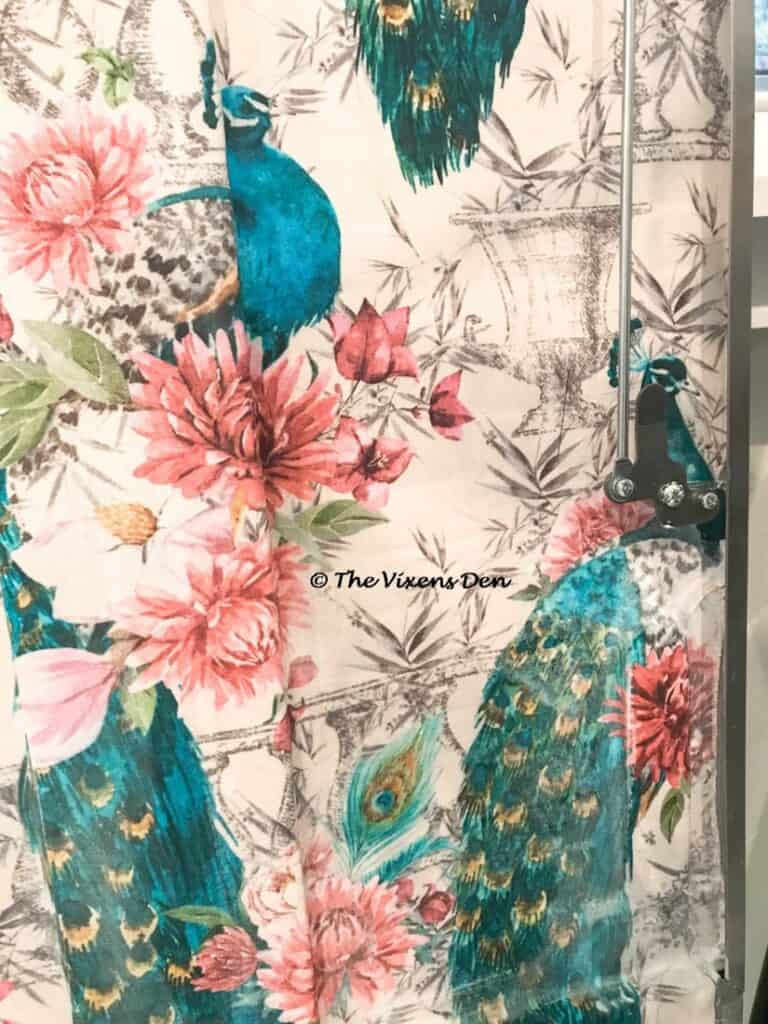
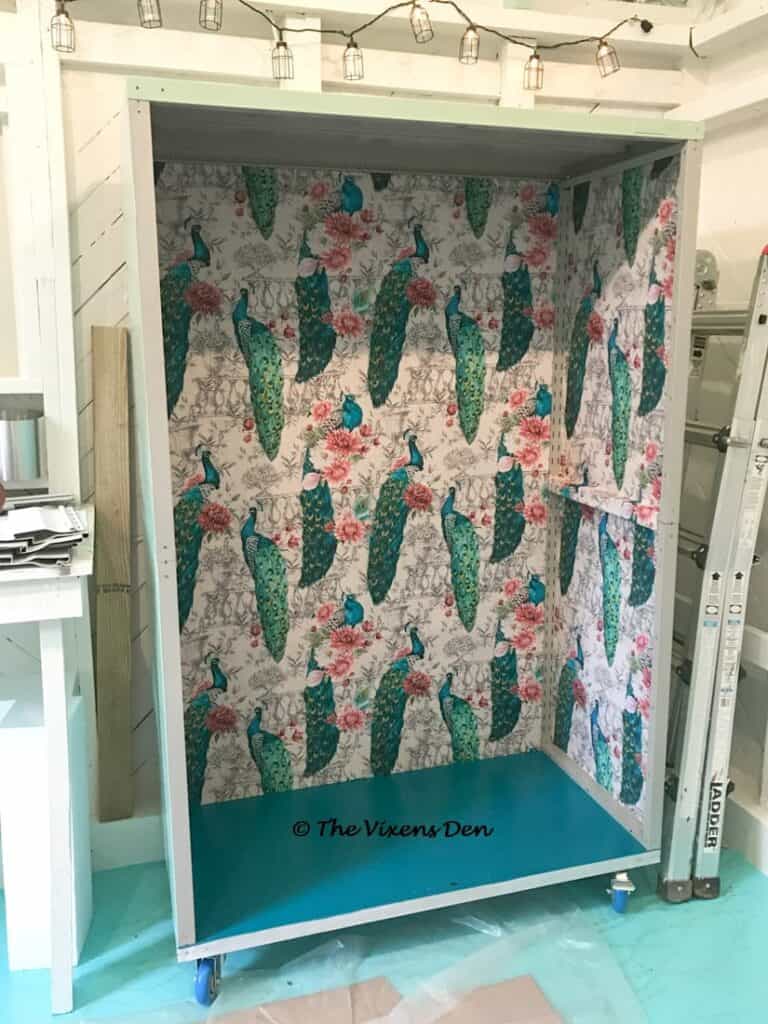
- Fabric – Peacock Bird Fabric – Floral Pink Peony Garden
- Mod Podge – matte
- Foam roller cover
- Primer – Bulls Eye 1-2-3 All Purpose Primer
- Paint – Sherwin Williams in Kind Green and Maxi Teal
- Sealer – General Finishes High Performance Flat
Aluminum foil (optional – I like to line my paint trays with aluminum foil for easy cleanup)
Prepping the Metal Cabinet
This particular cabinet comes flat packed in a very large box. If you have a pre-assembled cabinet, then you are ahead of the game!
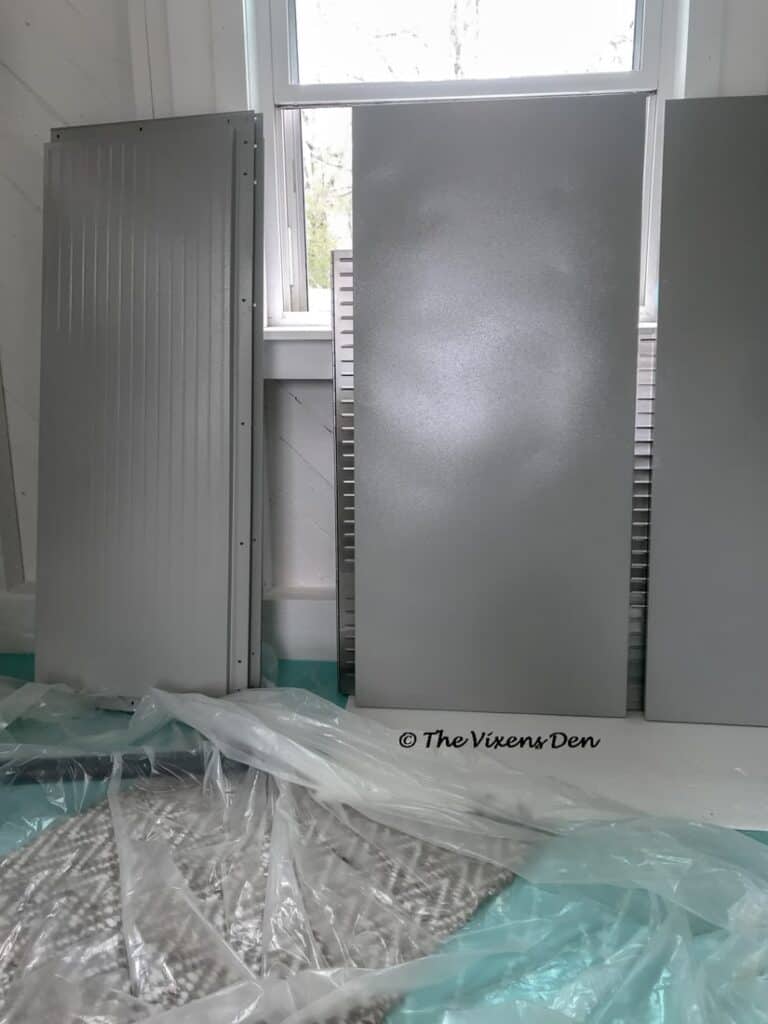
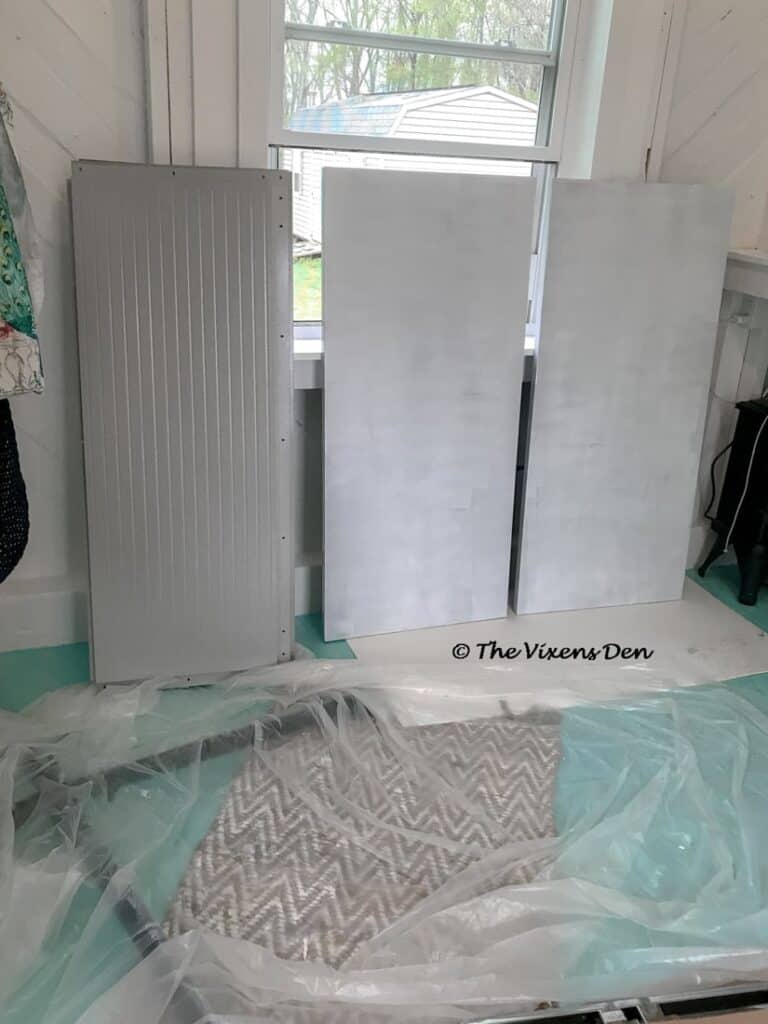
I found it easiest to assemble the side, back, and door panels individually before painting the exterior. Then I scuff-sanded all of the panels and the shelves with 220 grit sandpaper before rolling on BIN 1-2-3 primer with a 6″ foam roller.
Painting
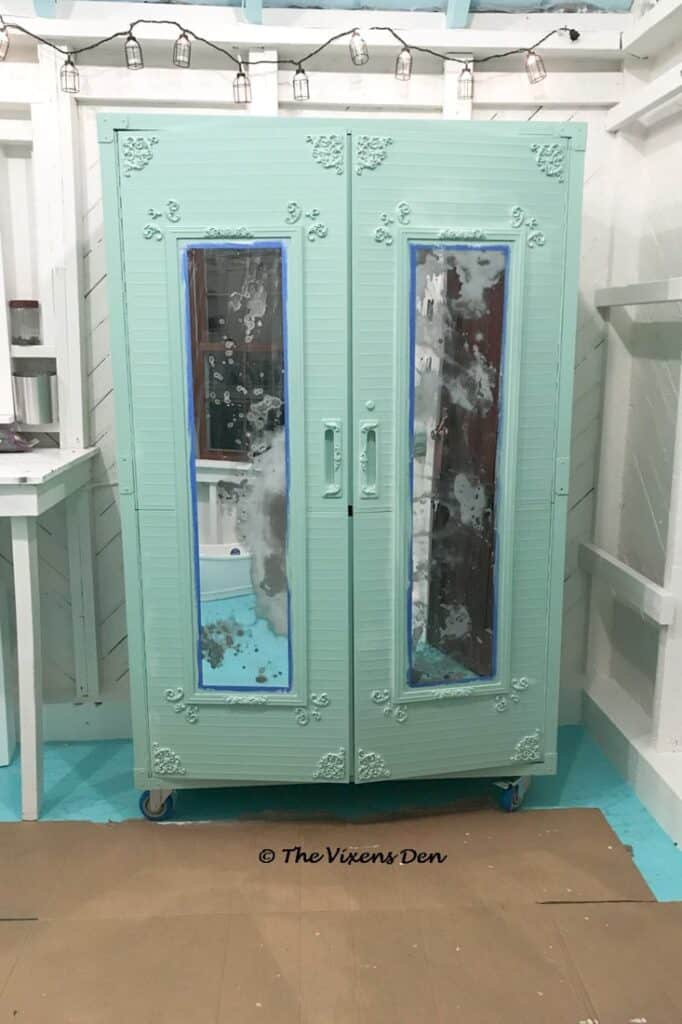
Once the primer was dry I painted all of the panels and shelves, again using the 6″ foam roller. For the exterior, I used Sherwin Williams Emerald Latex in Kind Green. The shelves were painted with a quart of Sherwin Williams sample paint in Maxi Teal.
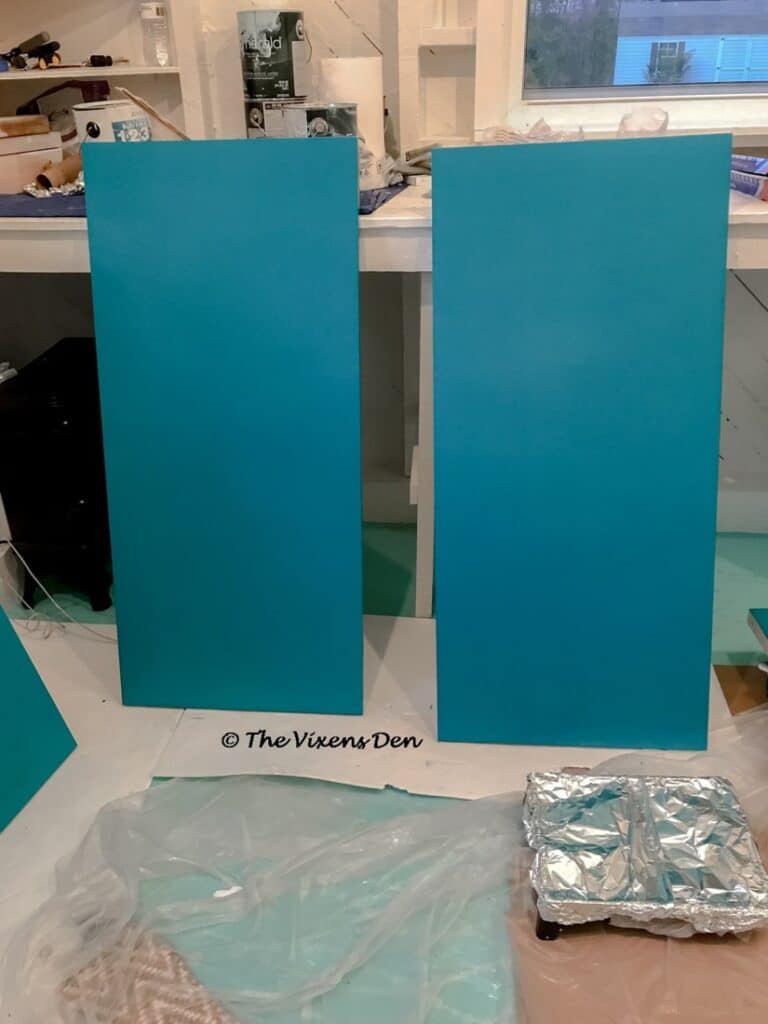
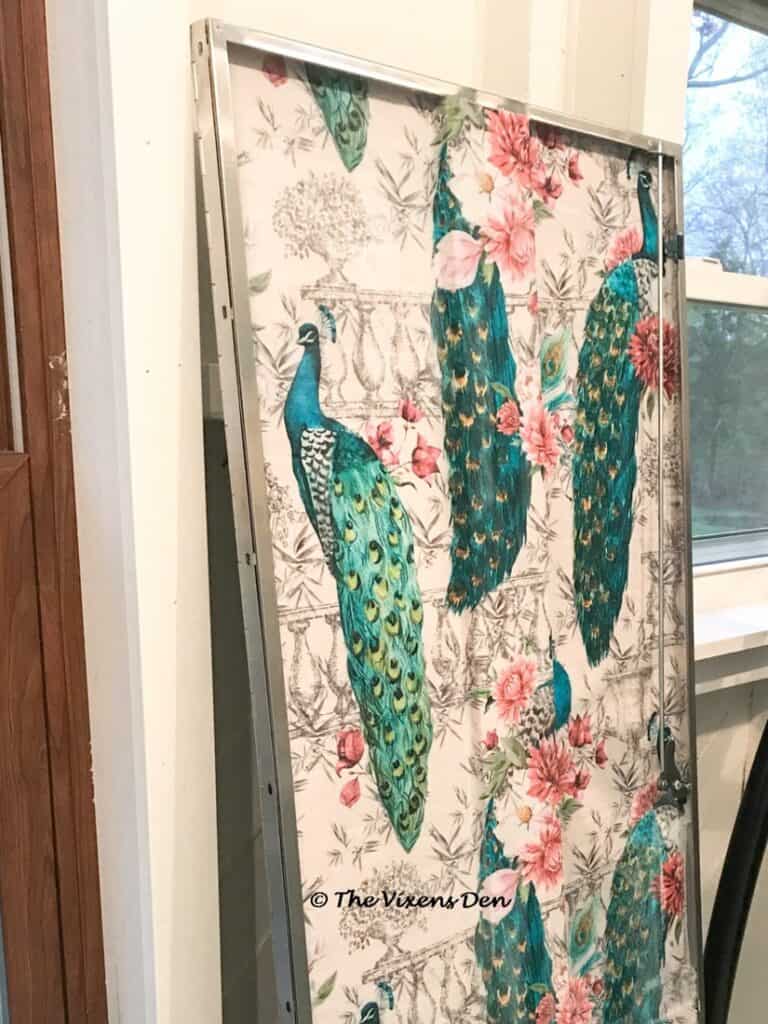
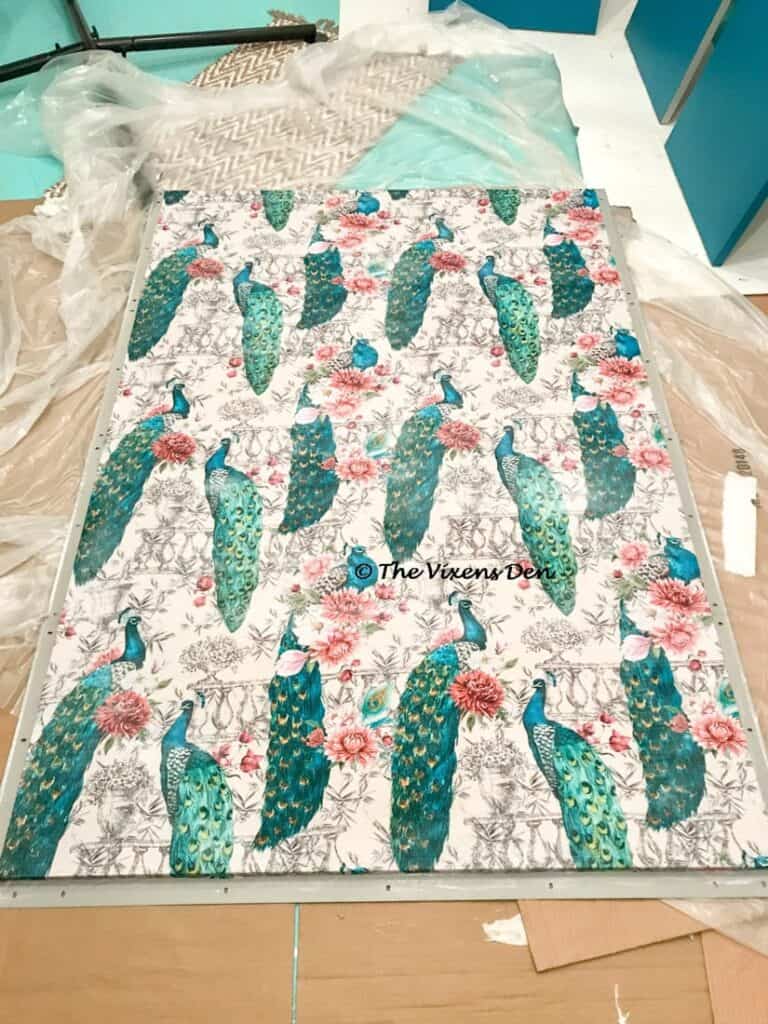
Each section received two coats of paint. Then I let the paint cure for about a week before I began working on the interior panels. This gave the paint time to harden a bit before I laid everything down on the floor and began applying pressure while I installed the fabric “wallpaper”.
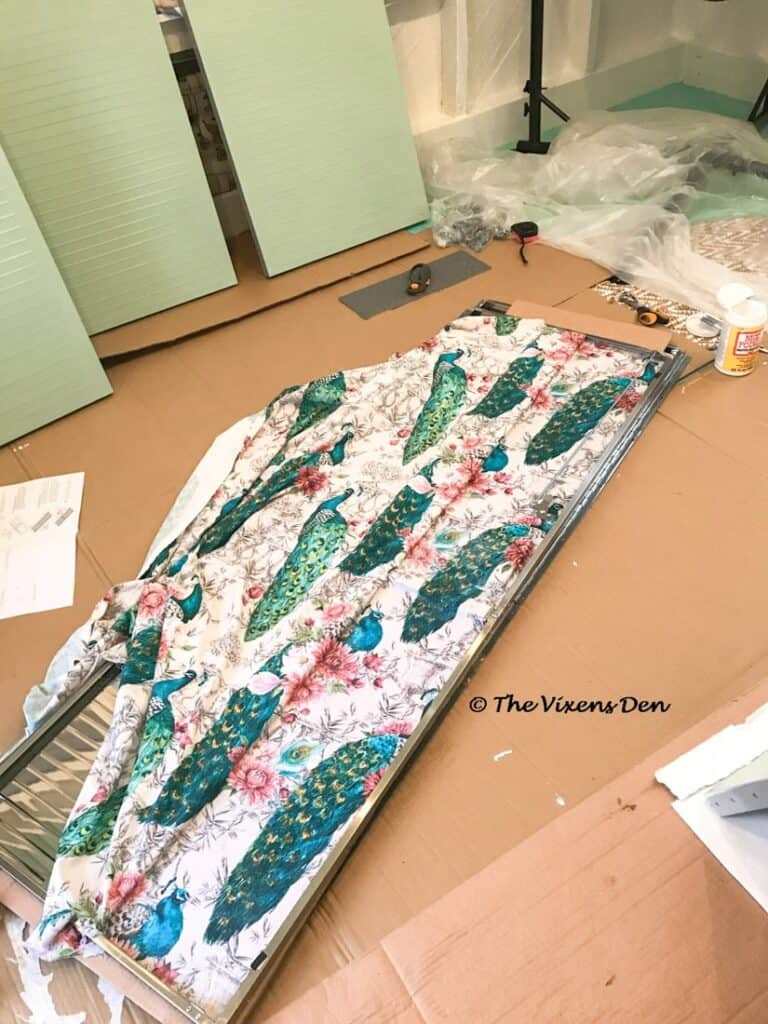
Installing Fabric Wallpaper
This part is really the star of the show, and it still makes me smile every time I open the doors.
Installing the fabric was as simple as:
- Cutting the fabric to fit
- Painting a section of the panel with Mod Podge
- Pressing the fabric into the Mod Podge and adjusting to line up with the edges of the panel
- Smoothing out any gaps or air bubbles
- Painting a second coat of Mod Podge over the fabric once it was fully fastened to the panel
The important part is to not be stingy with the Mod Podge. Make sure there’s a nice wet coating on the hard surface so that you have time and space to adjust the fabric into place. If the surface is too dry, then it will be too sticky to move the fabric and you won’t have a good bond to the surface.
If that happens, just peel back the sticky fabric, put another coat of Mod Podge on the hard surface, and smooth it back into place.
Work in manageable sections. In other words, make certain that you have enough working time to smooth out the fabric before it becomes tacky. What is “manageable” in your area will depend on the temperature and humidity.
Once the fabric is fully applied to the first panel, go ahead and paint on another good solid coat of Mod Podge. This helps the fabric to adhere to the surface and also provides a good layer of protection against dirt and scuffing.
I personally prefer matte Mod Podge for this project, because you don’t see the brush strokes. If you use a semi-gloss or gloss version, then just be prepared to see brush strokes in the finished piece.
Final Assembly
Mod Podge doesn’t take long to dry. I let everything dry overnight and then began assembling the panels to form the cabinet.
An extra set of hands made this go much faster.
I used the magnetic phillips screwdriver which was provided by the manufacturer. Once the side panels were fastened to the top and bottom panels, I installed the back panel.
(Hindsight is 20/20 tip: It helps to make certain that you have the front of the cabinet face down on the floor before you attach the top and bottom panels. This way, you don’t have to flip the cabinet over.)
With the back securely fastened to the cabinet, I then added the casters to the bottom panel using my trusty battery drill.
The manufacturer sells casters for these particular cabinets, but I went the cheaper route and found an off-brand on Amazon. The downside to doing this was that I also had to purchase additional hardware to fasten the caster plates to the bottom of the cabinet. The hardware that came with the casters wasn’t the right size for the predrilled holes. I also had to drill additional holes for said hardware because the holes on the plates didn’t line up with the predrilled holes.
Finally, I experienced problems with stripping the sleeve that sits in the pre-drilled holes for the casters, which means that some of my screws aren’t entirely flush…that shouldn’t create any problems, right??
(Hindsight is 20/20 tip: As you can see, it was a whole thing, so if you want to move quickly through this process, maybe just bite the bullet and buy the casters that were actually made for the cabinet instead.)
Once the casters were (mostly) fastened tightly to the bottom panels, we sat it up and tested out those new wheels!
There wasn’t any wobble or wiggle, despite my not-so-flush screw installation job, so I went ahead and started installing the shelves.
I measured the materials that I wanted to store and spaced the shelving accordingly. Once all of the shelves were in place, I touched up and applied three coats of General Finishes sealer to protect them from scratches.
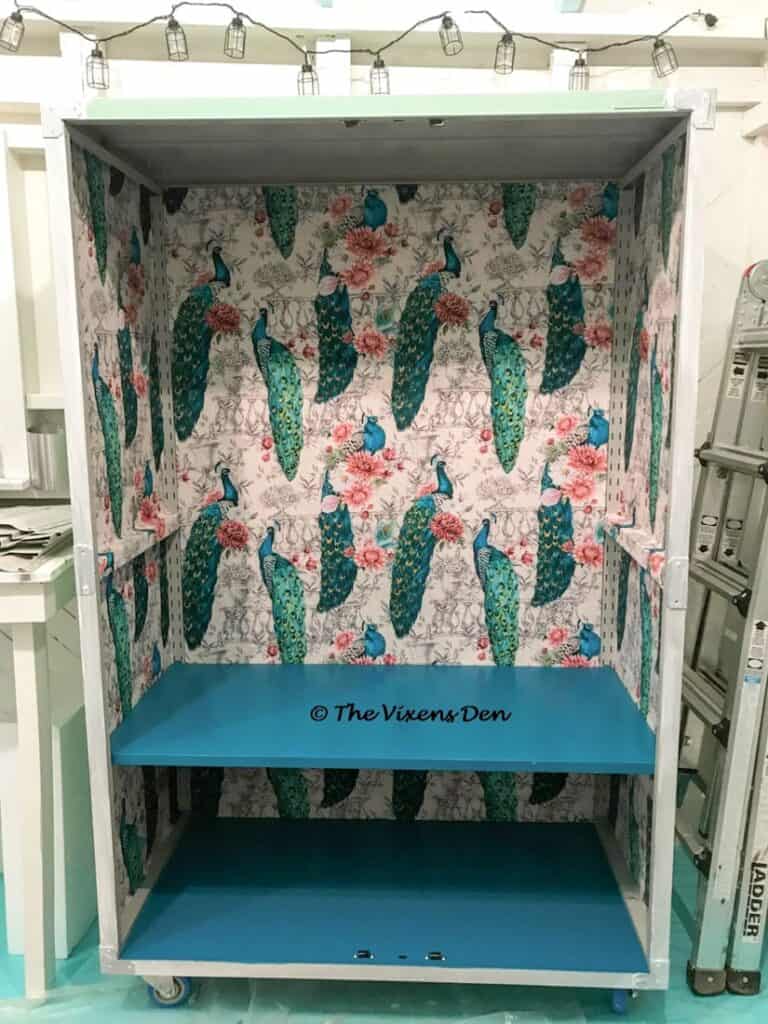
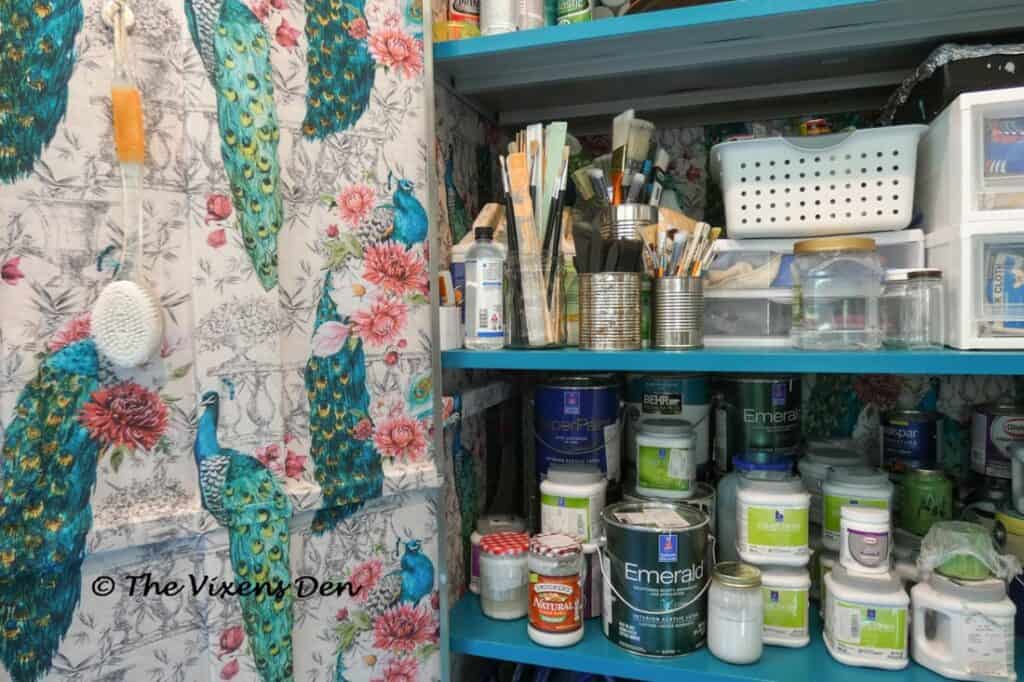
Now for the fun part: organizing my stash!
Here she is, in all her glory!

“But wait!” you might say. What about the outside? What does the front look like?
Well that, my friend, is a whole other episode.
The (Semi) Final Garage Cabinet Makeover Reveal
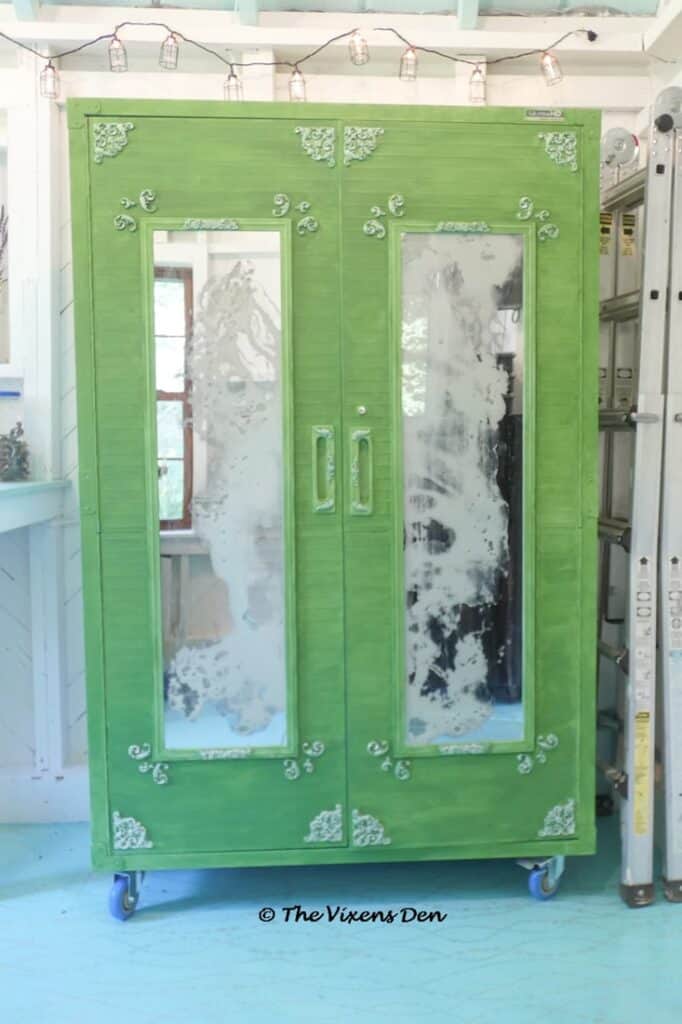
You see, I had a plan, but it didn’t quite work out and now I’m thinking about starting over from the beginning. The picture on the left is the starting point and the picture on the right is where we’re at right now.
So now the question is, which do you think I should keep? The pale blue-green (Kind Green) or the darker (Garden Grove)?
Which color do you like best for this metal garage cabinet makeover? Let me know in the comments below.
Although this piece isn’t quite finished, it is much more my style. It’s also the perfect example that just because something is functional, doesn’t mean it can’t also be pretty, fun, unique, or interesting. It just takes a little time and patience to bring all that inner potential to the surface. Kind of like the inner potential and beauty that we all possess.
That’s a wrap for this episode! Here are some final shots of this functional-garage-cabinet-meets-gorgeous-fabric-and-paint makeover. It’s a happy cabinet. *sigh*
Don’t forget to sign up so that you can hear all of the newest misadventures as they occur. Until then, you might also enjoy seeing this craft cabinet makeover. I really do adore beautiful fabric!
Loving the information on this web site, you have done great job on the articles.