DIY Rustic Mini Christmas Tree Ornaments
Make Rustic Mini Christmas Ornaments for a Tabletop Christmas Tree
Are you on a tight budget for Christmas decorations this year? Or maybe you just want something a little simpler and less off-the-shelf in style. Bring back a simpler, homemade charm to your Christmas tree this year with these inexpensive DIY rustic Christmas ornaments.

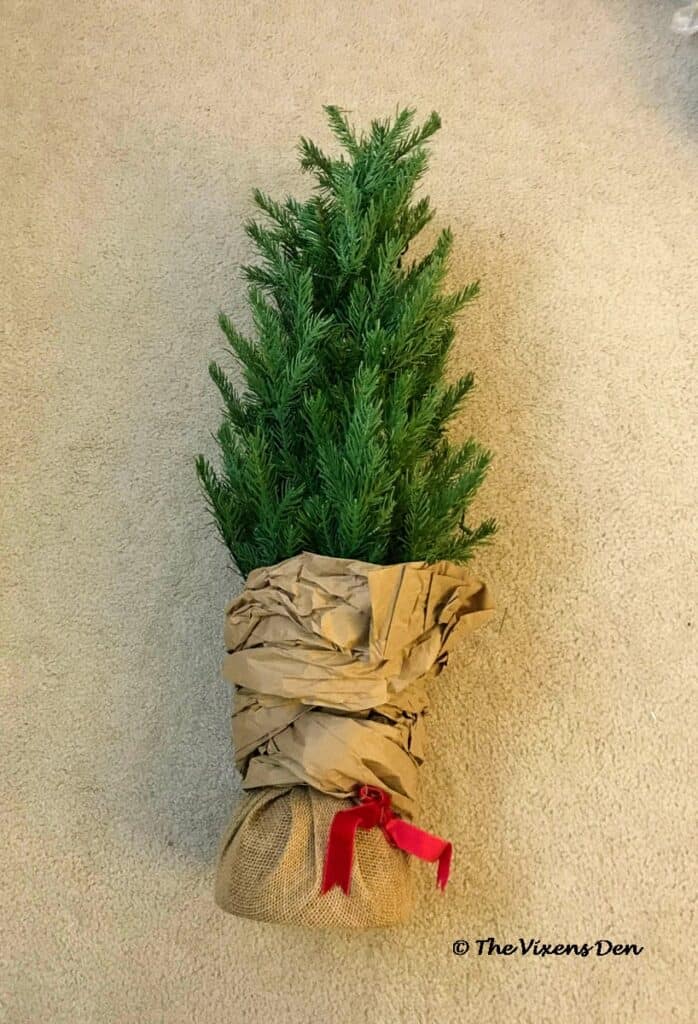
It was a sad day when I had to downsize my Christmas tree until I realized that it was an opportunity to create something different from our usual decorations. With just a tired berry swag, a few supplies from Dollar Tree, and some simple crafting tools, I was able to completely transform this cute little tabletop tree that I rescued from the Amazon Warehouse.
THIS POST CONTAINS AFFILIATE LINKS TO PRODUCTS THAT I HAVE OR WOULD USE.
AS AN AMAZON ASSOCIATE, I EARN FROM QUALIFYING PURCHASES AT NO COST TO YOU.
YOU CAN SEE MY FULL DISCLOSURE HERE.
The Process
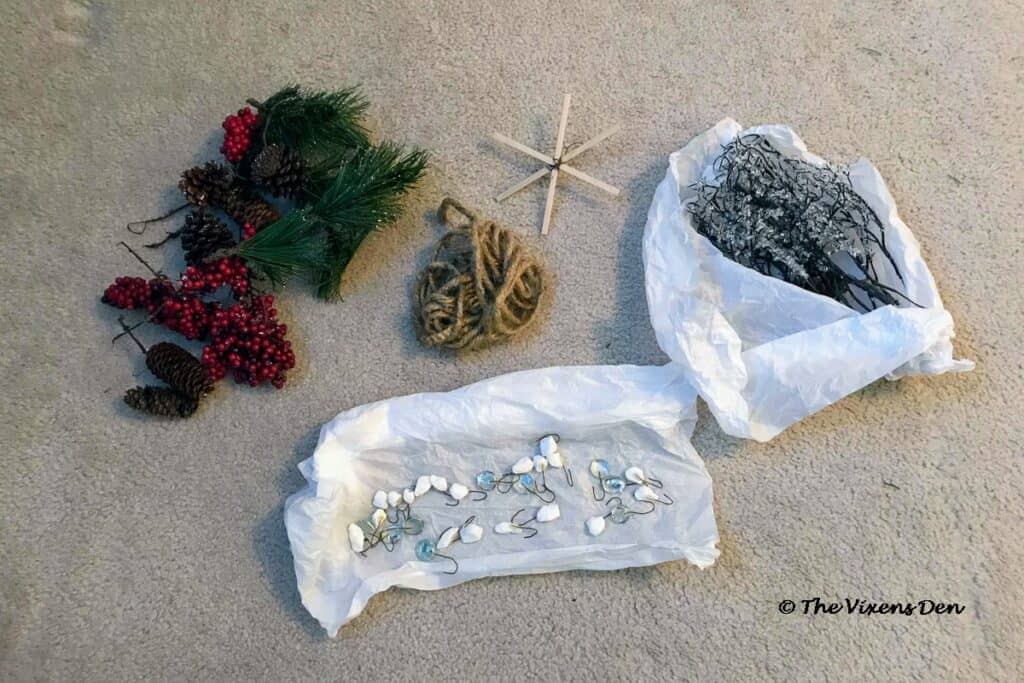
Supplies
- Tabletop Christmas tree (check the Amazon Warehouse!)
- Metal trash can
- Glue sticks
- Floral wire (or ornament hangers)
- White rocks
- Clear flat glass marbles
- Berry and pine garland OR
- Craft sticks
- Rope or Twine
- Metal trash can or plastic tub
- Brown paper or white felt
Prepare the Floral Picks
Adding floral picks added texture, fullness, and color to this adorable little tree. Some of the greenery and ornaments that came with the floral picks weren’t quite the style that I was trying to achieve, so the first step was to remove those items.
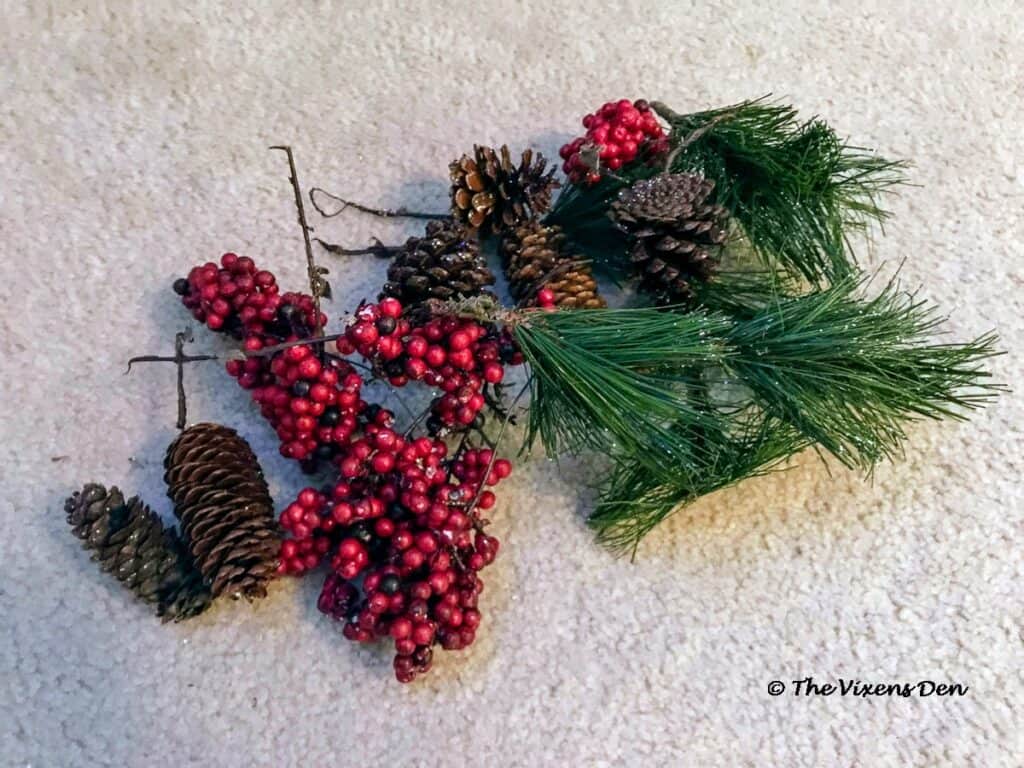
Floral garlands and bushes are typically several picks that are taped together with floral tape. It’s easy to cut the floral tape with scissors, peel it off and then reassemble the pieces that you want to keep. Or, you can just pull off the parts that you don’t want.
Make the DIY Mini Ornaments
Load the hot glue gun with a glue stick and allow it to heat up while you make the ornament hooks. To create the ornament hooks, use the cutting pliers to cut the floral wire into approximately two to two-and-a-half-inch sections. Shape one end of the wire into a hook using your finger or pliers.
Select the rocks that you would like to use for your ornaments. The bags of white stones contain an interesting variety of shapes. I picked through them and chose shapes that had a flat back to make it easier to glue the wire onto the rock.
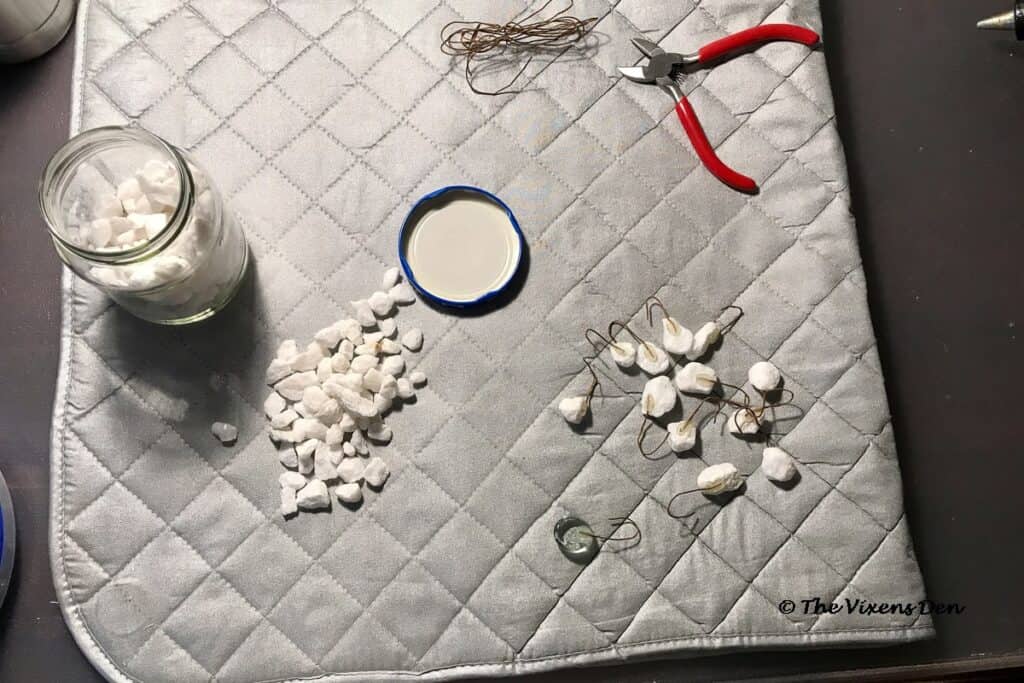
Using the hot glue gun, squeeze a small drop of hot glue onto the back of one of the stones. Holding the hook end of the wire, gently lay the straight end into the hot glue. The glue gets very hot, so the goal here is to not burn oneself. I found that the hook end needed a bit of support while the glue was drying. Hold the hook end up until the glue is set.

Make the Twine Garland
Unroll enough twine or rope from the roll to wind around the tree from top to bottom. I like to have enough garland to drape between the branches. If you like that look also, then you’ll want to add about twelve more inches to make sure that you have enough to achieve that look.
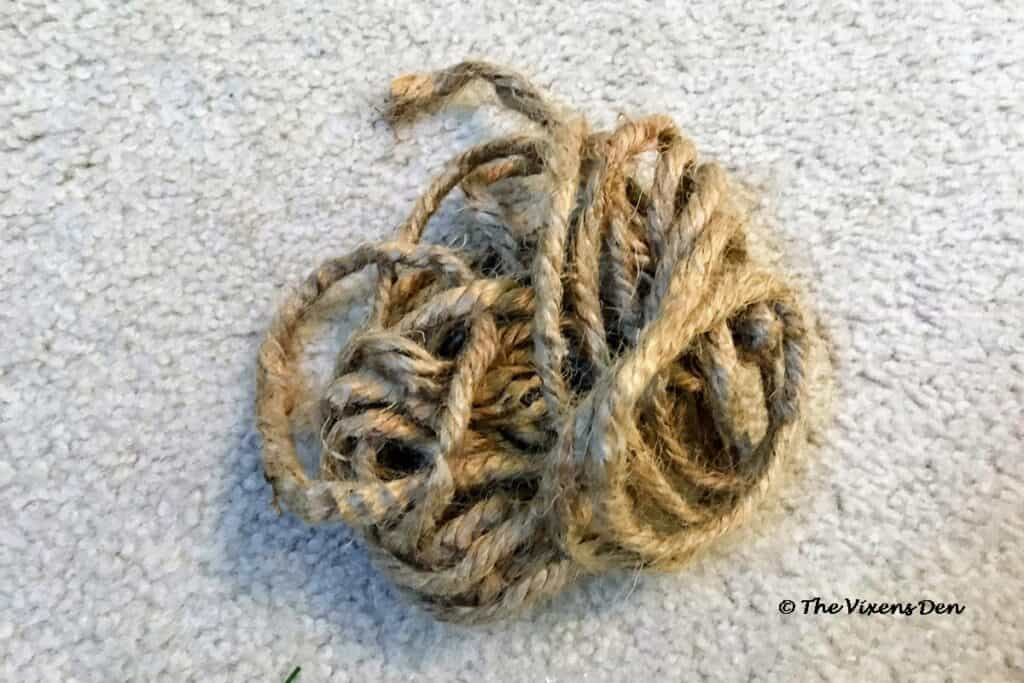
If you’re using smaller clumps of twine, then you can bring the edges together and either tie them or tape them together with satin tape.
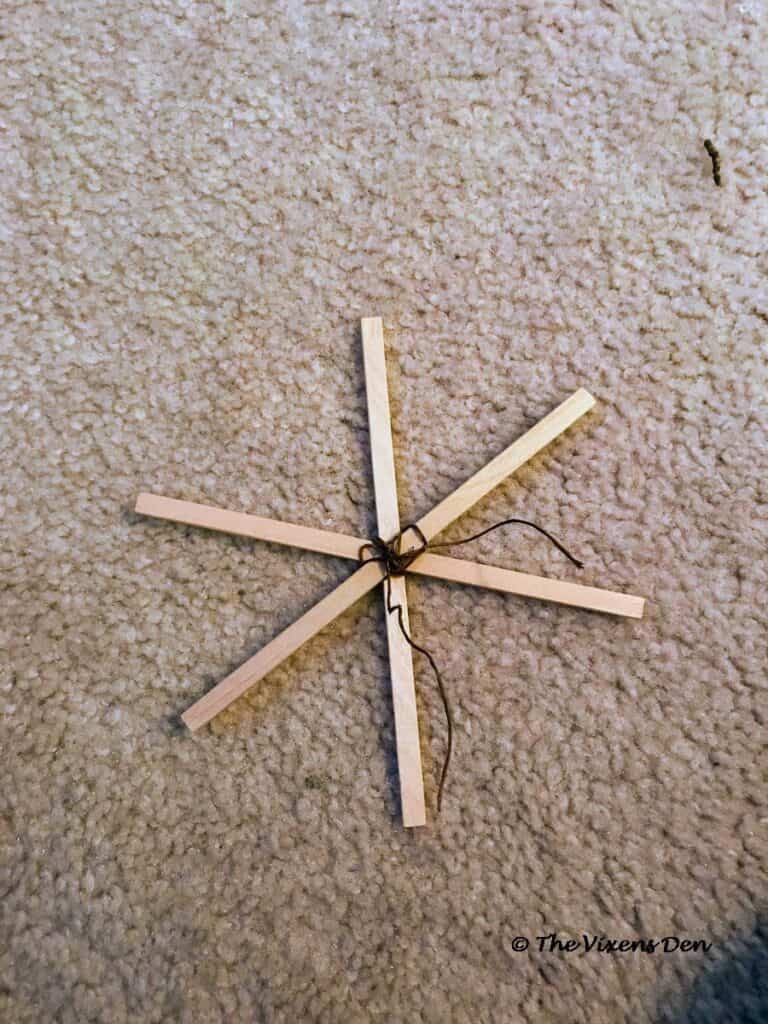
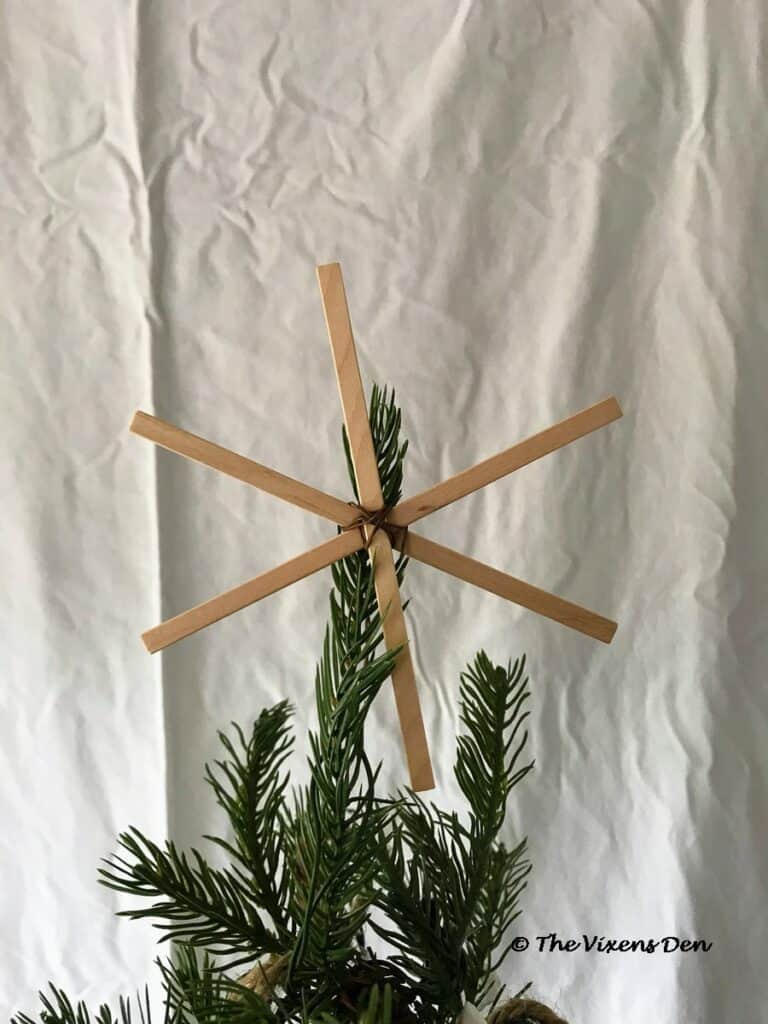
Make the Star
The craft sticks that I used to make the star for the top of the tree have squared-off edges. Using your scissors, cut the rounded edges off to a square end. You could also shape the ends to come to a point, which would be very pretty.
Lay out three wooden sticks to create a start shape. Cut about twelve inches of floral wire from the roll. Fold the floral wire in half to find the center. Unfold the floral wire and lay it across the star. Lift the star and wrap the floral wire several times between the six points of the star to keep the points in place.
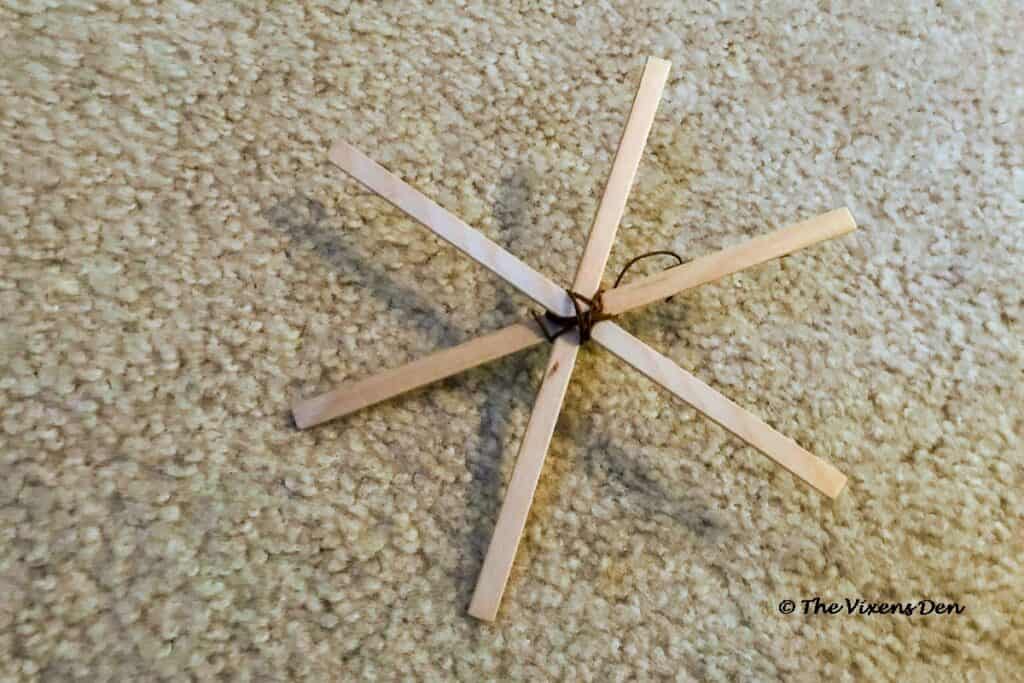
Once the points are secured, twist the wire snugly against the back of the star several times. Don’t cut off the excess wire, because that’s what you will use to tie the star onto the tree.
Decorate the Tree
Now that you have created your mini ornaments, it’s time to decorate that tree! I like using this cute bucket that I found at Hobby Lobby years ago. I didn’t see anything like it at Hobby Lobby or Dollar Tree, but this plastic tub or this trash can would also work.
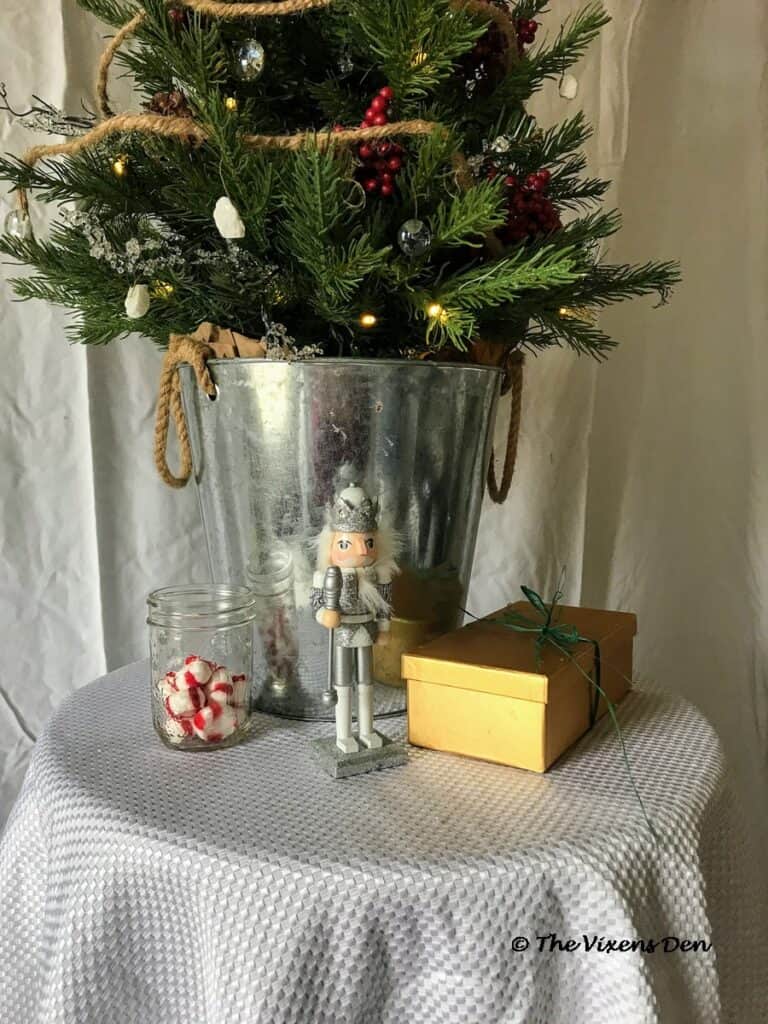
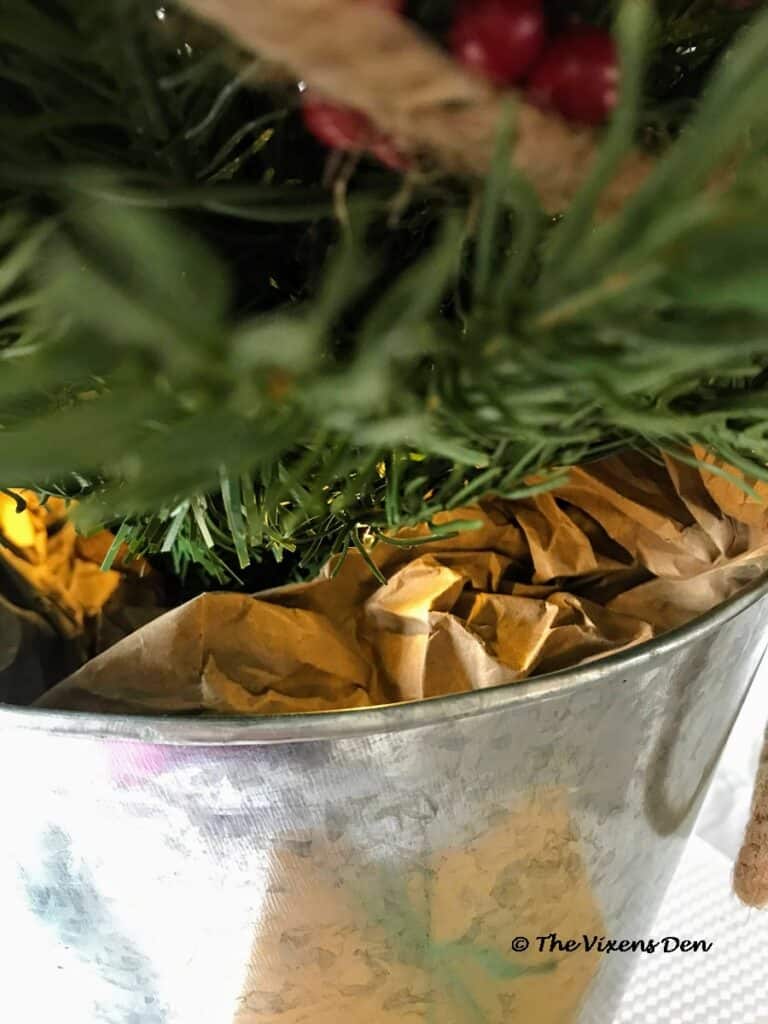
I stuff brown paper around the bottom of the tree to fill in a bit and keep the tree from wobbling. You could also use some white felt to make it look like snow.
Once the tree is in place, I like to start decorating by inserting the berry, pine, and icicle picks. I find it’s easier to fill in the big gaps first and helps with placing the rest of the ornaments later.

Next, I wrap the garland around the tree, adding a few dips to help it look natural.

Then, I place the rock and marble ornaments, filling in any spots that need a little bit of sparkle. Finally, I top off the tree by tying the star on the top with the floral wire on the back of the star.
DIY Rustic Mini Christmas Ornaments Takeaways
Now turn on the lights, step back and admire your beautiful rustic Christmas tree!

And in case you were wondering, these ornaments hold up quite well in storage. I wrap everything in tissue paper and then inside zippered plastic bags. I tuck the plastic bags inside the cardboard box with the Christmas tree. This makes decorating so much easier next year!
I wanted to add a little something extra, so I tried my hand at drying orange slices! Check out this post to see the misadventures in that project. Then sign up so that you don’t miss a single upcoming misadventure!
Crafting my own ornaments and decorations out of inexpensive materials brought me great joy. There’s something very satisfying about creating beauty out of a hodgepodge of things and sharing it with loved ones.

I hope that you find joy in crafting and your own Christmas this year. I would love to hear about your Christmas crafting adventures in the comments below!
Thank you so much for stopping by! Check out the other amazing projects at the link parties below. I know the hostesses will appreciate your visit and comments.
Until next time, have a beautiful and blessed day!


Linked up to these lovely link party hostesses at:
To Grandma’s House We Go! (Our Tiny Nest)
Don’t forget to sign up so you hear all about the next misadventure! Until then, you may also like this Magazine Rack makeover or this Dresser upcycle.

Beautiful! SO unique & affordable. Qualities I love! Thanks for sharing on Crafty Creators!
I love this tree! This is such a cute project! 🙂 Thanks for the inspiration, Becky!
These rustic mini ornaments are so adorable! I love them! Thanks for sharing the process with us!
What a unique tree using low cost items; it looks so welcoming. You are so clever using those stones that reflect the light just so. I am also loving those orange slices on your tree. I have been wanting to have those in my décor for a while now, I never seem to make the time to do so. I need to, they look lovely!
Becky I love the citrus slice ornaments! Drying citrus slices is one of my favorite winter DIYs. I hope you will come check out my Weekly Wednesday link party and link up for a chance to be featured! https://www.ourtinynest.com/2022/11/30/weekly-wednesday-link-party-324/
And thank you so much for inviting me to yours!!! I’ve added it to my list!
Thank you so much for visiting, Nicolle, and for inviting me to Our Tiny Nest! I look forward to seeing you again soon!
I LOVE this tree! I’m totally on board with making your own affordable ornaments. Love that rustic vibe. Thanks for sharing at Vintage Charm! xo Kathleen