DIY Valentine’s Garland or Wreath Charms
Easy decor projects that don’t take up a lot of space are my favorite kind! These sweet heart-shaped wood charms can be added to any wreath or garland to celebrate the month of love.
Leave it up all spring to create a romantic cottage-core style! You can even make it reversible and customize one side with the names of your special someone(s)! When it’s time to freshen up your decor, they store easily until next year.
This post is sponsored by Dixie Belle Paint Company. While they provided some of the products for this project, all of the opinions are my own. Follow this affiliate link to see all of their amazing products!
AS AN AMAZON ASSOCIATE I EARN FROM QUALIFYING PURCHASES AT NO COST TO YOU.
YOU CAN SEE MY FULL DISCLOSURE HERE.
Tools and Materials
Materials
- Wood hearts
- Sanding sponge
- Dixie Belle Chalk Paint –
Cotton - Dixie Belle Chalk Paint – Tea Rose
- Dixie Belle Chalk Paint – Soft Pink
- Belles and Whistles Transfer – Bohemian Wedding
- Clear Coat – Flat
- Heavy-duty crafting thread
- Artistro Paint Pen – Black
Ribbon
Cleaning & Prepping
The wood hearts that I chose for this project come in four different sizes. I used the three largest sizes for this set of charms.
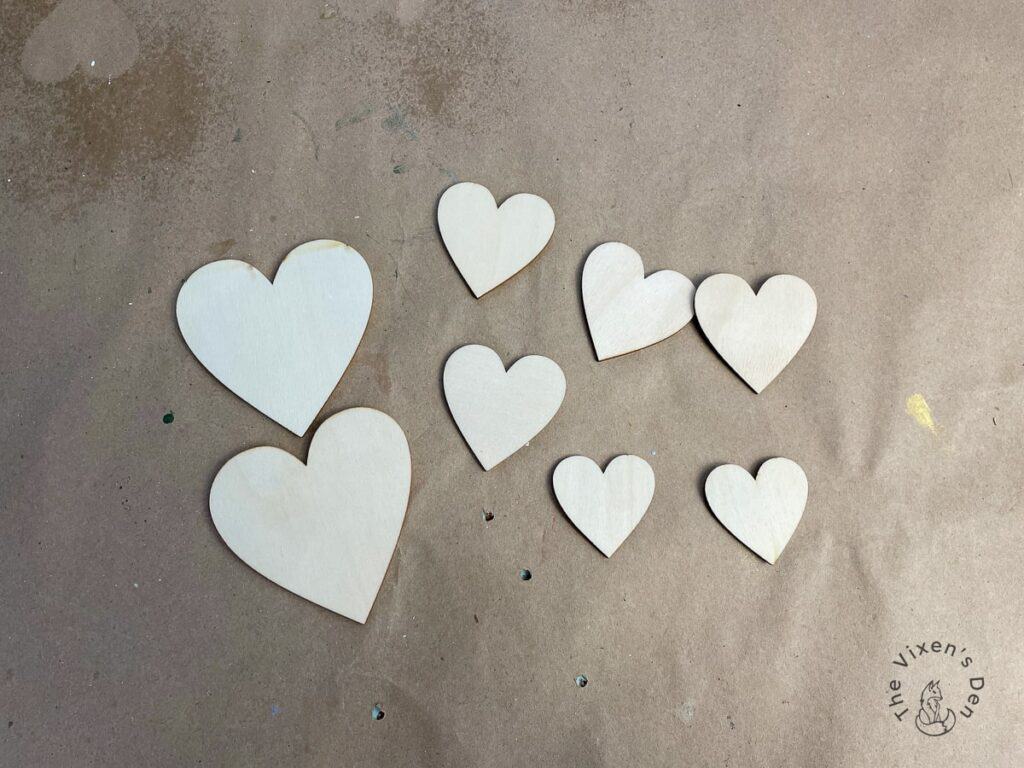
To create a hole to string the hearts, I lay the hearts out in an alternating pattern with the largest hearts at the top and the smallest at the bottom. I didn’t want the hearts to hang straight up and down, so I drilled the holes off center for all but the two smallest hearts at the bottom. I drilled the holes using a battery operated drill and a 1/16″ drill bit.
Pro tip: To prevent the wood from splintering as badly, you can add a piece of painter’s tape on each side of the wood where you plan to drill the holes. I didn’t do this and had some wood splinter.
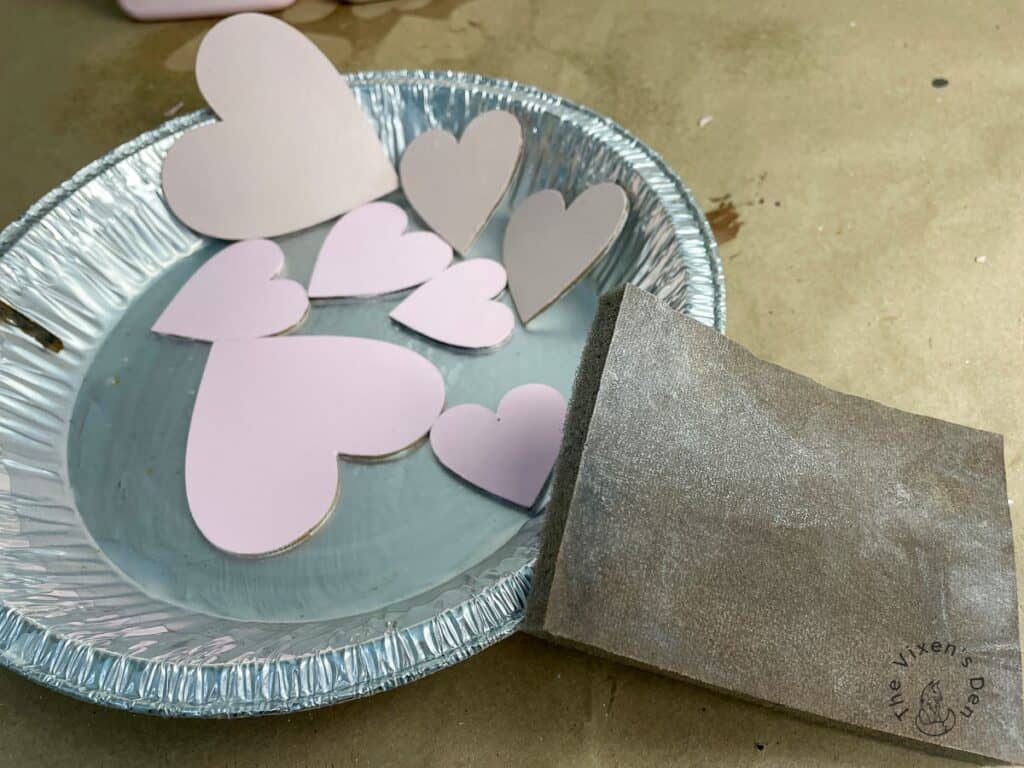
Wood can have unexpected nooks and crannies or scraggly wood hairs from the fabrication process. To smooth everything out, I gave all of the surfaces a quick sanding with a 220-grit sanding sponge. Then it was time to paint!
Painting
I have found that transfers show greater detail against a white background. Dixie Belle Chalk Paint in Cotton is a perfect, crisp white that shows them off to their best advantage. I painted on one coat of Cotton and achieved excellent coverage.
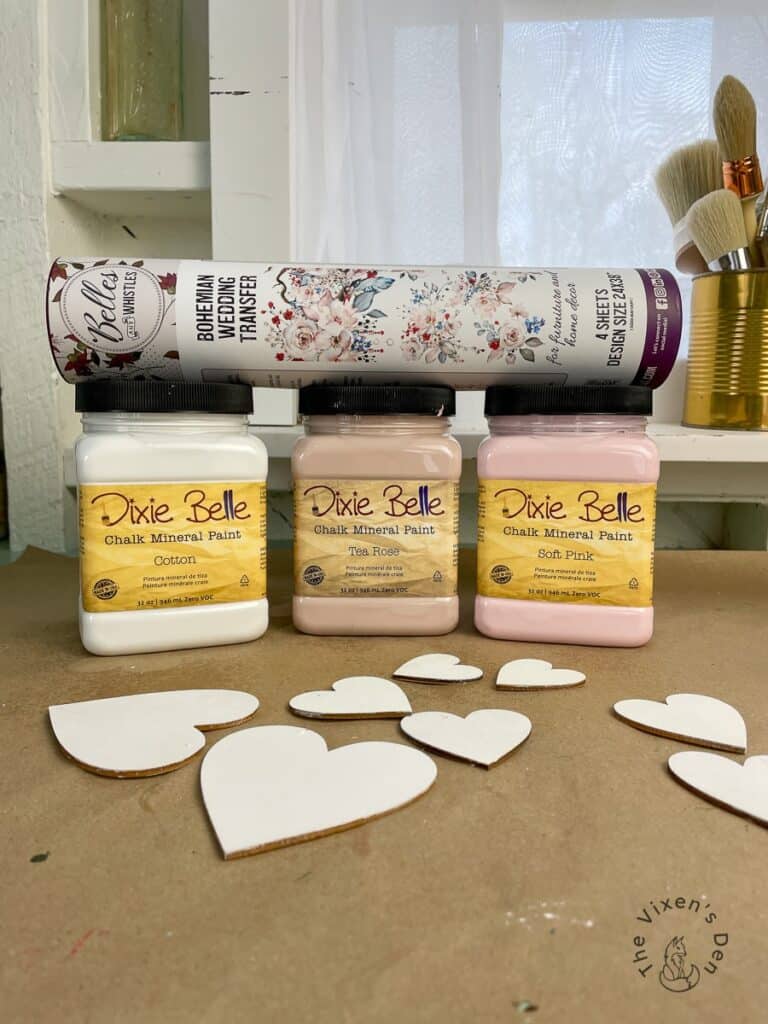
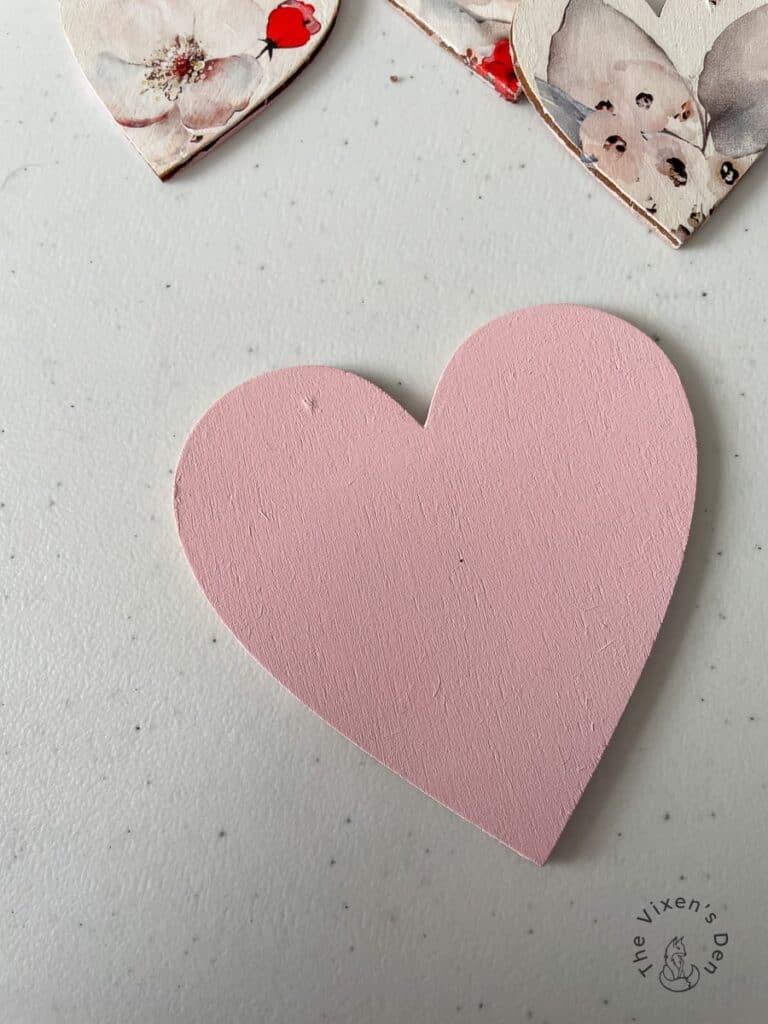
For the individual hearts, I really love Tea Rose and Soft Pink. Tea Rose has some wonderfully tan and gray undertones that create a beautiful vintage pink, while Soft Pink has clear bright tones that create a perfectly happy, girly pink.
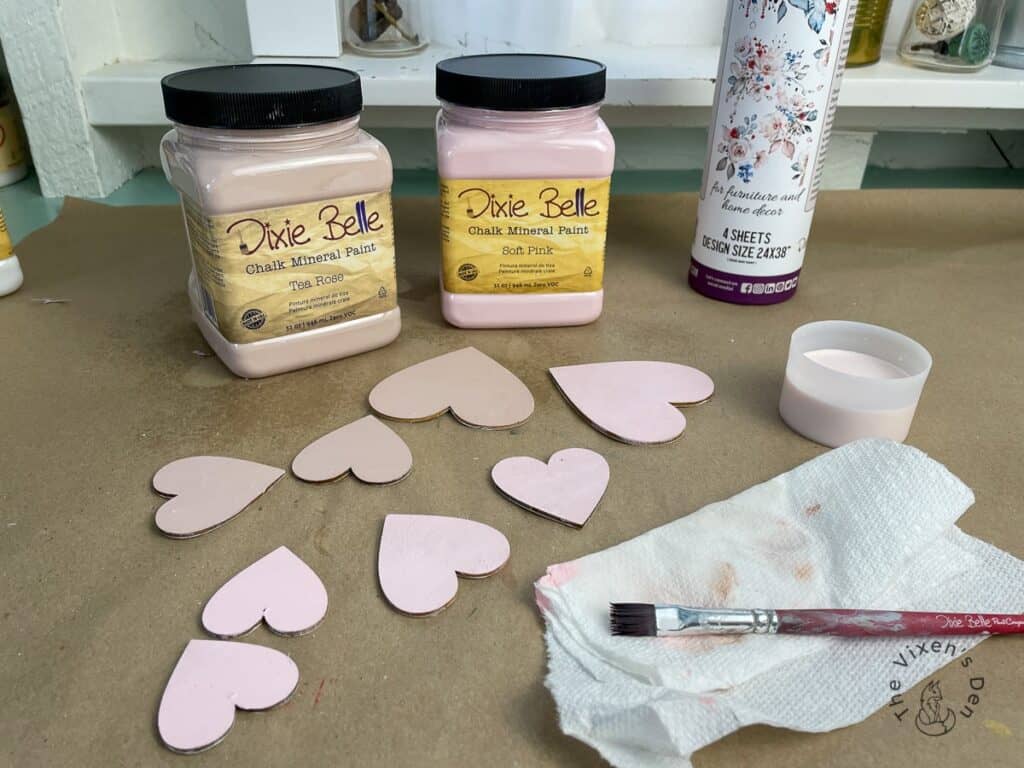
I used a sanding sponge to sand between coats to achieve a smooth finish. The first coat tends to raise the grain and pluck up any stray wood hairs.
Adding the Transfer
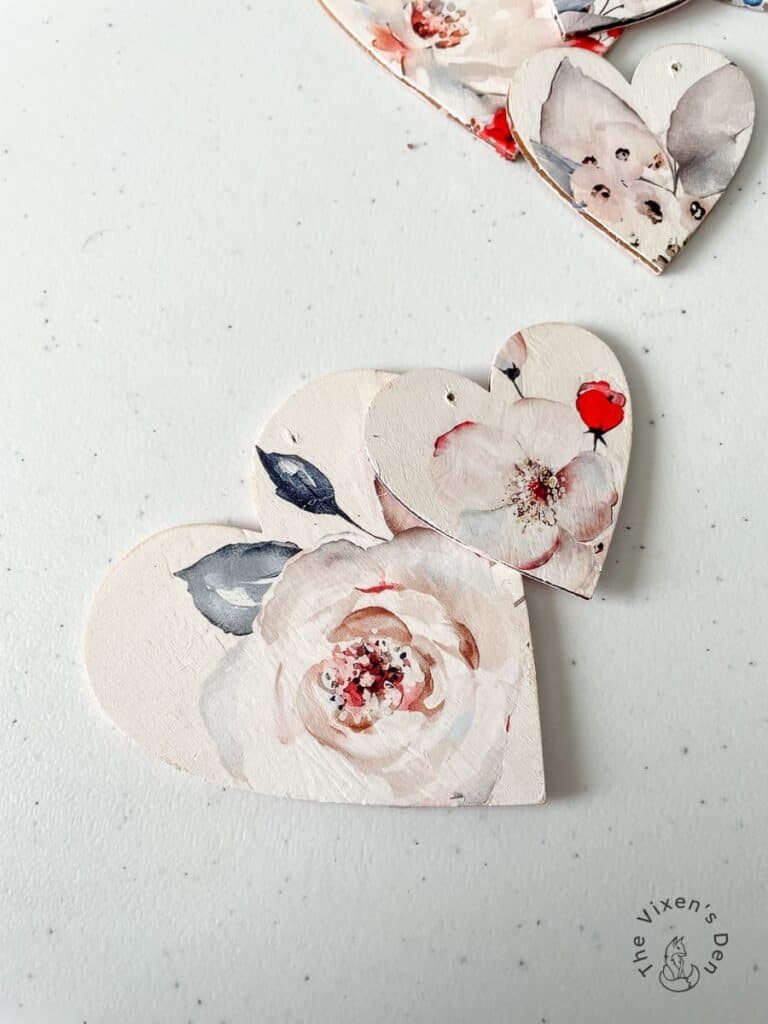
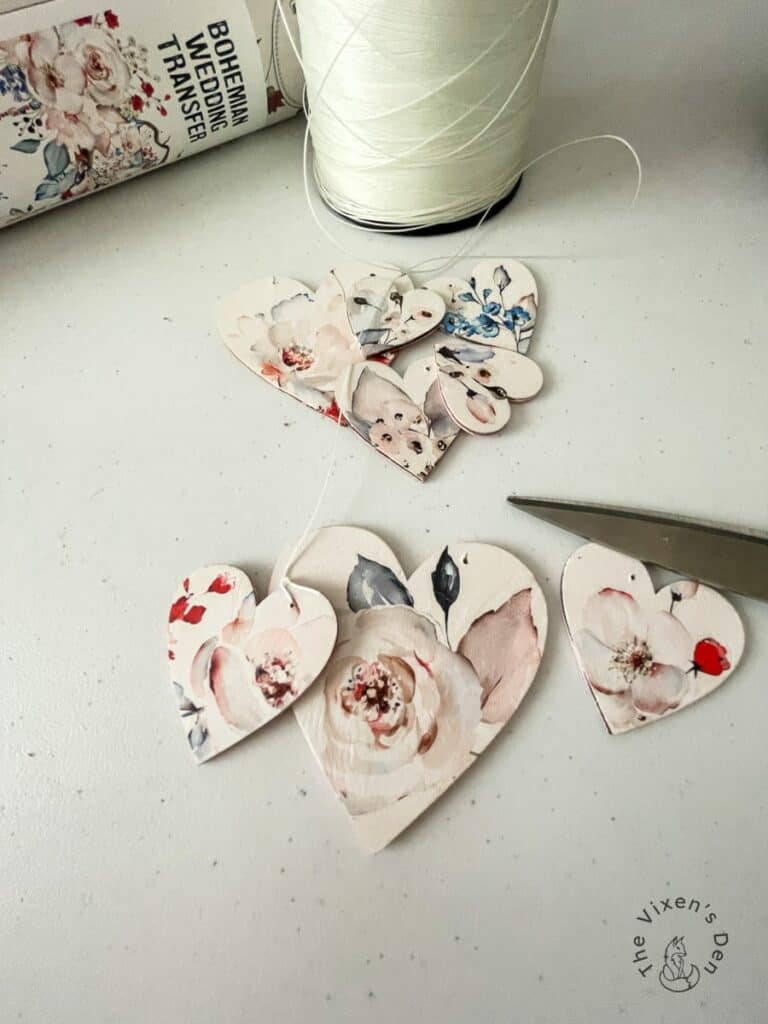
Vintage, soft, and girly were the feelings that I wanted to convey with this project. The Belles and Whistles Bohemian Wedding Transfer was perfect. It has vintage pink roses combined with pops of red and blue flowers backed by blue green and gray toned greenery.
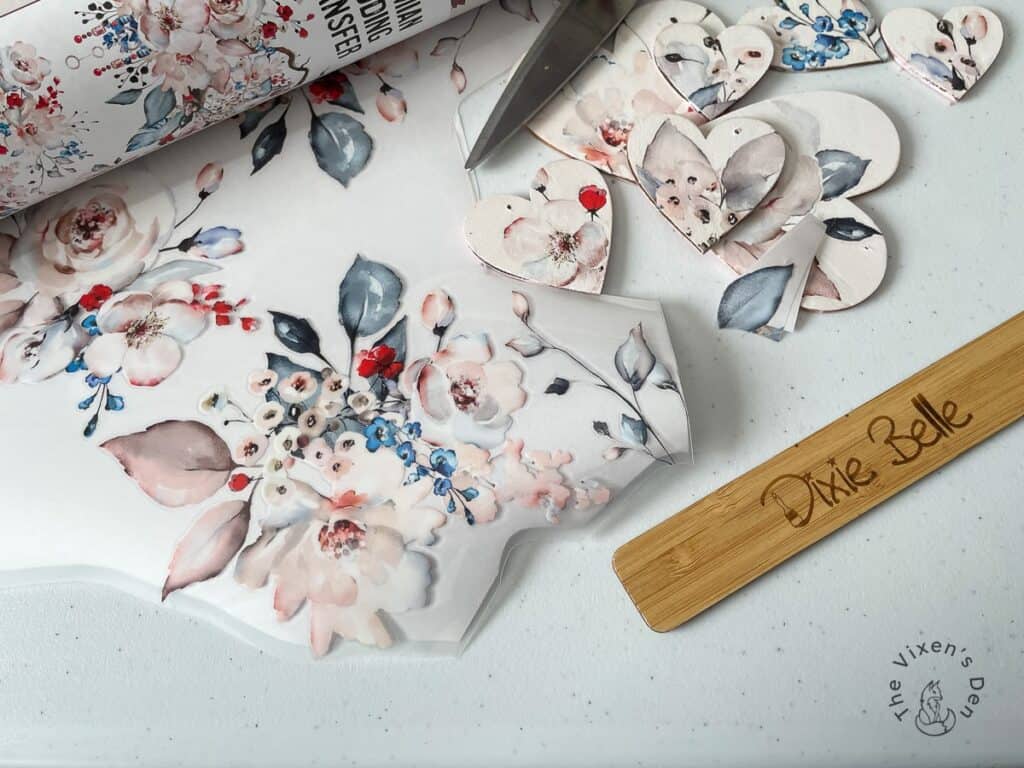
I laid the hearts against transfer to select the pieces that I wanted to cut out. Some of the hearts are layered with bits of transfer here and there.
Stringing the Charms
Painting the hearts and adding the transfers causes the drilled holes to become clogged. Before I could string the hearts, I had to clear the hole by pushing something through the hole.
Now, you could go all MacGyver on this and use a paper clip, but I recommend a large heavy-duty upholstery needle or a small awl. I pushed the point through one side and then back through the other, giving it a little back and forth wiggle when needed.
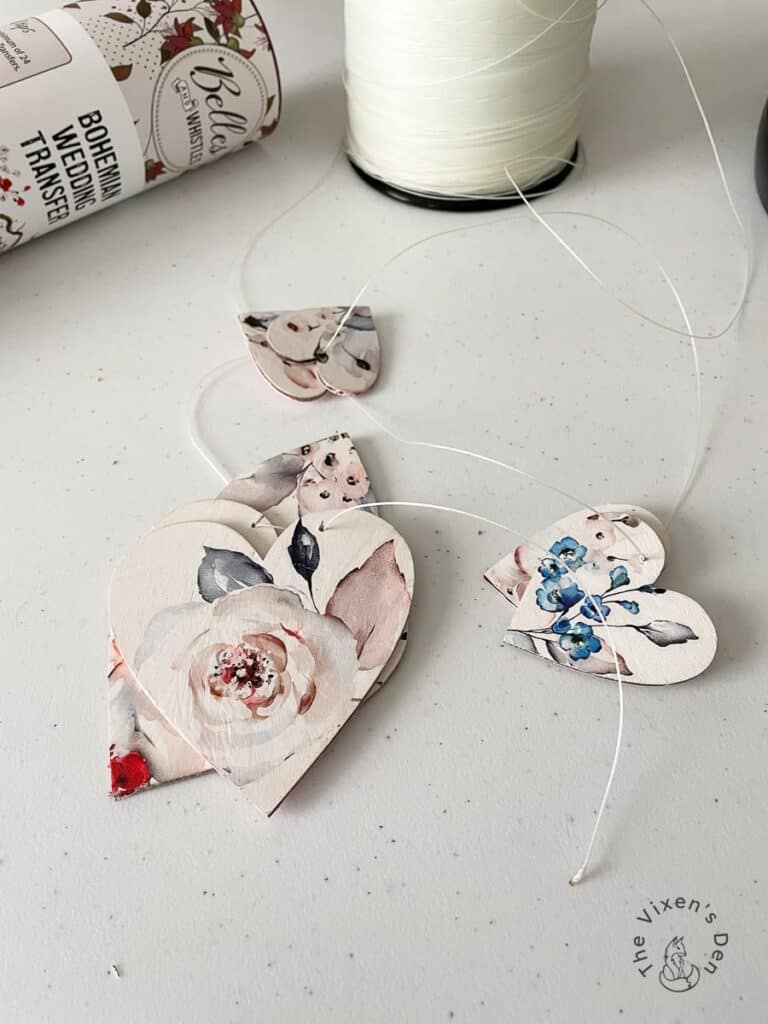
I decided to use a heavy duty crafting thread for stringing the heart charms. A heavier thread will keep the light-weight wood from bouncing around as much when a breeze is stirred up from doors opening and closing.
I found it was much easier to string the hearts together at one time on the same strand, tie off the first charm, and then cut that piece to length before tying off the next charm. The main reason for this was that the thread frays once it is cut. I could have melted the ends with a lighter, but this seemed a faster method.
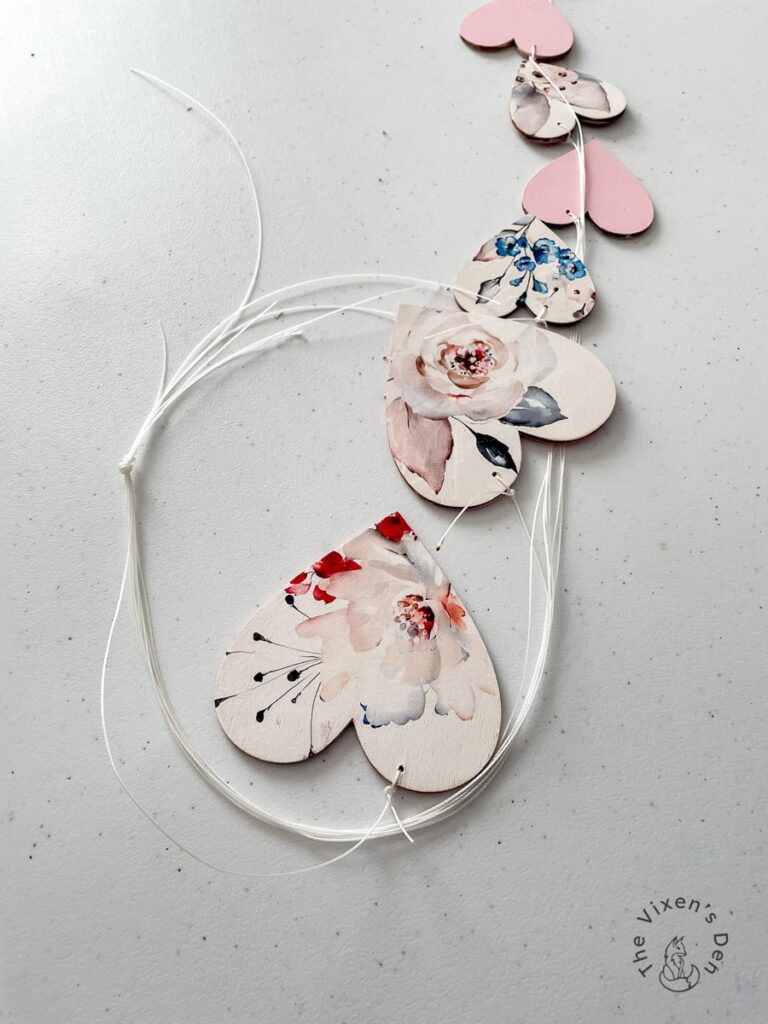
I wanted the hearts to be staggered so that they didn’t overlap one another completely in the charm chain. Once I had strung all of the hearts to their specific lengths, I gathered the ends of the threads together and knotted the top.
Painting Monograms
I chose a script font in Canva called Howell for the initials on these charms. Then I adjusted the font sizes to fit the specific hearts.
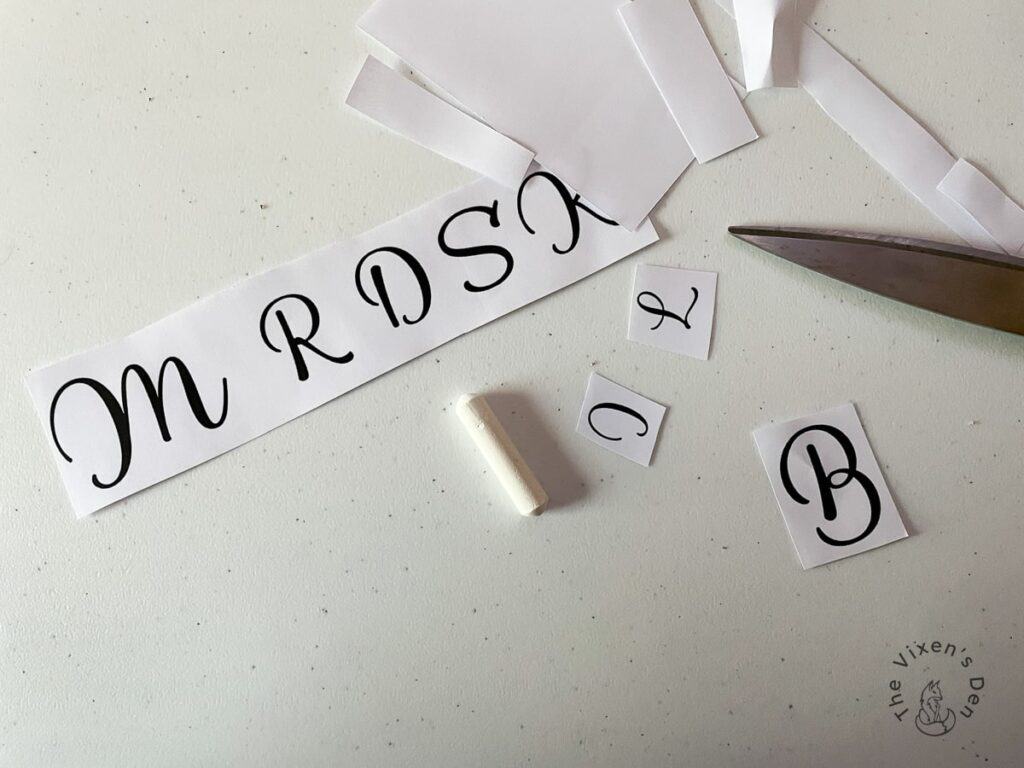
After printing out the initials, I trimmed down the paper and rubbed chalk on the back of the paper. Then I positioned the letters with the chalk side against the surface of the heart and traced the letters with a pencil. This transferred the outline of the letters onto the charm.
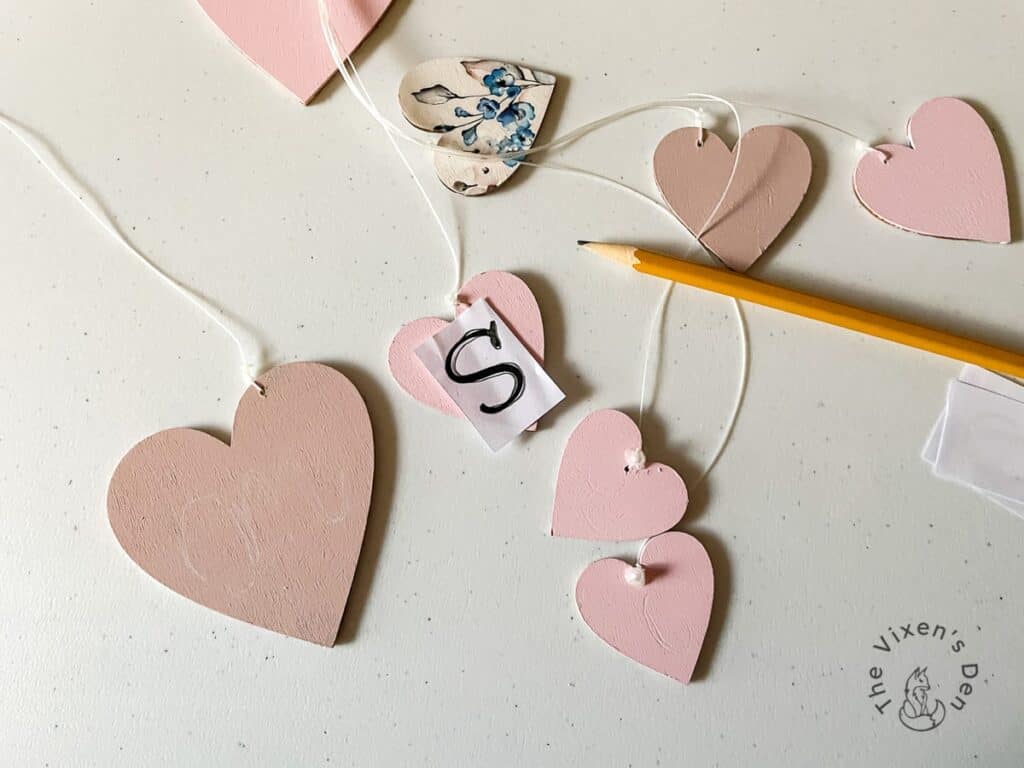
Hindsight is 20/20 tip: I used white chalk, but I recommend using black or a darker color instead. (Gee, where have I recommended that before?)
After all of the initials were outlined in the chalk that I could barely see, I traced the outlines using a fine point Artistro paint pen. I started the paint on a piece of cardboard first, then traced the edges and filled in the outlines.
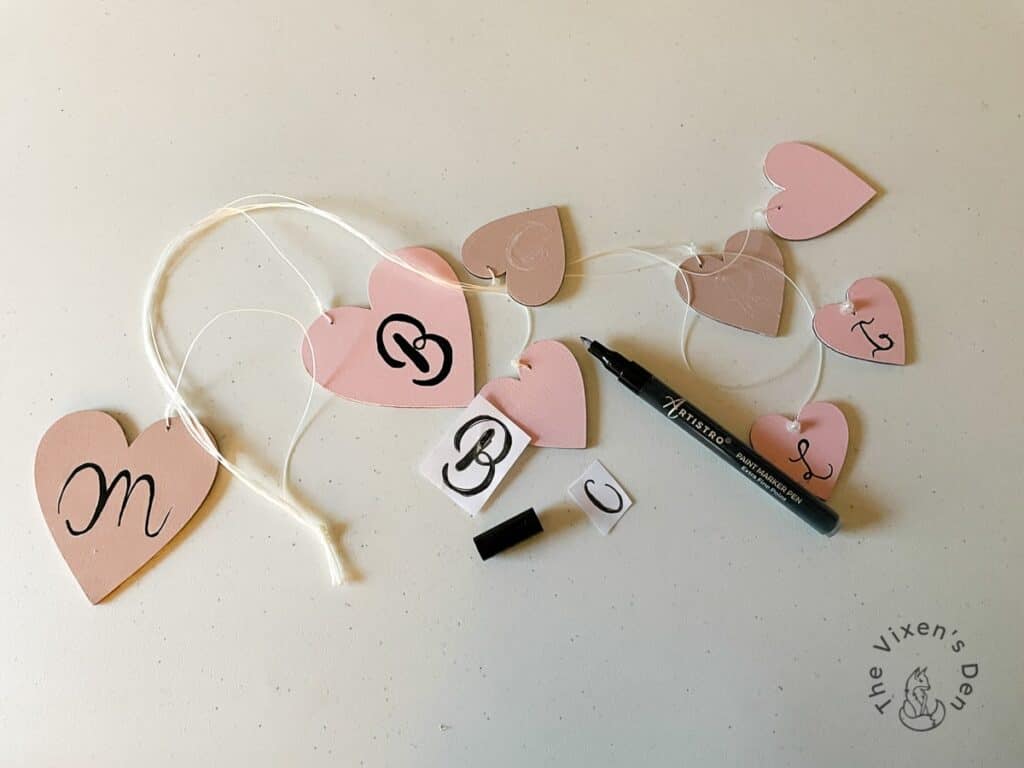
There were a few spatters where the pen tip dragged on the grain of the wood. Once I got the hang of it and backed off the pressure a bit, the pen worked beautifully!
After the paint dried, all that was left to do was to seal the surfaces with a couple of coats of Clear Coat in Flat and then top off the charms with a pretty
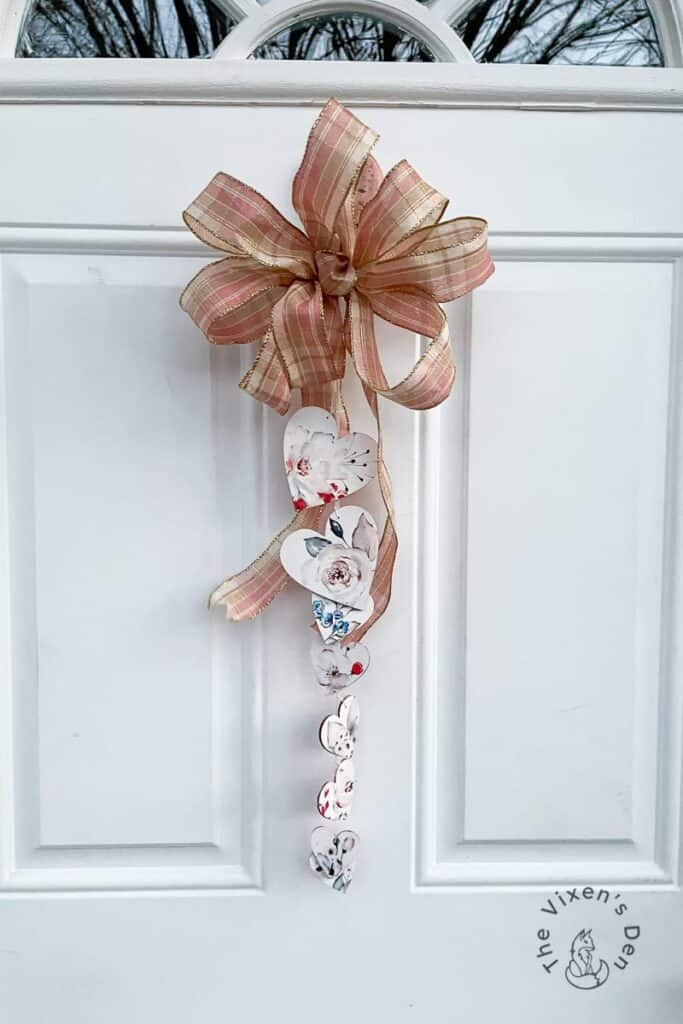
Final Reveal
These sweet Valentine’s Day charms are a beautiful vintage or cottage core accessory for a garland…
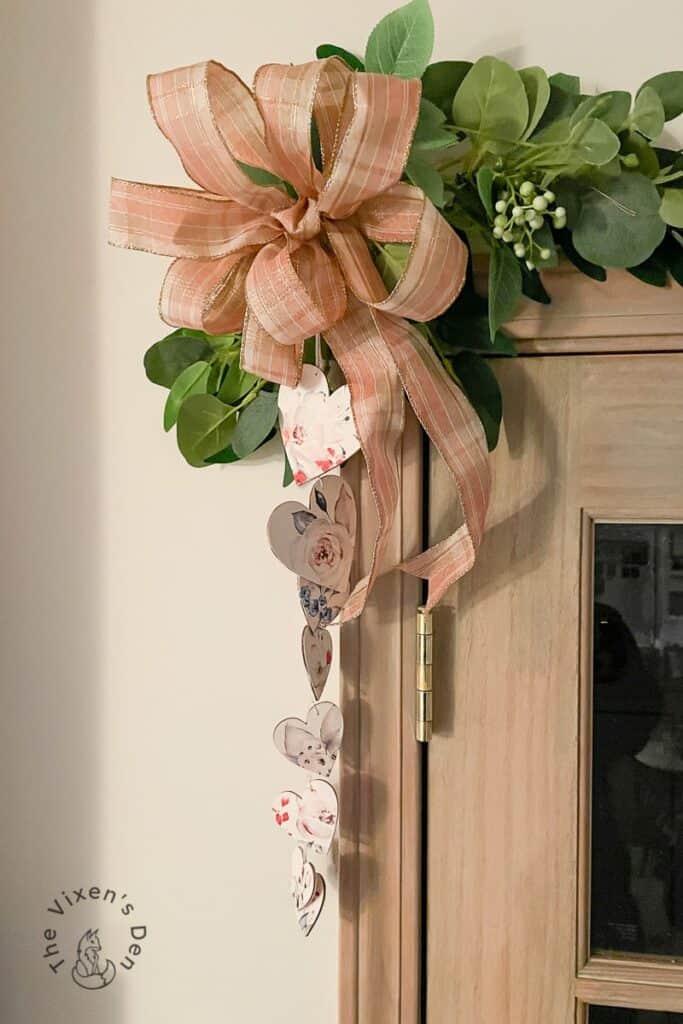
or a wreath swag!
I hope you find this adorable Valentine’s swag as “charming” as I do! (wink) What other ways do you think it could be used to decorate your home? I would love to hear your ideas in the comments below!
Thank you so much for stopping by! Check out the other amazing projects at the link parties below. I know the hostesses will appreciate your visit and comments.
Until next time, have a beautiful and blessed day!


Linked up to these lovely link party hostesses at:
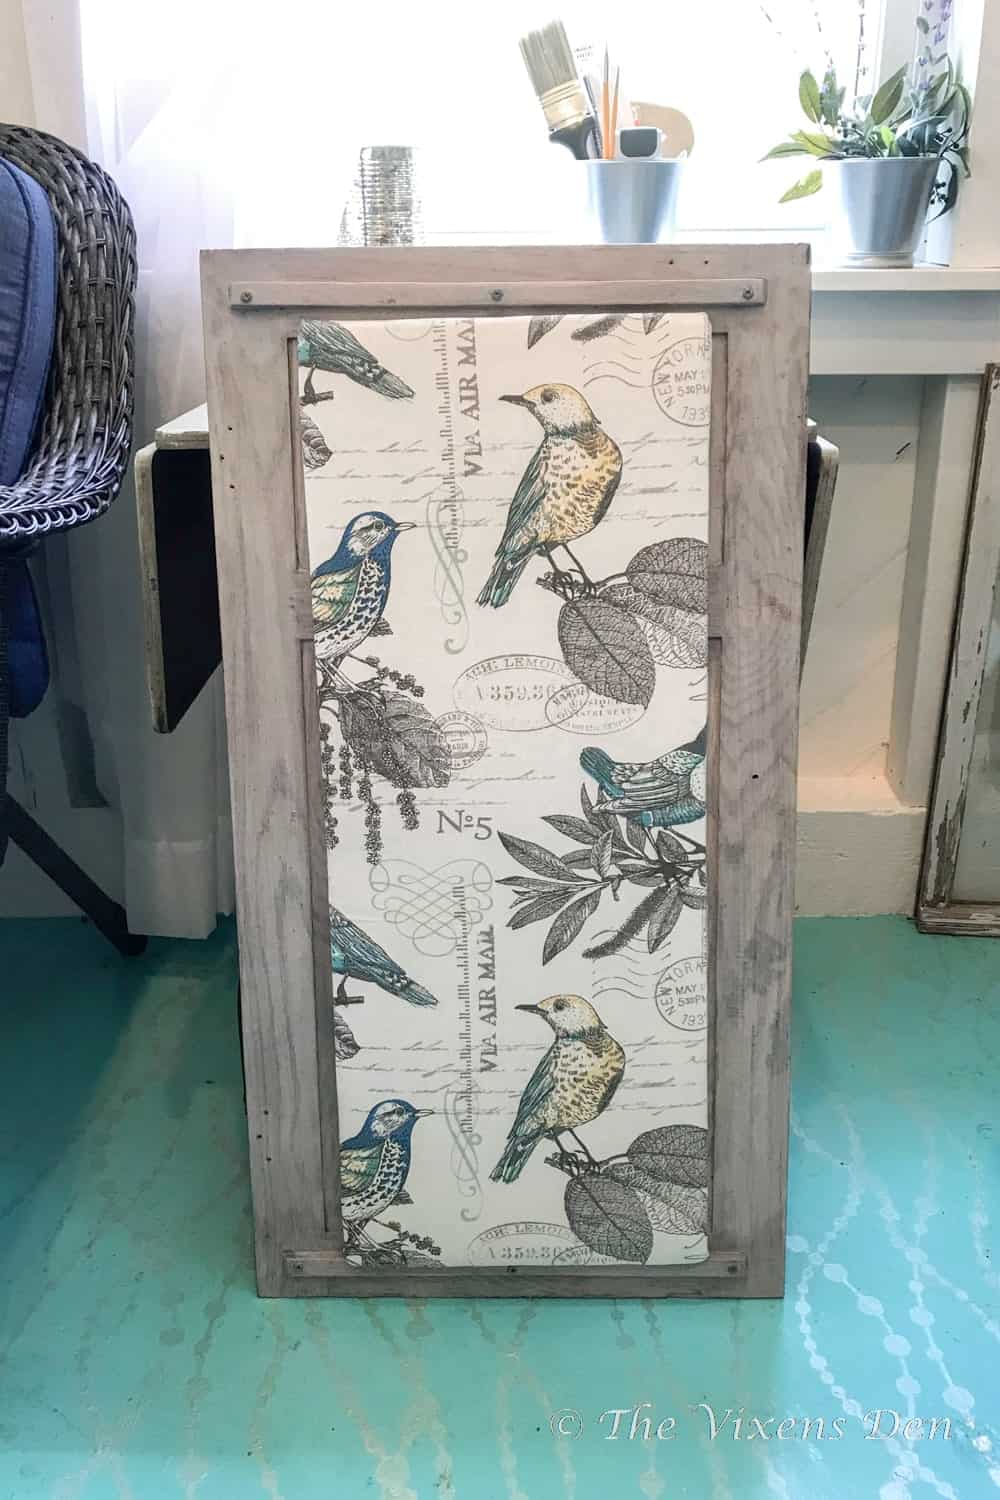
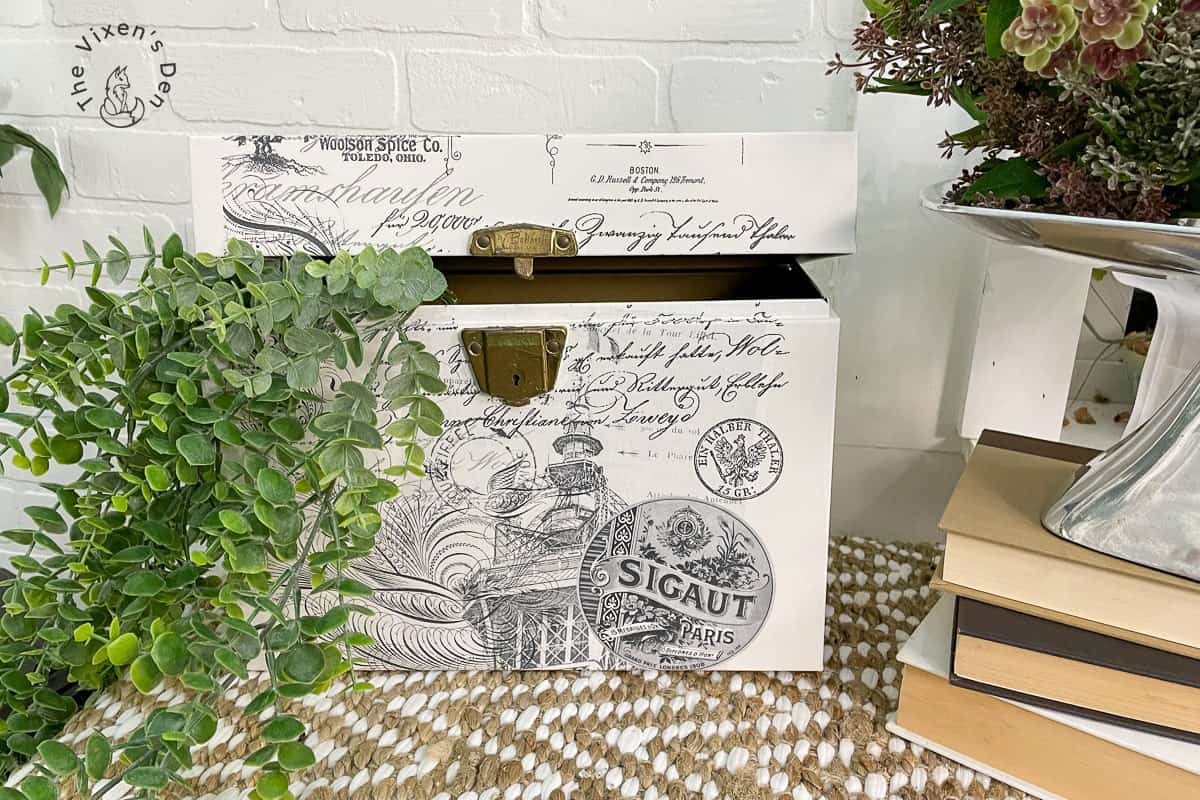
Don’t forget to sign up so you hear all about the next misadventure! Until then, you may also like this Magazine Rack makeover or this Seasonal Wreath.
Becky,
I LOVE this delightful valentine hanging! Ordinarily I am not as much a fan of the very feminine stencil patterns, but in this case they are perfect for this holiday!
I also truly think the bow color fits in perfectly! Peachy vs another pink.
So cute & appealing!!
Maybe you can tell me why you put monograms on the back of the hearts. I’m not sure how they fit in with this project.
Becky this came out so sweet I love it!