She-Shed Take 2: The Plan
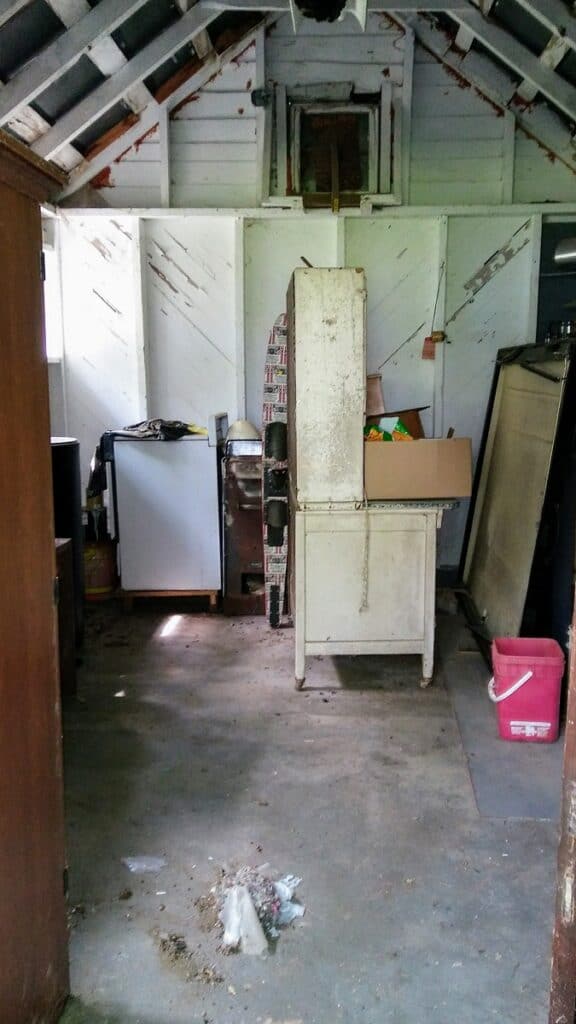
Where do you start when eating an elephant? I mean, I understand the theory of one bite at a time, but where do you take the first bite? When it came to the she-shed, it was a little more obvious as to where that first bite needed to happen. Before I could start to plan, or start working on anything, the building had to be thoroughly purged and cleaned. This resulted in so many trips to Goodwill and the dump that we became eligible for a frequent shopper punch card at both locations that month.
As we started pulling out all of the things, the shed’s unique character was slowly revealed under years of accumulated dirt, dust, and mildew. (I blame the accumulation of all of those things for the blurry pictures.)
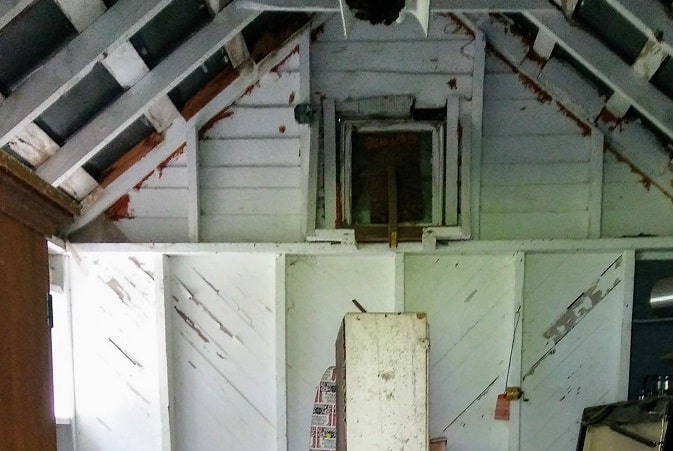
I was in love with the gorgeous angled wall slats (behind all the junk). The slats were made from wood crates that goods were shipped into my husband’s great-aunt’s store. I was determined to preserve and showcase the charm of those beautiful old walls.

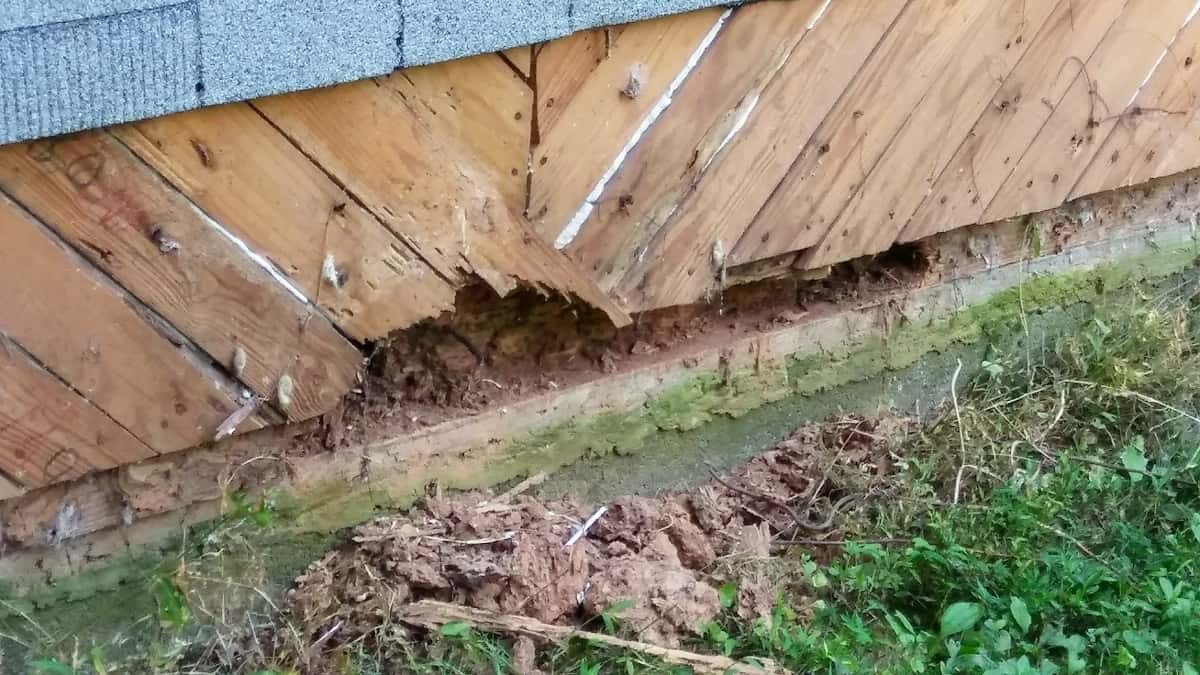
When the building was a bunkhouse, my father-in-law filled the gaps between the wood with drywall mud. I understand it kept them toasty warm when the woodstove was fired up. However, over time and lots of movement, the drywall mud was starting to separate and fall out of the wall in chunks. Even the paint couldn’t hold it all together anymore.
And then there was the concrete floor. My father-in-law and his brother lifted the original smokehouse, mixed and poured the concrete, and then lowered the building back down onto its new foundation. At that point, it was transformed into a workshop. While I have no idea what is underneath the slab, it appears to be in great shape. (More to come on that later)
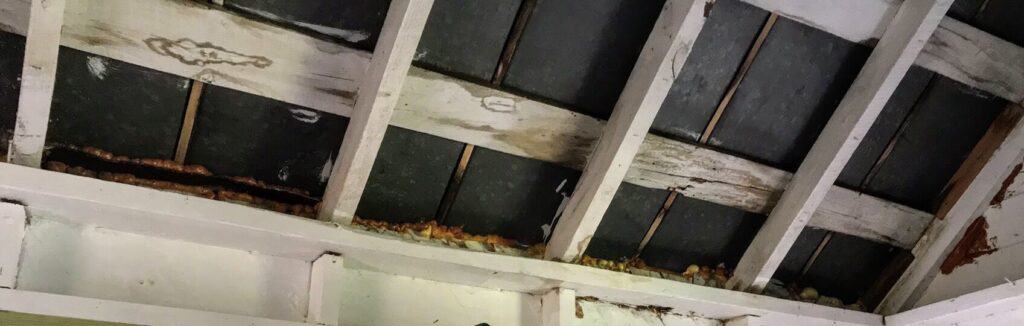
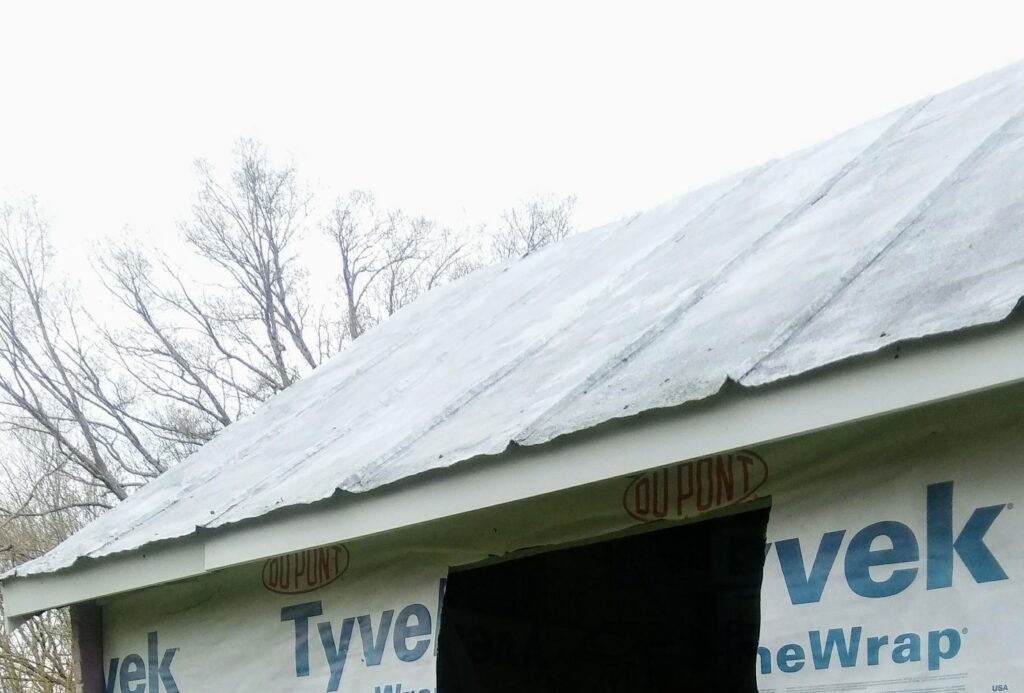
Finally, there was the hand-crimped tin roof, with the original slats that were used to shape and stabilize the tin when it was originally installed. The back corner to the right of this picture above suffered some damage from a tree falling on it a few years prior to the renovation, but my husband made repairs and folded the tin back into place. Here’s a picture of the same side of the roof from the outside.
After a thorough purging, it appeared that I had a sound foundation with some great characteristics that I definitely wanted to preserve. My checklist of existing positives looked something like this:
- Sound, original tin roof
- Solid concrete floor
- Interesting walls
At this point, I began developing the next stage of my carefully thrown together by-the-seat-of-my-pants, plan. I knew that I wanted more windows. In fact, I wanted windows on all sides of the building, both for light and airflow. I also knew that I needed overhead lighting. The old shop light that the guys had rigged up was not what I had in mind. Finally, my husband requested that the siding be changed out to match our house. So, this was the project checklist:
- Windows
- Siding
- Lighting
- Paint
I was gleefully filling my Pinterest board with airy, light filled pictures of she-sheds and outdoor spaces, expertly staged with the ultimate accessories. Pins like this this stunning studio found at Country Living:

At this point I realized, just how little space I had in this 12×14 building, and how many things I was asking it to be:
- Paint studio
- Woodshop
- Glass cutting studio
- Writing studio
- Crafting studio
- Haven for solitude and relaxation
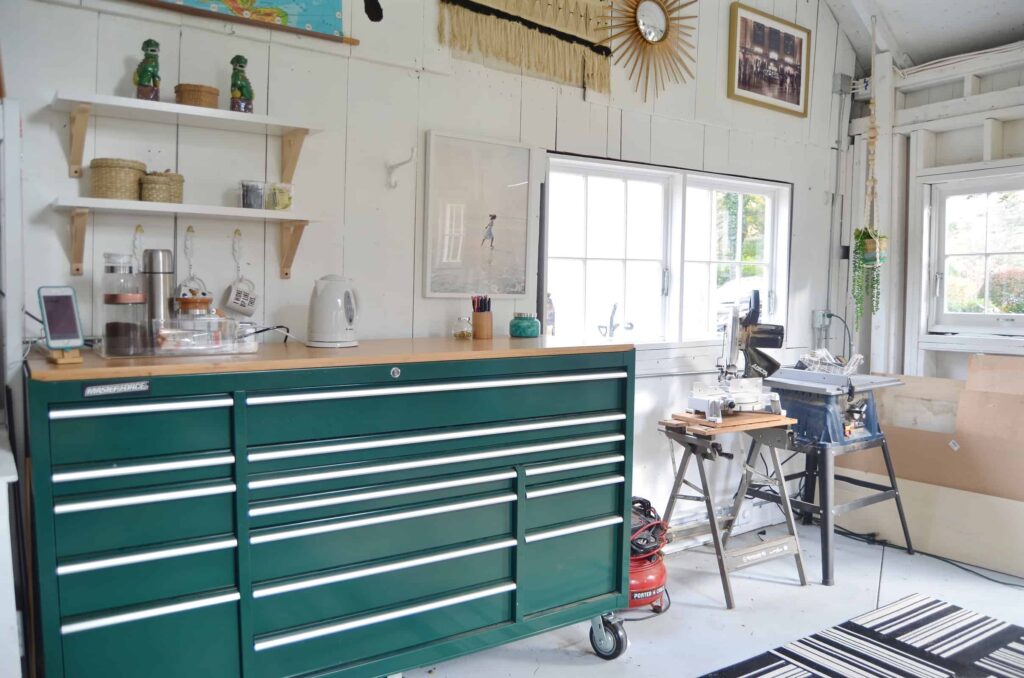
That’s a lot of overspray, dust, and shards to contend with in one little space. Which doesn’t leave much room for airy spaces or soft furnishings. The reality of the space was not matching up with the pretty pictures that I kept pinning. I was determined that there must be an ideal middle ground. The perfect blend of form and function to create a working she-shed that inspired creativity and provided the space for it to flourish. Then I found At Charlottes House and I knew it was possible!
Brimming with inspiration and a relatively small checklist of items to accomplish, I just knew that this project was going to be AMAZING! Ah, the starry-eyed exuberance of starting a new project. Now, back to reality…
Can you see we get from this pitiful little outdated building to a Superstar she-shed worthy of pinning to inspire future she shed-istas? Don’t worthy, neither did I. The stars were shining far too brightly in my eyes for me to see what I was diving into. Unfortunately, that was all about to change.
But before we get to all of that, what characteristics do you find most appealing about my little labor of love? Would you have given it a chance to shine, or just taken a match to it? Leave your comments below. I’d love to hear your thoughts and creative demolition ideas! Then sign up for more of The Vixen’s Den!
[mailerlite_form form_id=1]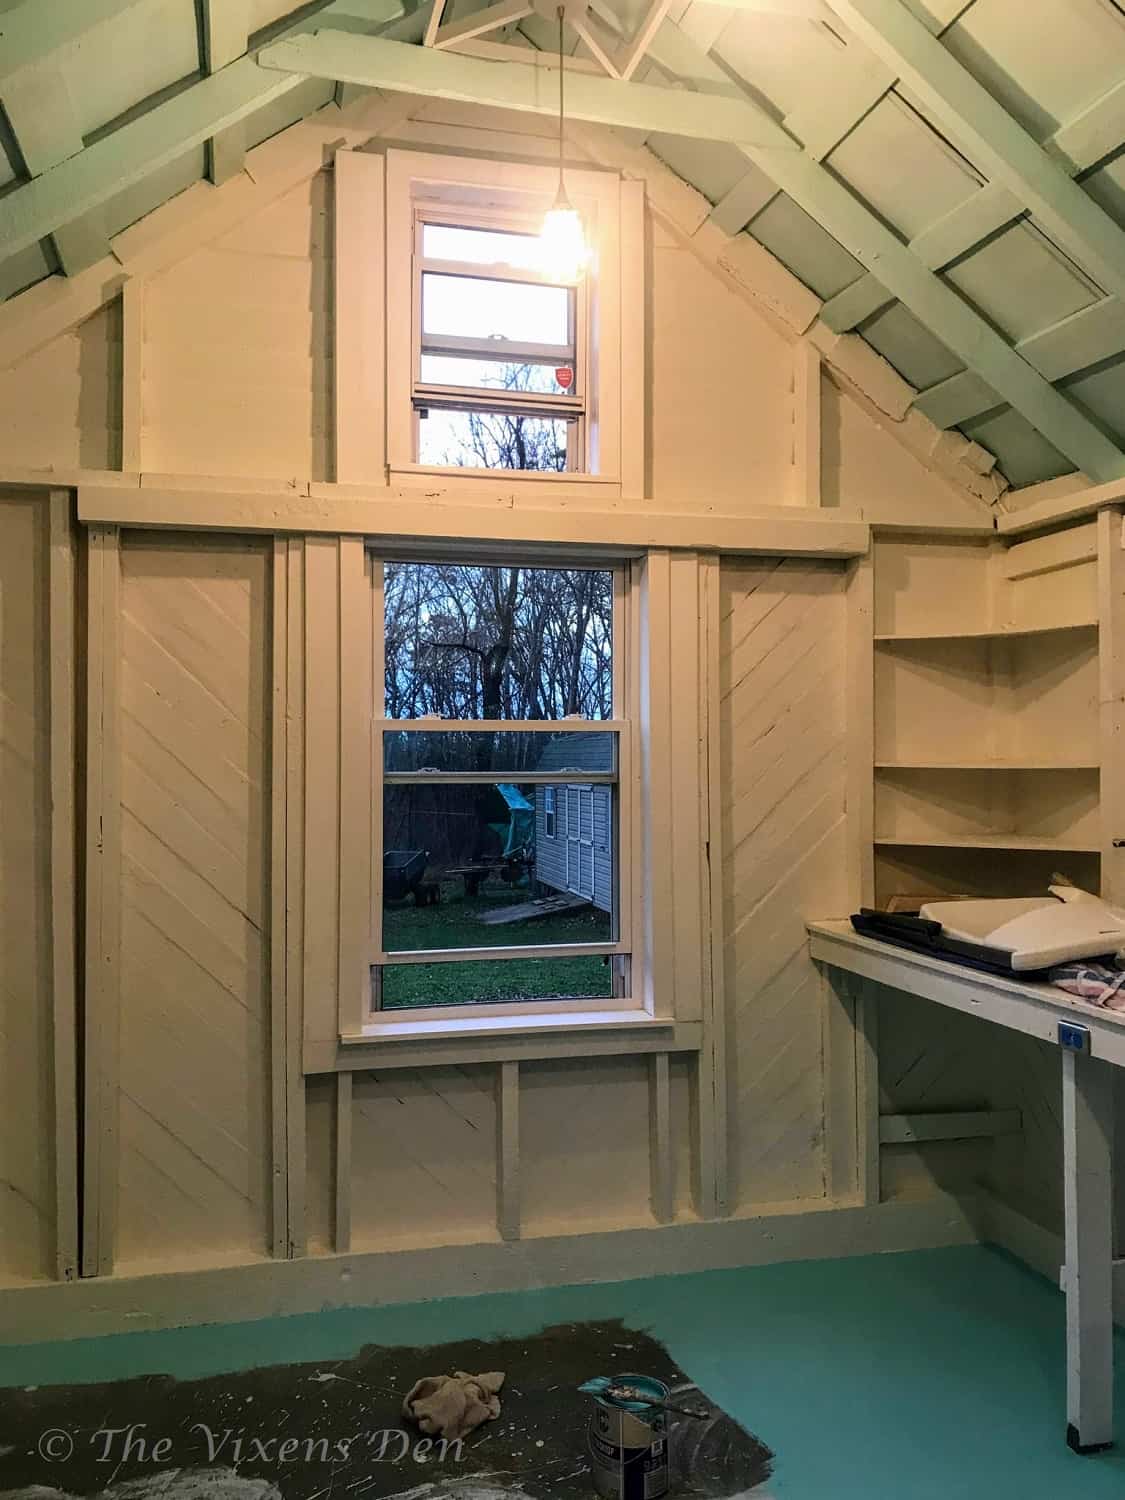

Awesome blog.Really looking forward to read more.
Hey there! This is my first visit to your blog! We are a team of volunteers and starting a new initiative in a community in the same niche. Your blog provided us valuable information to work on. You have done a wonderful job!
whoah this blog is fantastic i love reading your articles. Keep up the good work! You know, a lot of people are looking around for this info, you could help them greatly.
Wow, wonderful blog layout! How long have you been blogging for? you make blogging look easy. The overall look of your site is great, let alone the content!
Hey There. I found your blog using msn. This is a really well written article. I抣l be sure to bookmark it and return to read more of your useful info. Thanks for the post. I will certainly comeback.