She-Shed Take 11: Painting and Stenciling a Concrete Floor
There are so many options to consider when you decide to refinish a concrete floor. Throughout the process of planning, repairing, and updating my little she-shed, I waffled back and forth on how to finish the floor. I considered vinyl planks, painting, sheet linoleum, and tile. In the end, paint won out due to the costs in both material and labor.
Of course, I couldn’t just have a simple painted floor. After all, overcomplicating things is sort of my mantra. So the final decision was to paint and stencil the she-shed floor.
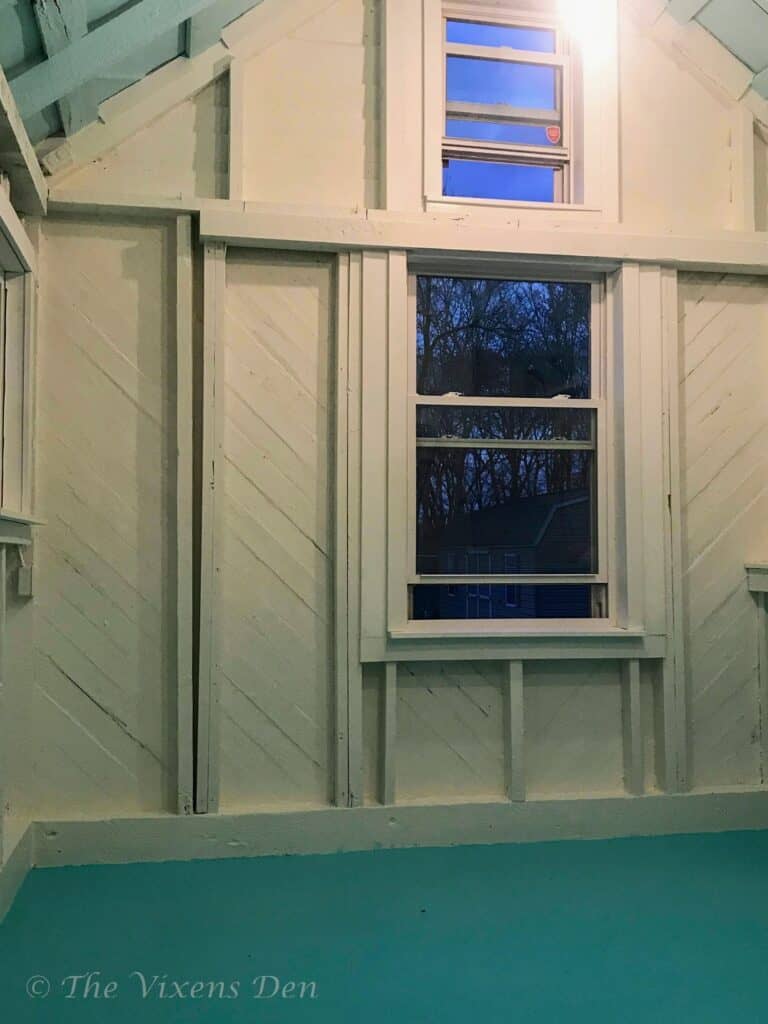
As the lighting and painting were completed, the she-shed was definitely developing a slightly coastal vibe. With images of the beach dancing through my head, I decided to take it one step further. I wanted to feel as if I was at the ocean, kicked back in a beach chair with the surf rushing at my feet.
Selecting Concrete Floor Paint
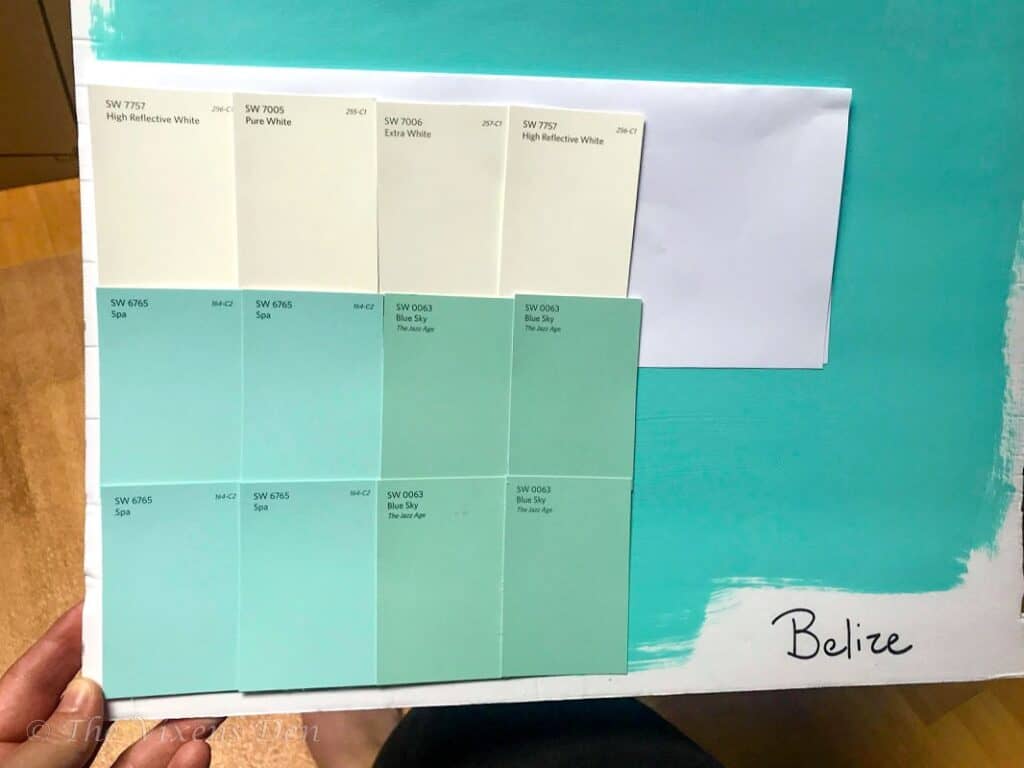
I haunted the Sherwin Williams site, comparing undertones and saturation rates until I decided that I definitely wanted an aqua-toned color. I grabbed handfuls of aqua-toned paint chips and paint samples, pasted and painted them onto boards, and narrowed down the choices until finally, I selected a bright cheerful aqua called Belize.

Belize is now an “archived” color. Because this is an archived color, you can’t just waltz in and grab some paint chips to stick in various places and watch the way the paint changes at different times of the day. Instead, you’ll have to buy a sample pint of the color so that you can paint it on poster boards and determine if you’re ready to commit.
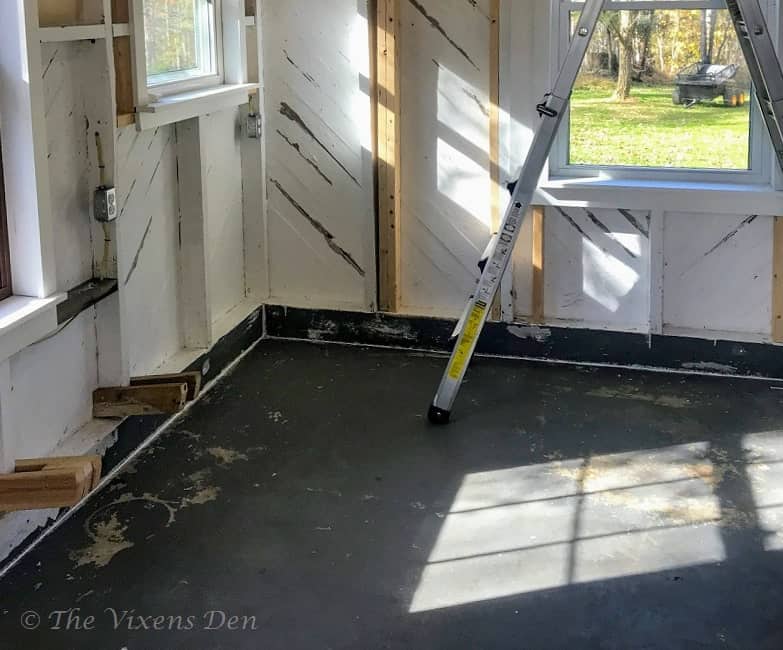
Belize was the color for me. Now I just needed to choose the right type of concrete floor paint. The first step in painting over the battleship gray concrete floor was to determine if the original paint was oil or water-based. The rule of thumb is that you can paint oil-based over water-based, but not water-based over oil-based. If you try the latter of the two, then you tend to end up with significant peeling.
There were two options to test the paint. I could take some scrapings to Sherwin Williams and they would test it for me, or I could test it myself by rubbing the paint with a cotton ball soaked in acetone (which is present in nail polish remover). If there is no paint on the cotton ball then the original paint is oil-based. I used the acetone method to test the gray paint. There was paint on my cotton ball, so I was ready to research and select water-based paint for the floor.
After a lot of research, I decided to go with the Sherwin Williams H&C Colortop Water-Based Solid Color Concrete Stain. The reviews were mixed, but after talking with the store associate, this is the one that he recommended. It’s easy to apply, just like rolling on wall paint. A topcoat is recommended, which worked fine for my plan to stencil over top of the painted concrete floor.
Painting the She-Shed Concrete Floor
The most important part of any project is prep work. If you remember, this she-shed lived part of its life as a shop. So, the first step was to scrub the floor with a heavy-duty degreaser.
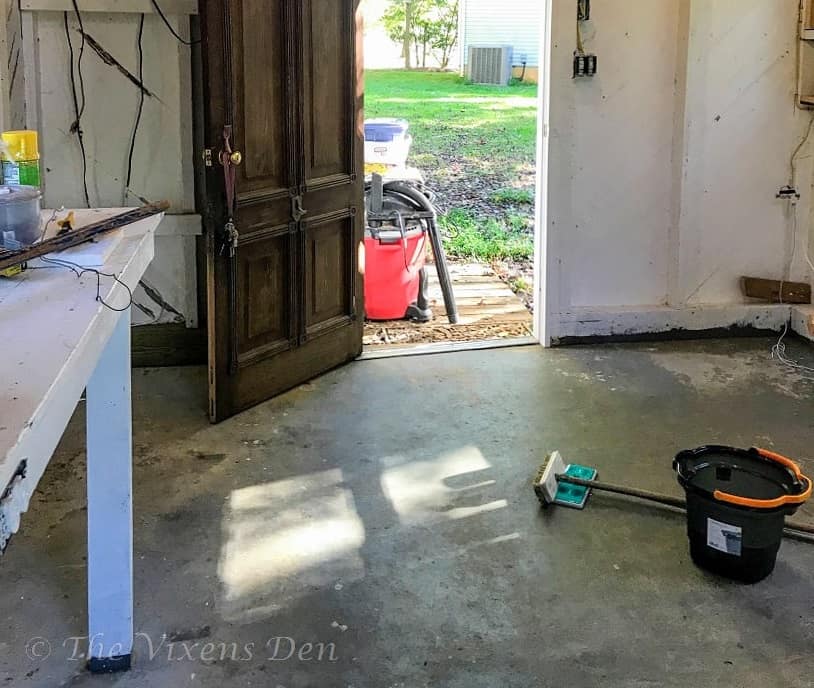
I chose TSP because I don’t know that you can get much more heavy-duty than that, at least not while buying off the shelf at your local grocery store. I scrubbed the floor with a stiff-bristled brush on a long-handled pole, following that up with another scrubbing, but this time with Dawn. After several good rinses, I scraped any paint that was loosened by the scrubbing and then let it dry for several days. Concrete is very porous, and I wanted to make certain that there wasn’t any moisture trapped in the spots that were exposed when I scrubbed it.
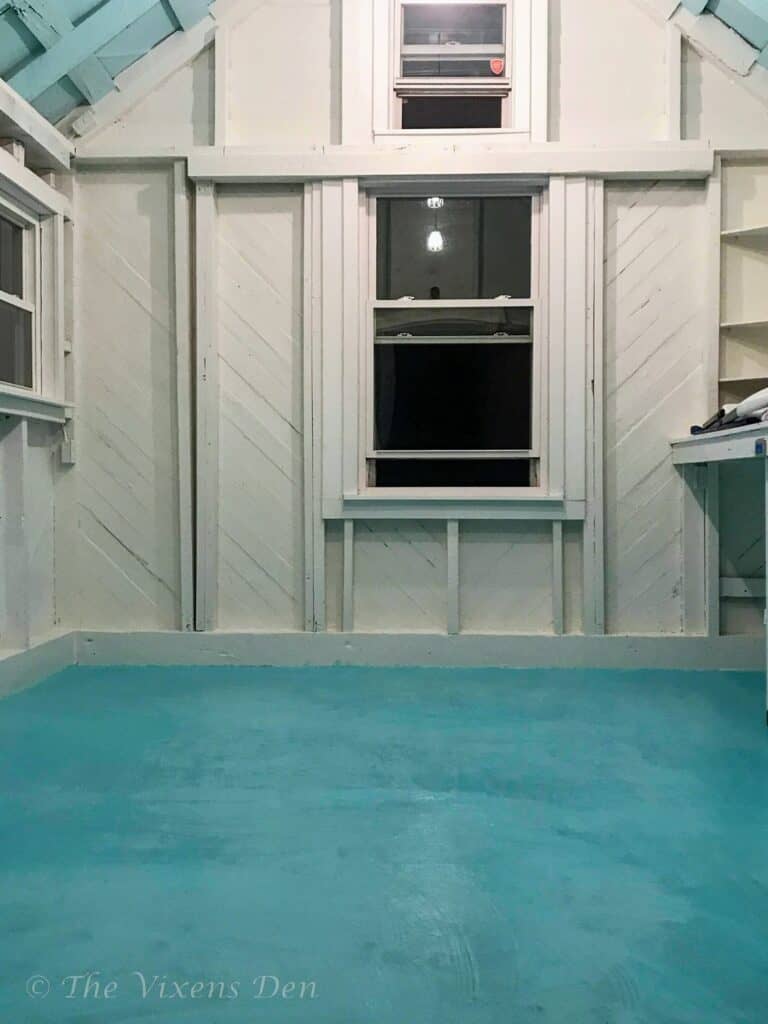
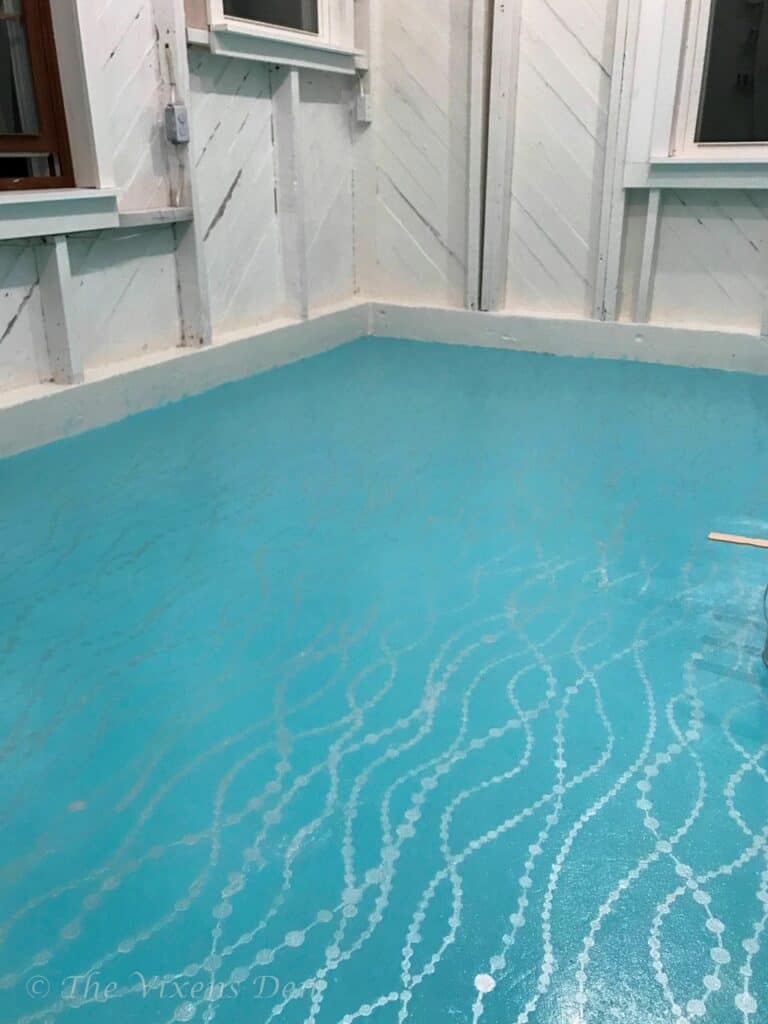
This particular stain did not call for priming, and since the concrete floor was already painted it also did not require etching. It did, however, require two coats of stain, using a standard roller with a 3/8″ nap, to obtain full coverage. This could be due to the fact that I was covering dark gray with the lighter aqua blue, but it also seems to be the nature of this particular product. The results were well worth it!
Stenciling the She-Shed Concrete Floor
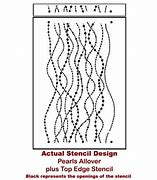
The next step in my plan was stenciling. I fell absolutely in love with this gorgeous stencil from Cutting Edge Stencils. It’s called the Allover Pearls stencil. It’s a nice heavyweight stencil, to the degree that I didn’t even have to tape it down during the stenciling process.
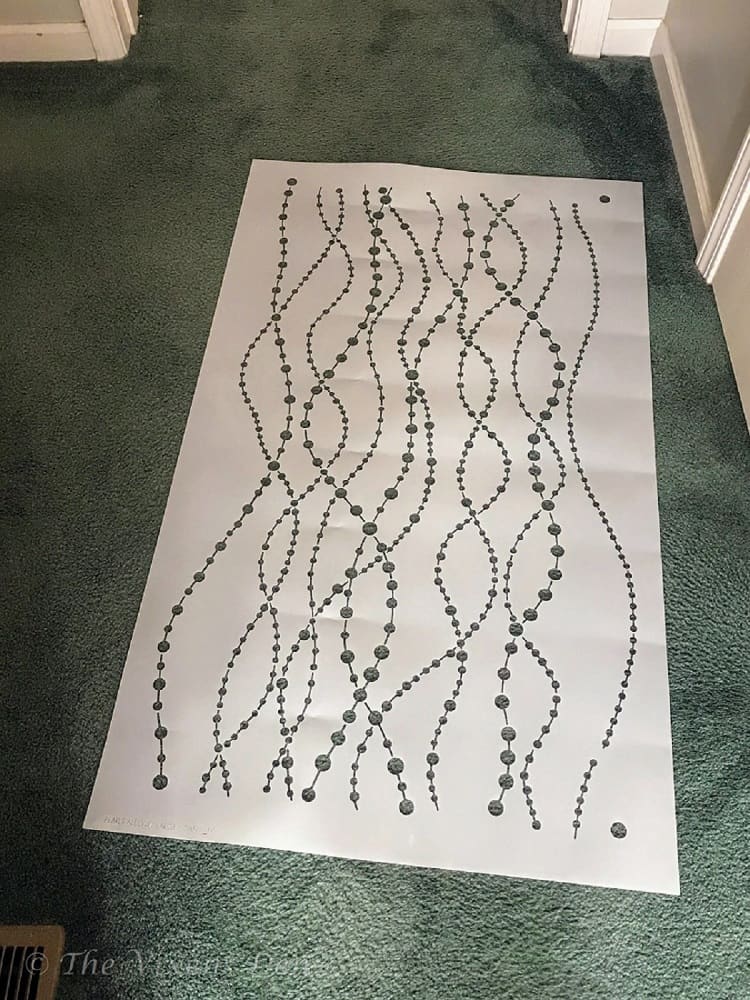
I love the way that the intertwined pearls simulate seaweed or bubbles in the surf.
To capture this image, I wanted water-based paint with a bit of shimmer to it. Modern Masters Metallic in Pearl White showed the cleanest white with just a hint of warmth and shimmer. To apply the Modern Masters paint, I laid the stencil on the floor, dipped a stencil brush just barely into the paint, and wiped it off on the inside of the lid. Then I used a pouncing and slightly swirling motion to apply the paint in the stencil.
The tricky part was lifting the stencil without dragging it because the nature of painting stencils means that paint seeps a little bit under the edges. This caused a few specks of paint to be spread here and there, but I think in this case it just added to the final product.
This is such a high-quality stencil, that I see myself using it over and over again for future projects. The stencil came with an edge stencil to help with getting into the edges and corners without bending the main stencil.
To seal and protect the stencil and concrete floor stain, I went with the advice of my local Sherwin Williams associate and used H&C Clarishield Water-Based Wet Look Concrete Sealer. I rolled it on with a foam roller and didn’t experience any trapped air bubbles, hazing, or ghosting after the product dried.
I did notice a little bit of yellowing after the sealer cured, but it wasn’t so bad that I felt cranky about it. It mainly appears when water settles and then dries on the surface. One of the reviewers mentioned that the stain bubbled up. I have only experienced this when water was left standing on the surface of the paint. I blotted up the water and let the paint dry. When I came back a few days later the paint had re-adhered to the concrete floor and I couldn’t feel any permanent damage when I ran my hand across it.
Overall, I have been exceedingly pleased with this part of the she-shed project. It really pulls together my vision for this space and creates the perfect spot for pursuing creativity.
Whew, that was a lot of work! So now the question is, are you ready for the wrap-up and big reveal? Join us for the next edition of this exciting saga, and don’t forget to sign up to receive an email when new projects are let loose in the world!
[mailerlite_form form_id=1]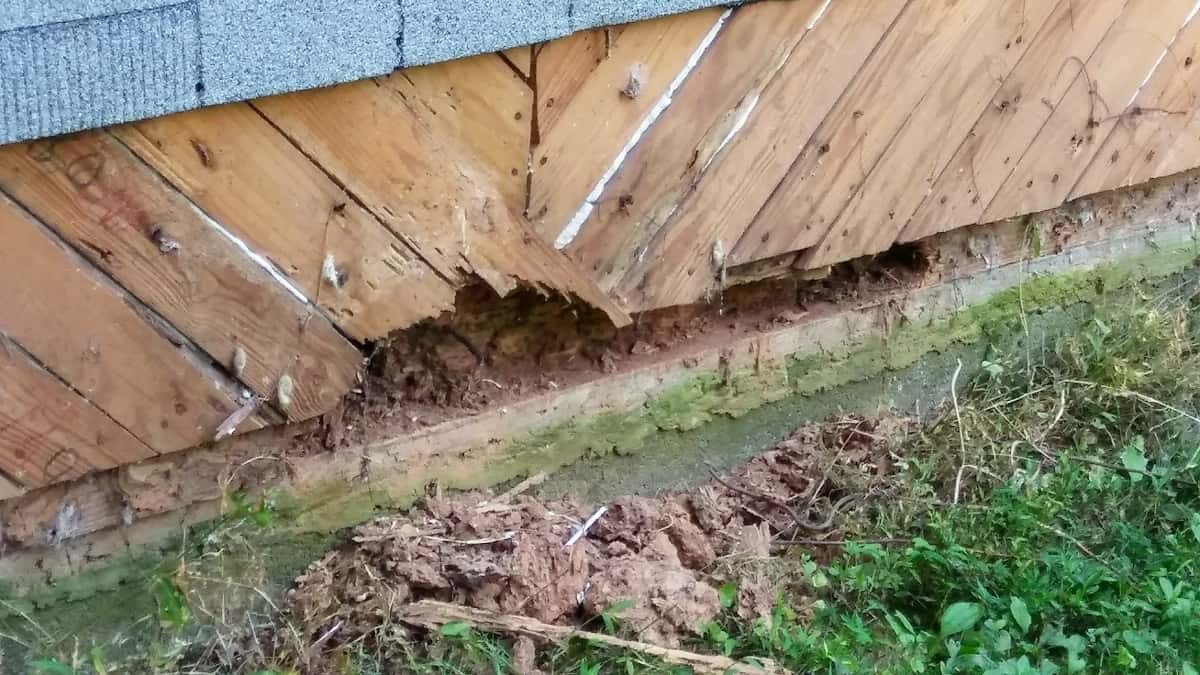
The floor is gorgeous. I love the color and the stencil!
Thank you so much!
Love the floor; I know that was a ton of work requiring much patience! Love your beach vibe feel. Now you need a couple of beach chairs. I resealed our patio last summer with the same product you used. Love it; easy to use and brings the concrete back to life. I went a bit more neutral, lol. Looking forward to to hanging out and doing artwork with you in your “she-shed”.