She-Shed Take 3: Termite Damage
Have you had a plan that started out so great, only to shoot downhill at such a rate that you feel like you were left sitting on the rails watching everything that you had hoped for spiral down the roller coaster of life? Okay, maybe I’m being a little melodramatic… or maybe not.
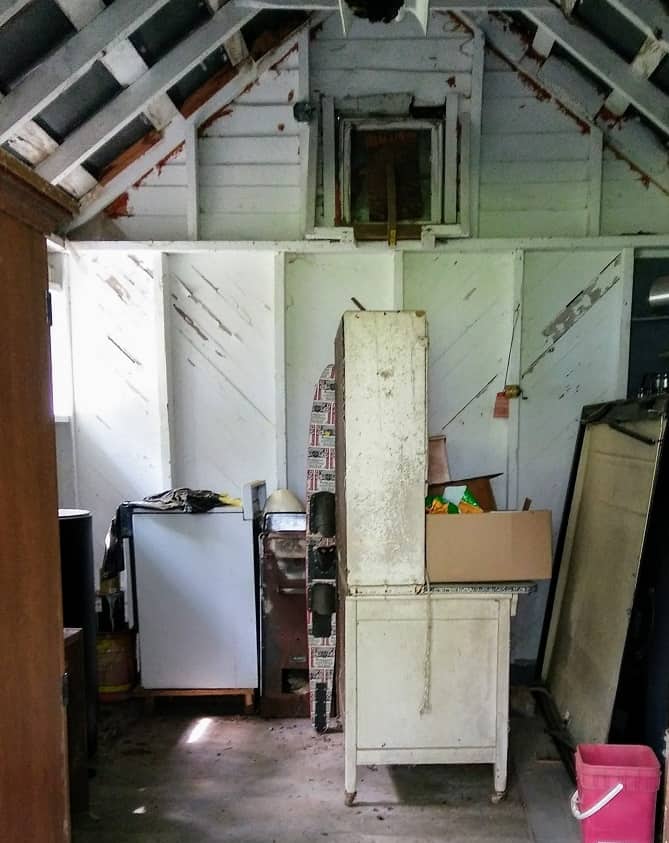
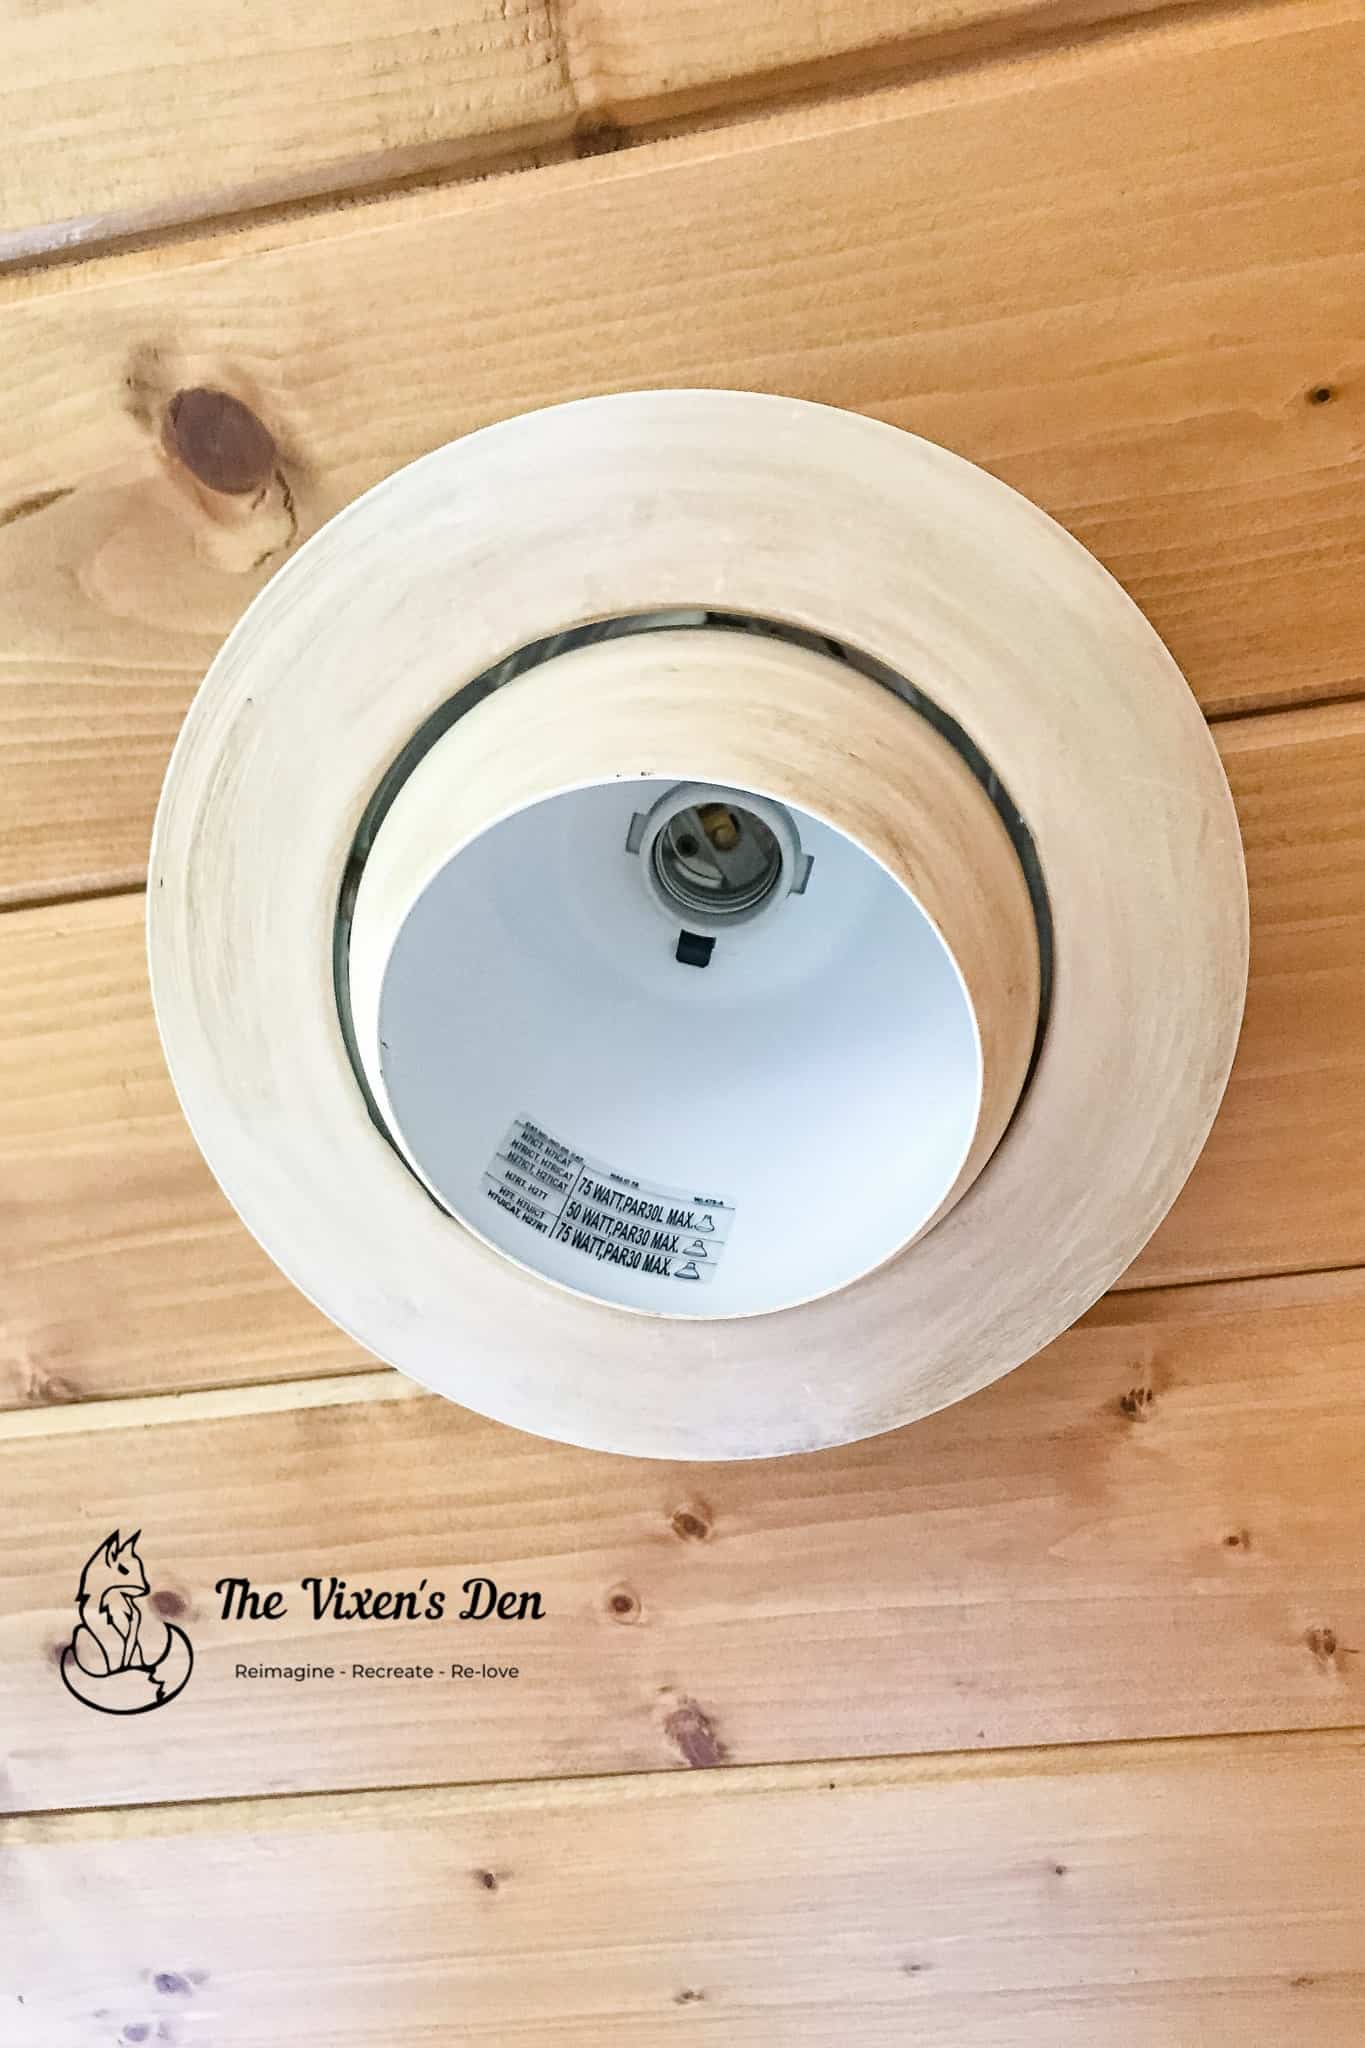
If you read my previous post, then you know that I had a plan. Clean out the building, install some windows and siding, paint, update the light fixture, bomb for bugs and move in.
It was such a simple little plan.
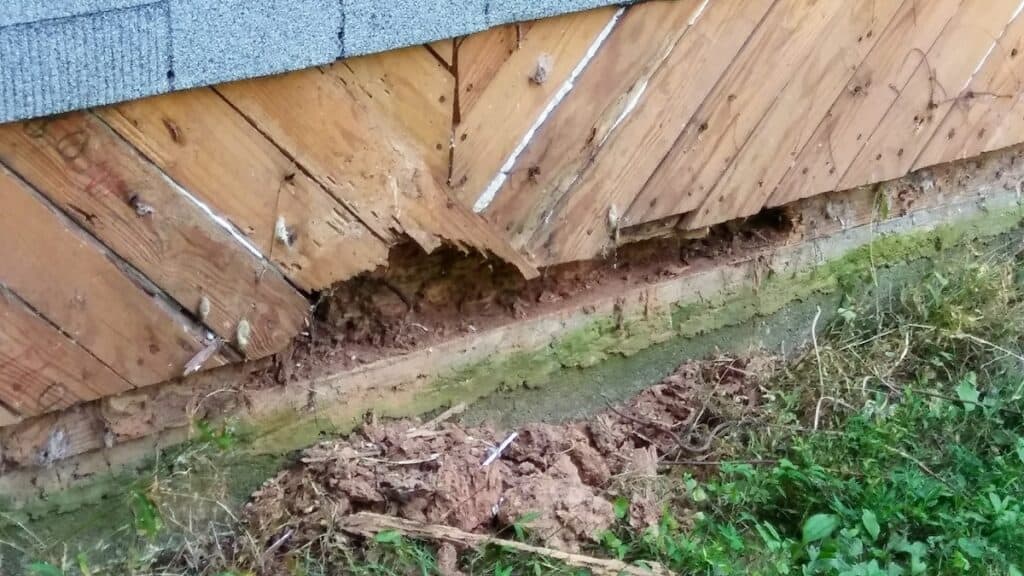
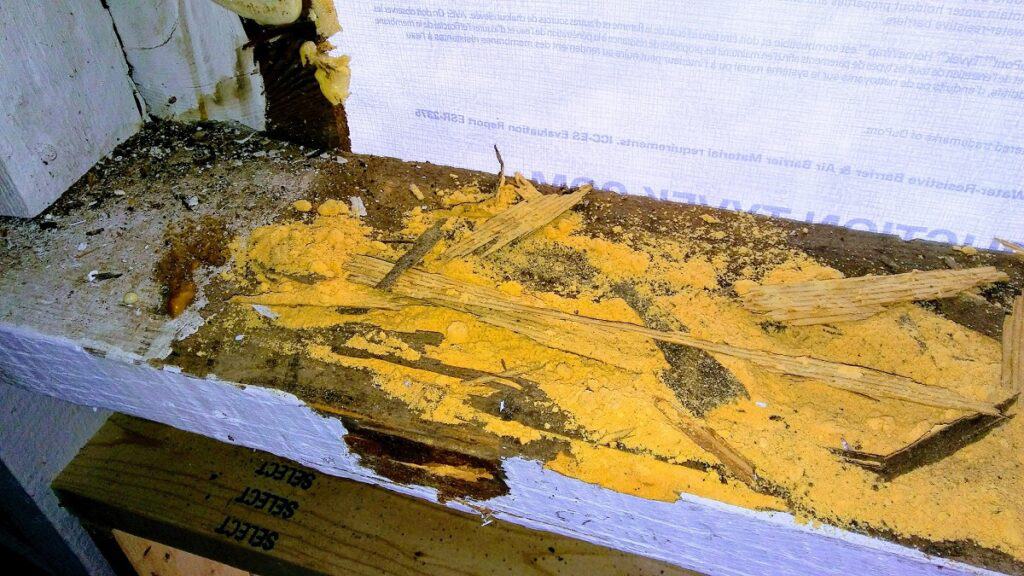
As I also mentioned in the first post in this little adventure, this shed was built by my husband’s great grandfather. Originally, it was used as a smokehouse, built with timbers cut from his land and wood slat siding that was stripped from the shipping crates delivered to his sister and brother-in-law’s store. Then in the mid-1900s, my father-in-law and his brother lifted the smokehouse and poured a concrete floor. The original timbers were reset on top of the concrete, which unfortunately created a tasty buffet…
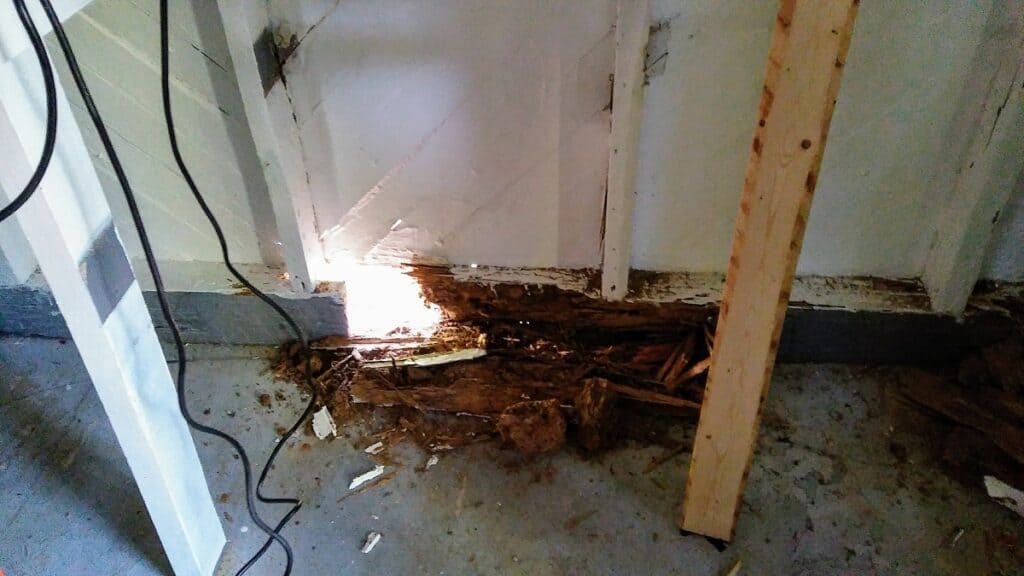
The mudsill was basically a wood shell encasing termite dust. There was no current activity, but boy had they enjoyed this tasty treat for a long time. If only I had discovered the extent of this damage before I started painting.
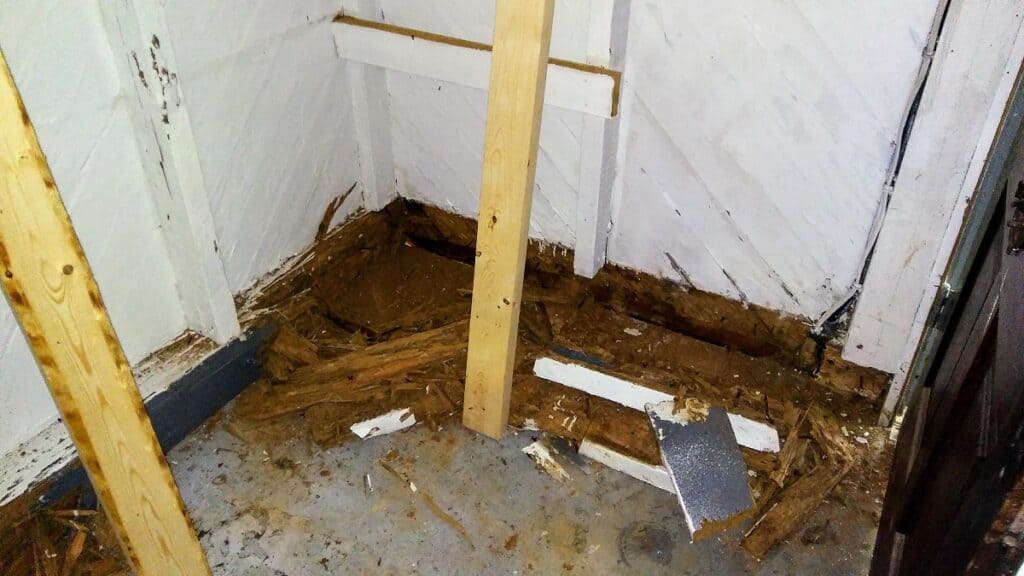
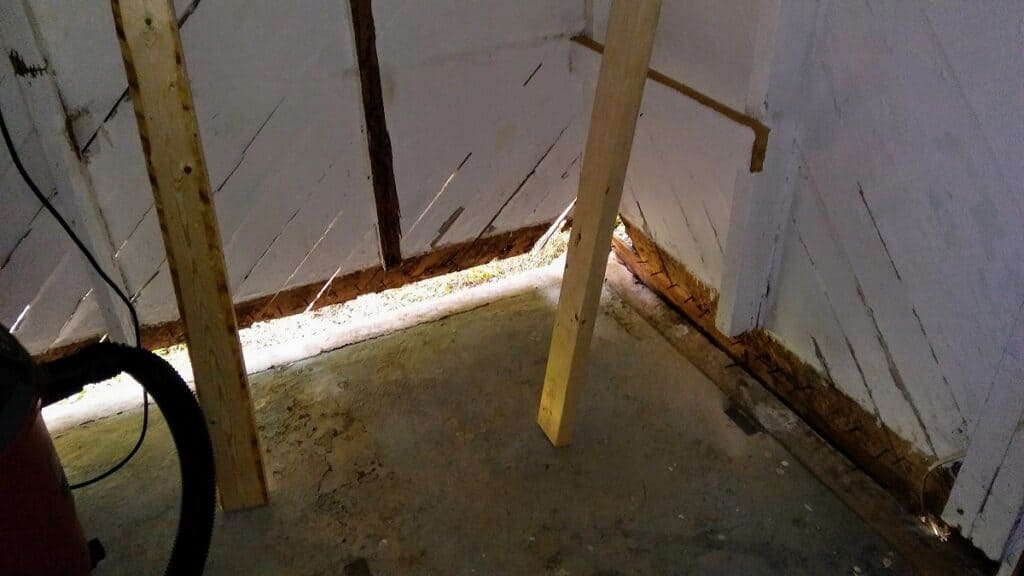
Notice the 2x4s holding up the roof? At one point, every time that I started pulling off bits of termite-eaten wood, the walls started shaking. It was an interesting experience that led to quite a few safety discussions with dearest husband (DH). The damage extended from the doorway almost all the way to the back corner, including several of the 2×4 wall supports. I had to prop up the entire right side and front with 12 foot 2x4s so that I could work safely without the building collapsing in on top of me.
Seriously, there’s no support here!
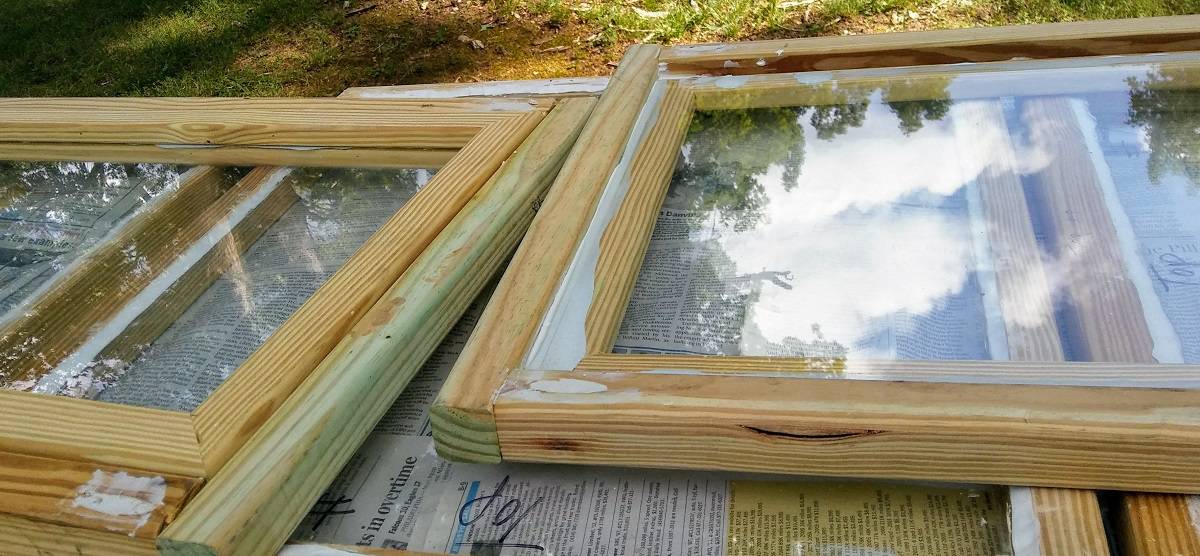
After an intensive demo period (which always takes longer than expected) the shop was ready for a new mudsill and wall supports, which was an educational experience. I got to learn how to use a hammer drill to pin the new treated 6×6 mudsill to concrete that is “harder than woodpecker lips” as DH would say. Fun fact, there’s not much actual “drilling” going on when you’re using a hammer drill. The drill is actually breaking the concrete in a very controlled manner so that you can then install a concrete screw anchor. You slip the concrete screw anchor through a hole drilled through the 6×6 and ratchet it into place in the concrete using a socket wrench. Congratulations, you now know the basics of installing a mudsill!
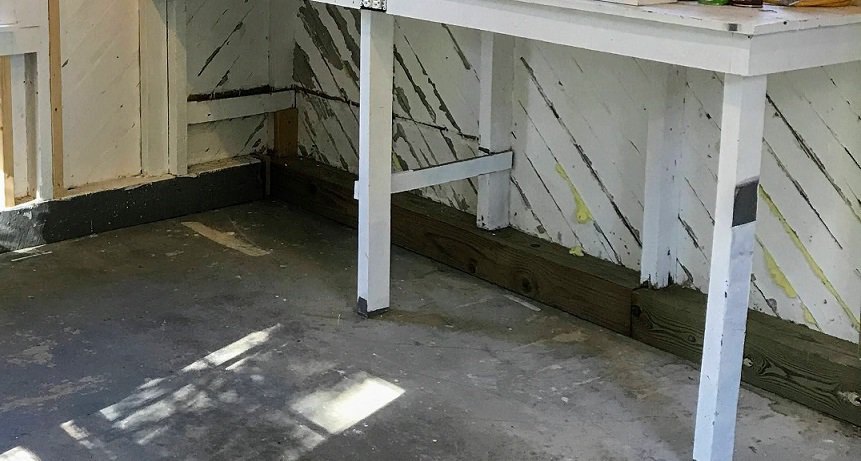
Along with using treated wood this time around, I also coated the original wood structure with PC-Petrifier, a hardener and sealant for damaged wood, just to be on the safe side. Any supports that couldn’t hold a nail were completely replaced, but supports that still held strong were cut off in the soft spots with new, treated 2x4s sistered to them.
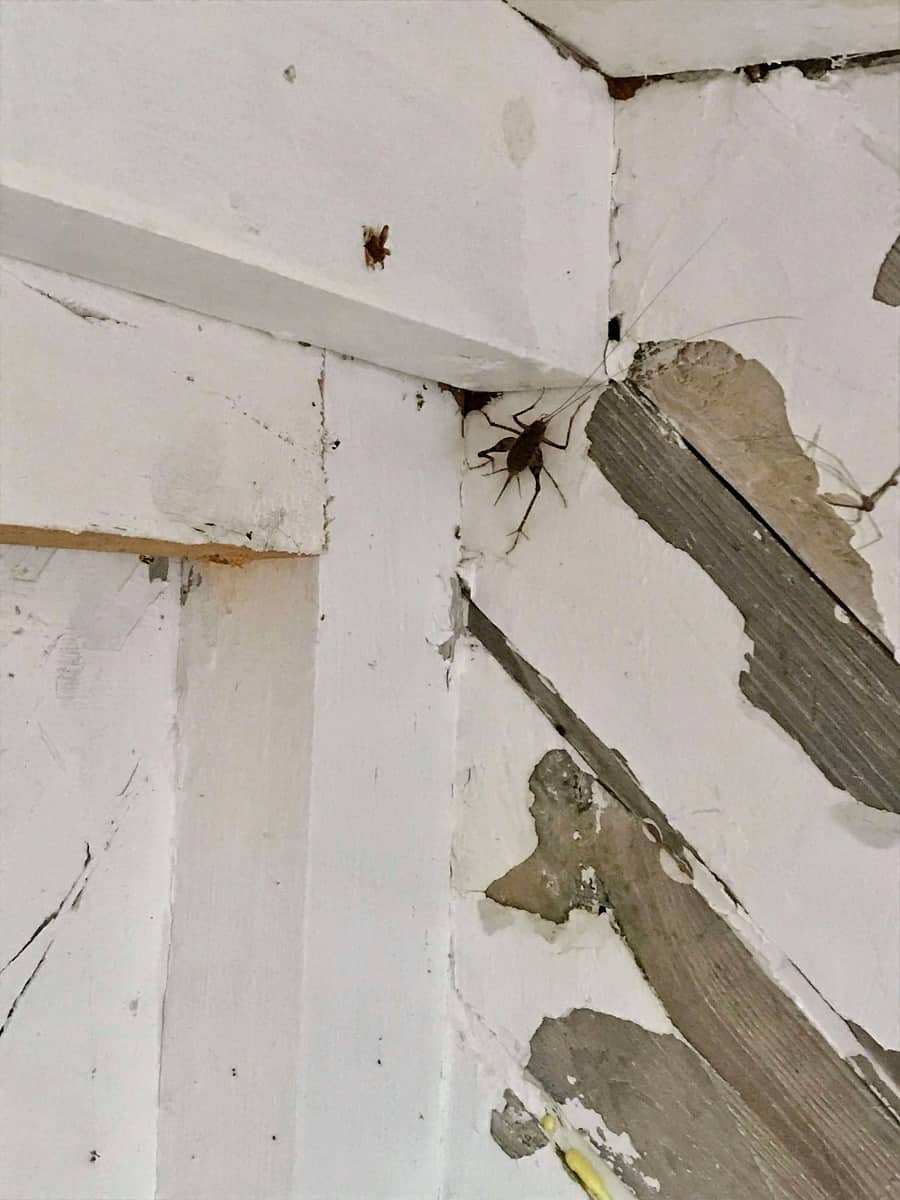
I also added spray foam in the gaps to keep out the crawly critters. I didn’t mind the crickets too much, but I’m strongly opposed to creating nesting holes for the rest of the multi-legged species.

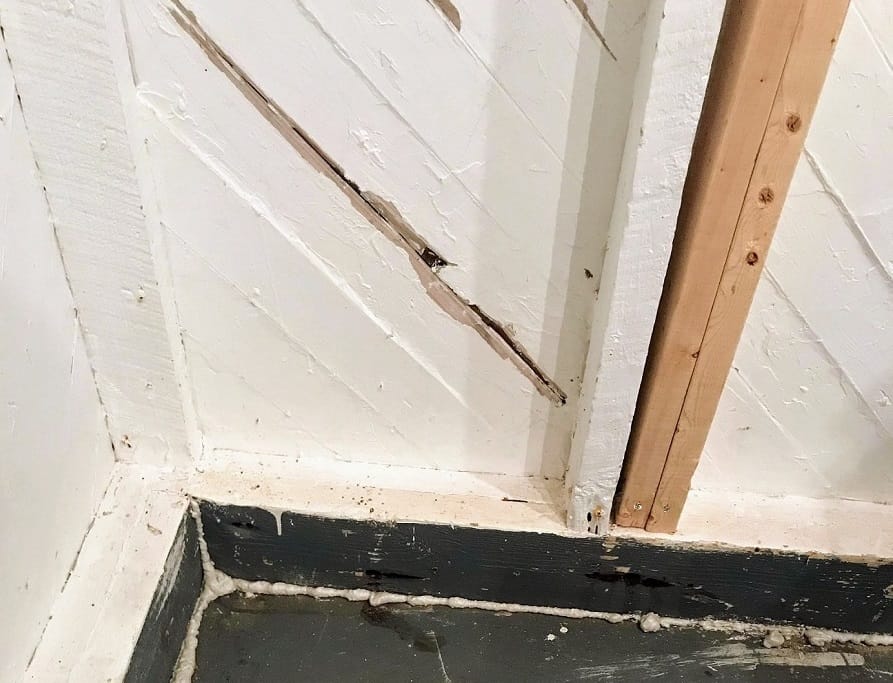
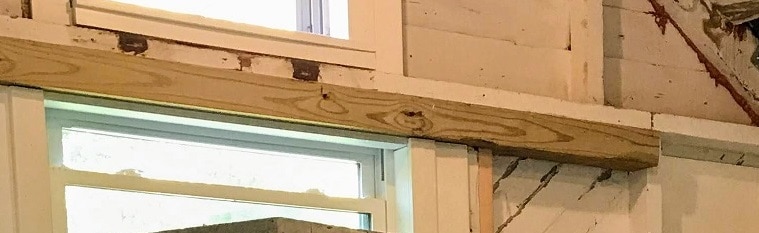
Just as I thought I was in the clear, I worked around to the back of the building and found more damage in the upper windowsill. *sigh* Unfortunately, I’m not sure if this was termite damage or dry rot.
I started to cut out this section and try to replace it. However, after the entire backside of the building began to sway a bit after I cut through the header, I switched gears and sistered a treated 4×4 to the header instead. Additional sistered 2x4s were installed as well.
I believe this was the most challenging project I have ever undertaken. It’s ironic because when I was a teenager I thought that renovating old houses would be the coolest job ever. I still feel it is so rewarding to be able to rescue a building that is steeped in history and might otherwise be knocked down because it’s so much work to make it usable again. Rescuing and renovating old houses is most definitely a labor of love.
Once the structure was sound, the tin roof was up next on the repair list.
What is the most challenging project that you have ever faced? When faced with huge obstacles, did you follow through with the original plan or take another path? Let me know in the comments below and then sign up to receive updates on all the Vixen’s Den happenings!
[mailerlite_form form_id=1]