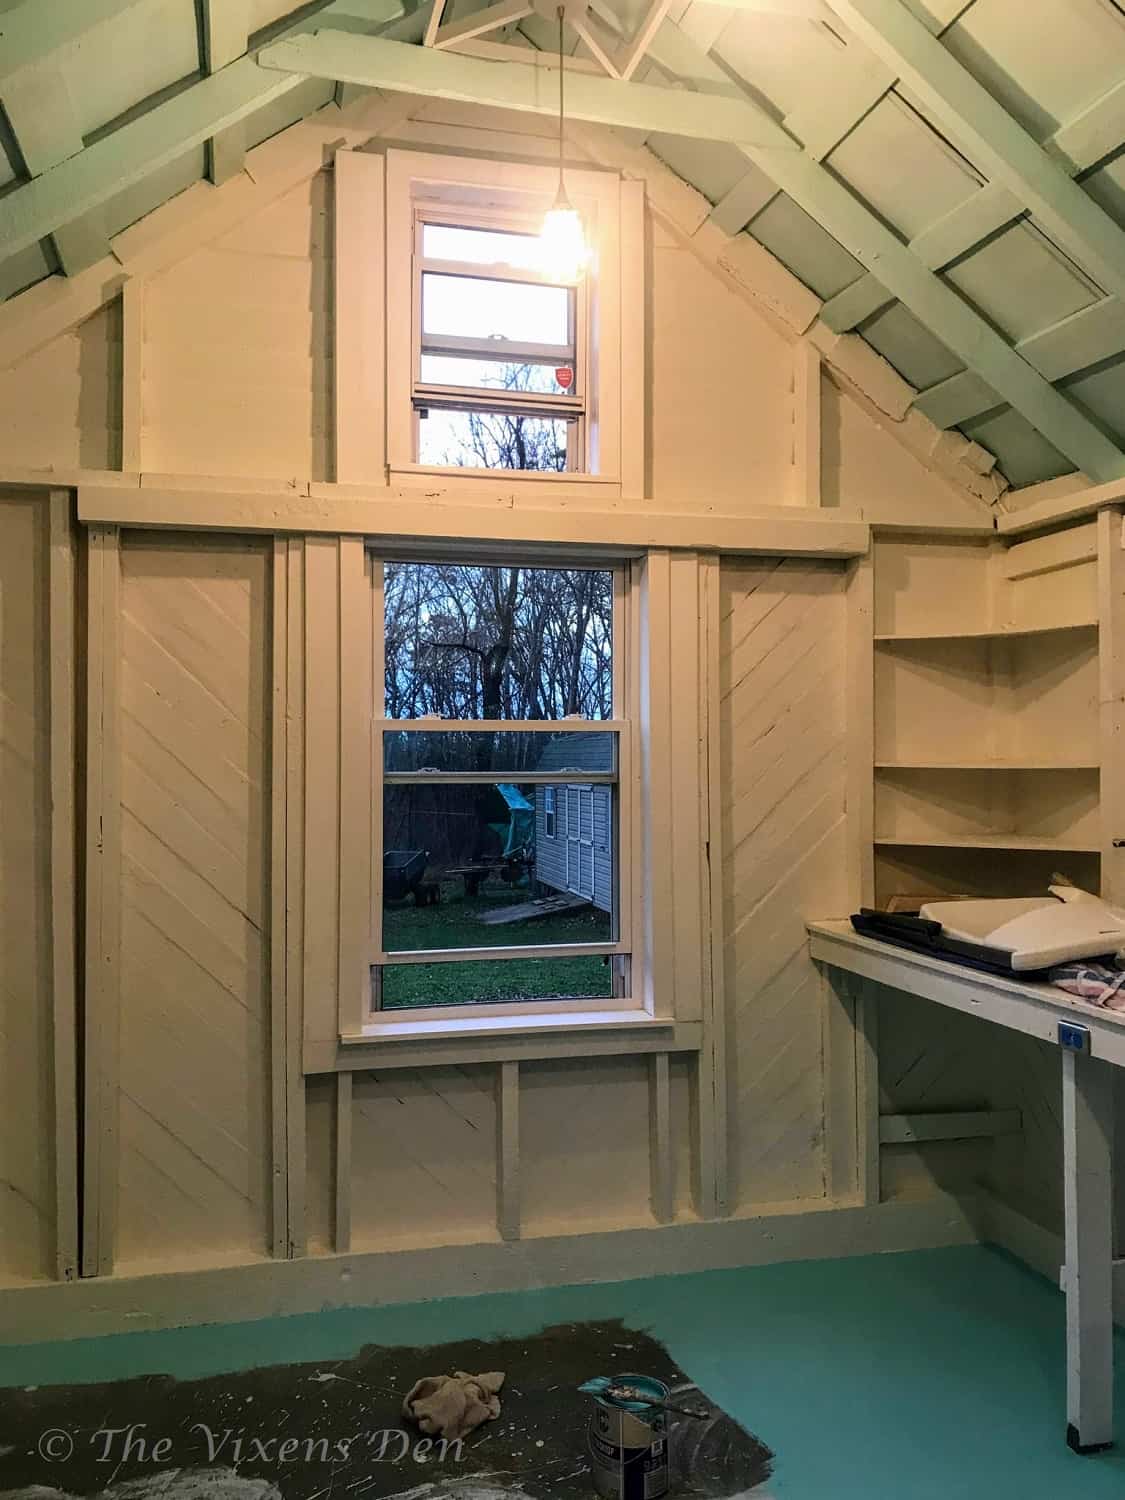
She-Shed Take 4: Painting an Old Tin Roof
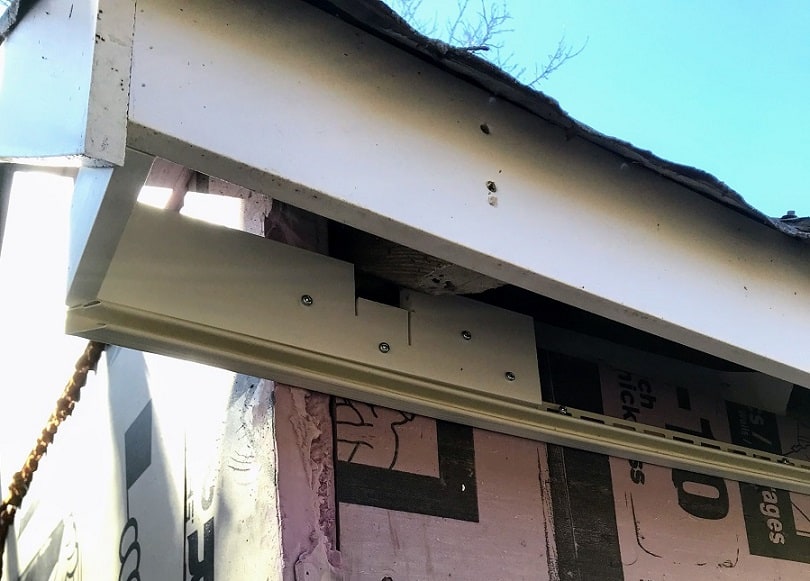
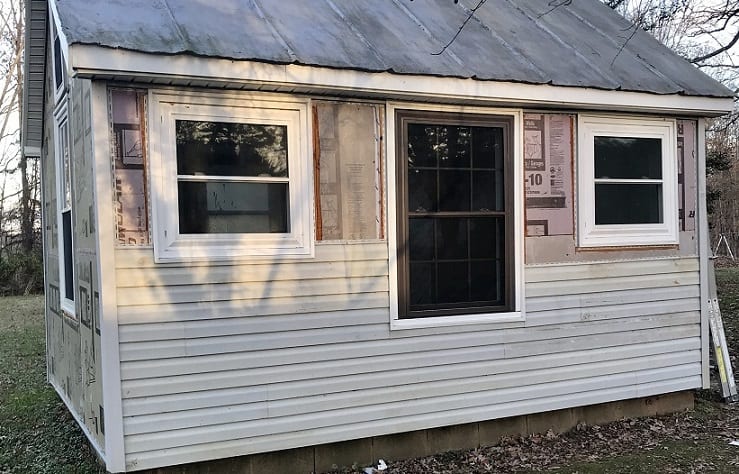
Can you believe that beautiful old tin? I’m a complete sucker for aged tin. This roof is original to the building and completely hand-crimped. My dear husband (DH) still gets a little misty-eyed whenever he looks at it. (We’re a sentimental bunch over here when it comes to old things…which is lucky for him.) When I first started this project, the tin roof looked a lot like this, sad and neglected. The facia boards were rotting and the tin was beaten up by time and the elements.

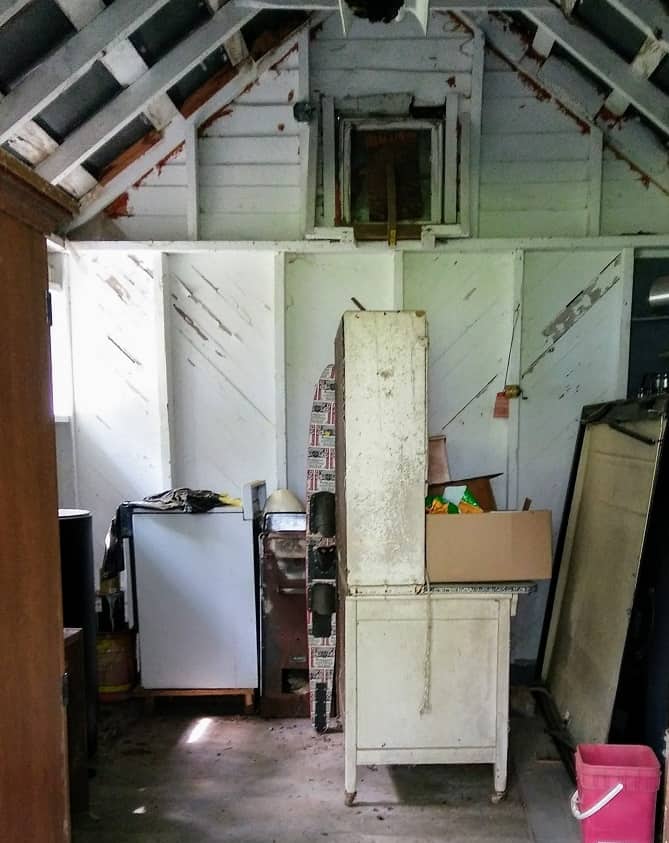
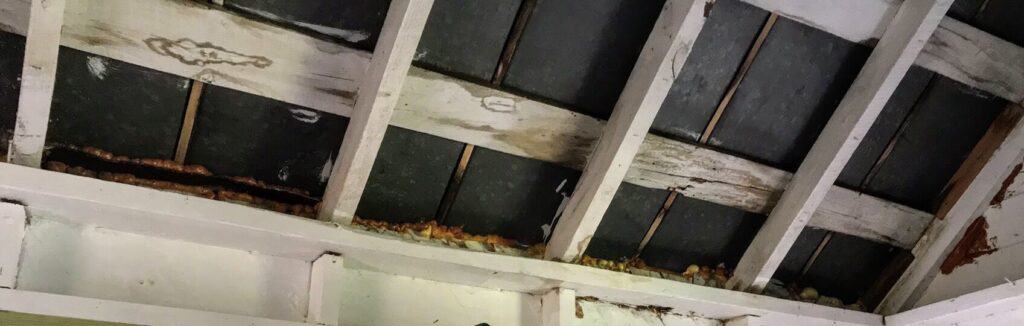
The roof interior still had the old slats that were used to help support the tin when it was originally installed. They’ve started to slide down and some of the bottom pieces have slid all the way out.
A tree fell during a bad storm several years ago and hit the back corner, but my husband was able to bend and shape it back into place with minimal damage. He even rebuilt the facia support system in a ladder configuration. The original was much more free style, which makes installing facia and soffit very interesting.
DH and I never even questioned whether I was going to preserve or replace the tin. Having an original tin roof that is still in good shape is quite the find. Plus, I just love the sound of rain on a tin roof. I grew up in an old house with a tin roof and have many fond memories of falling asleep to a thundering storm or pattering showers.
There are a few rust spots that should probably have been sanded down, but I’m terrified of heights so I opted to roll it with a nice coat of Corroseal instead. Corroseal is a rust converter that is supposed to stop the rusting process. Unfortunately, I didn’t take any pictures of that process, which was pretty neat to watch! The rusted pieces turned black. I’m crossing my fingers that it works as well as it claims.
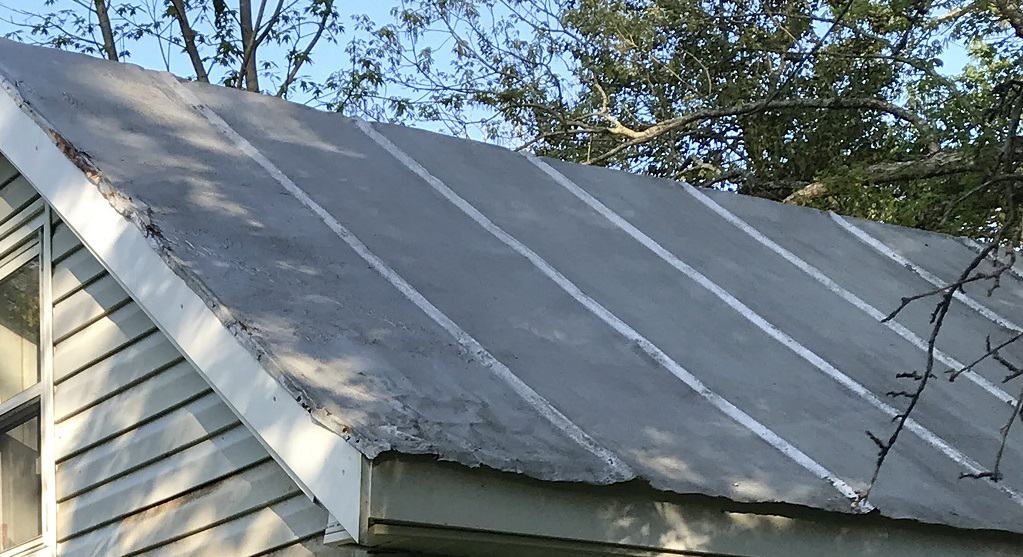
After rolling on the Corroseal, I waited a few weeks then tightened up any jutting nail heads, filled in any nail head holes with roofing caulk, and then rolled on a thick coat of aluminum fibered paint. This gave the tin its light appearance and is supposed to protect it from rusting as well. DH and I engaged in more safety discussions, as my heart pounded while I precariously scooted from the ladder’s edge to the roof. No, melodrama here! Of course, if you had the grace of a ballet-dancing-hippo, then you might be a little nervous too. Seriously, though, it was scary but worth it.
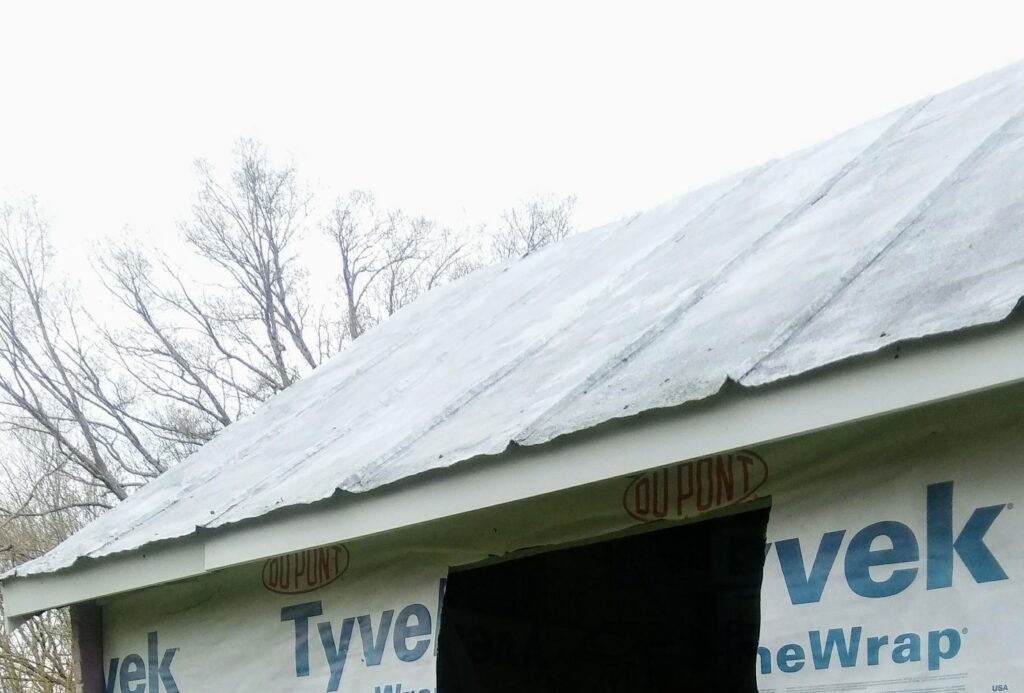
It’s been about three years since the roof was painted, and it’s held up well. (Yes, this has been a very long project!) There is a bit of flaking but I haven’t encountered any leaks during this time. Which is pretty darn awesome, as far as I’m concerned! I assume I’ll need to perform some sort of maintenance over the next couple of years. I’ll probably have to climb up on it again to see if more nails have worked their way loose, caulk any gaps or seams that have appeared, and roll on a new coat of fiber paint. I have to admit, I am not looking forward to climbing back up on the roof again. I wonder if I can convince DH to let me hire that out next time? Or appeal to a loving family member who is young, agile, and not afraid of heights…
Do you have a paralyzing fear of heights too? Share your scariest project experience in the comments below and sign up to hear all of my new scary adventures. Then join me for the next phase of this transformation: Insulation and Pest Prevention.
[mailerlite_form form_id=1]