She-Shed Take 10: Are We Painting Yet??
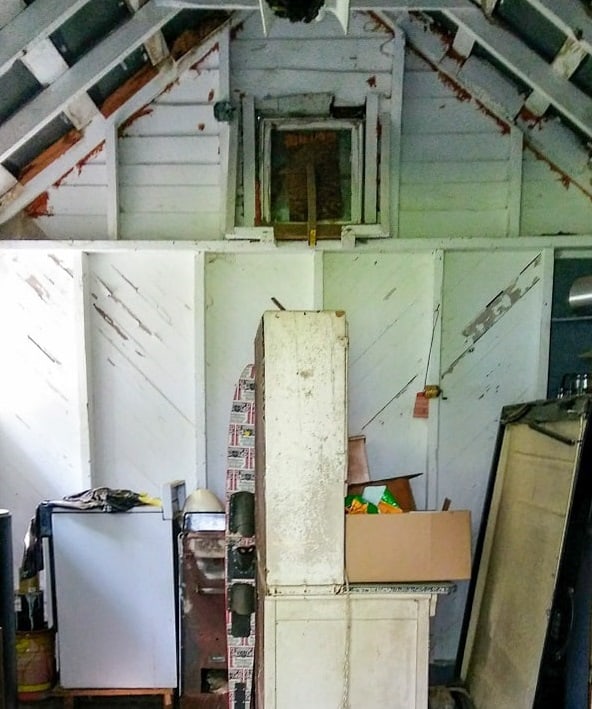
Finally!!! I never thought we would get this far, especially considering where we started, but it was actually time to start prepping the she-shed interior for painting!
A good foundation is important for any project, but especially one that you intend to last a lifetime…or two or three. Since this building is on its third lifetime, and I hope it will last several more, I wanted to take the time to do a proper prep job before the real fun finally began.
Painting Prep (and more bug prevention)
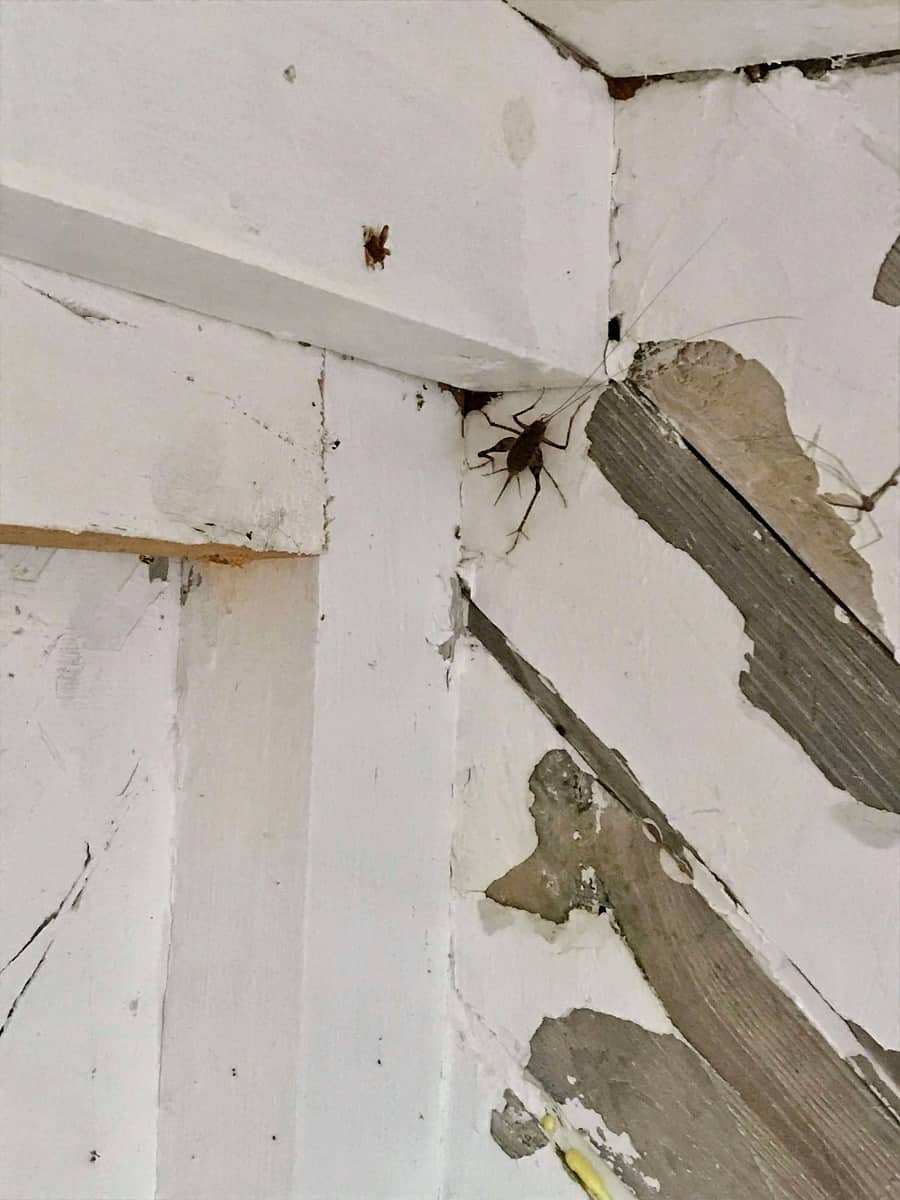
The walls needed some scraping to remove the drywall compound that was loosened by all the hammering and drilling as the two-inch foam insulation and vinyl siding were installed. Then I added more spray foam to the gaps between the walls and support studs to seal out any little critter hiding spots.
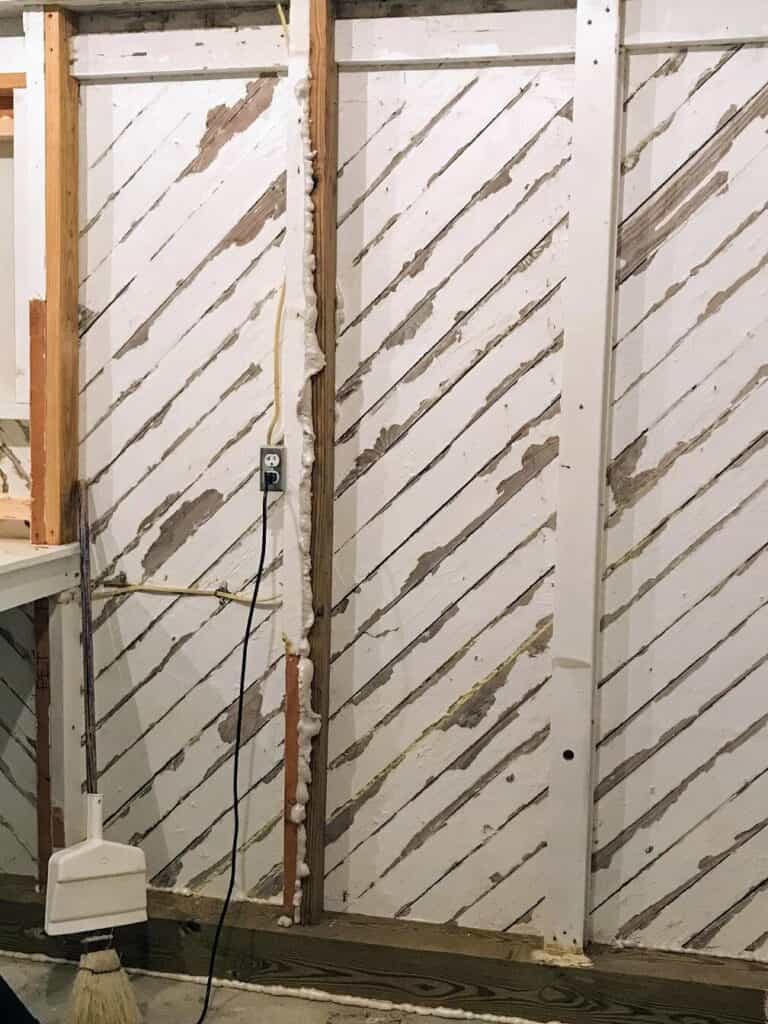
I also ran a line of flexible spray foam between the mudsill and the concrete floor, because I kept spotting ants and baby crickets darting into the cracks. I’m a huge fan of flexible spray foam. I probably should have bought stock in it before starting this project.
Once that was finished, it was time to figure out a bug-blocking solution for the roofline. I opted to go with more screening. You’re shocked, I’m sure. Unlike the copper mesh that I used in the bug prevention and insulation post, this was screening leftover from the screen door that used to be on the front of the she-shed (before it became a she-shed) so I was happy to recycle it for this project.
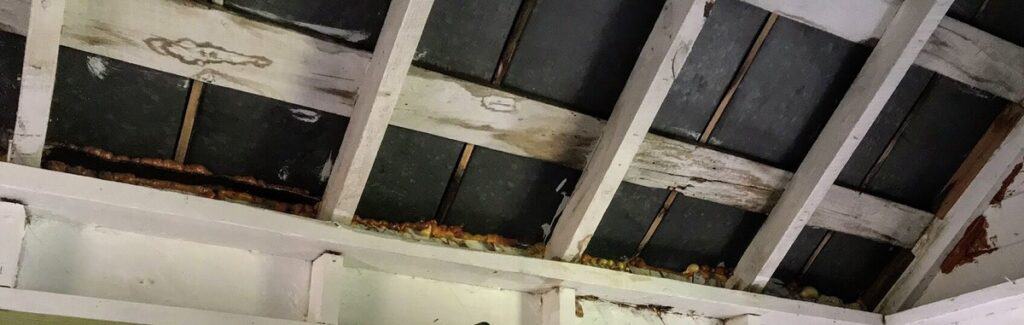
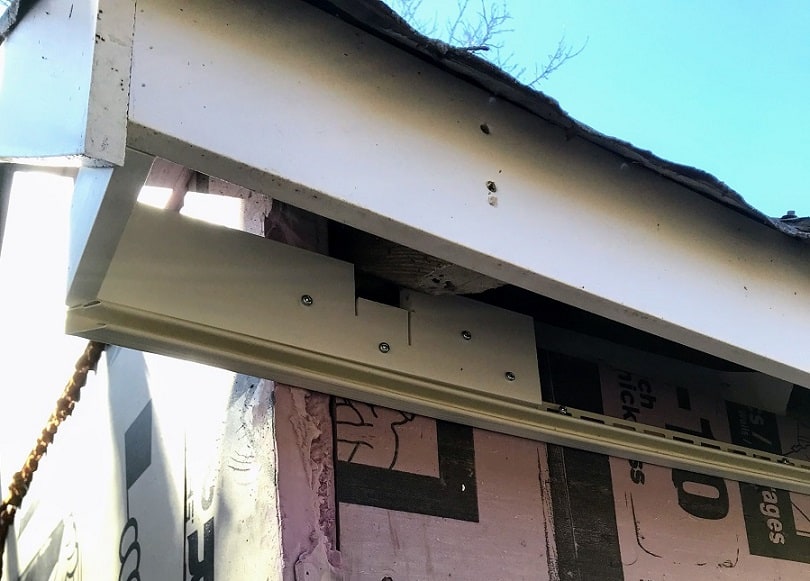
The guys had sprayed some flexible foam into the eaves years ago when the she-shed was a bunkhouse, but I wanted a cleaner look and for the building to be able to breathe. From what I’ve heard, buildings that don’t have any airflow can build up moisture which will lead to mold and mildew. In addition, I will be using chemicals that will require ventilation, even when left to sit for a while between working times.
To accomplish this plan for constant ventilation, I dug most of the old foam out and replaced it with strips of the old screen. I cut the screen into long strips using tin snips and then folded the raw edges in on themselves so that they wouldn’t snag on the wood as I was shoving the folded strips between the tin and the eaves. In any spots where the screen didn’t quite fill the gap, I added a second layer. This will keep the bugs out but still allow some airflow.
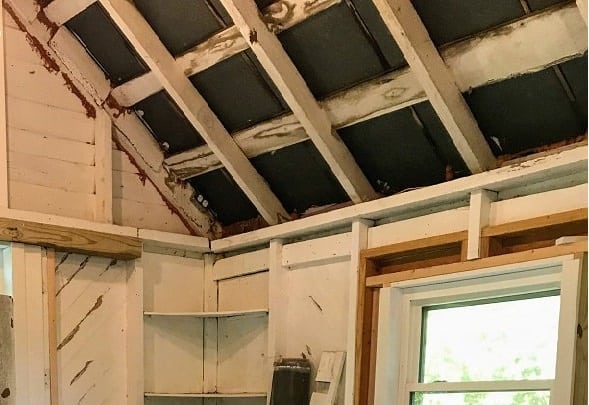
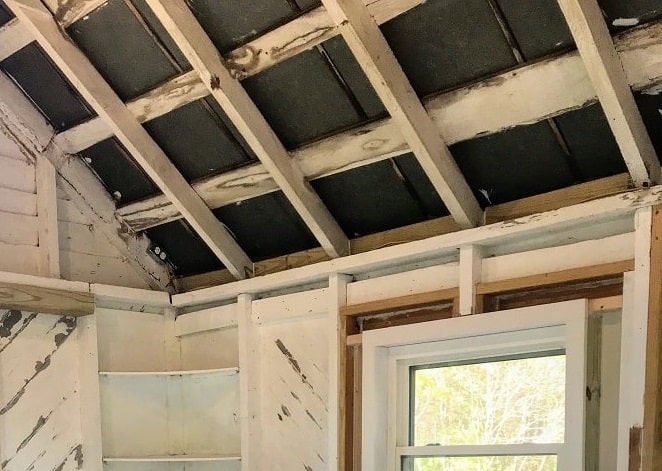
Once the bug barrier was in place, I installed new eave blocks. The eave blocks are a combination of scrap wood and plastic wood that was leftover from repairing the termite and rot damage. I cut them to length using the chop saw and then nailed them in place with a battery-operated brad nailer.
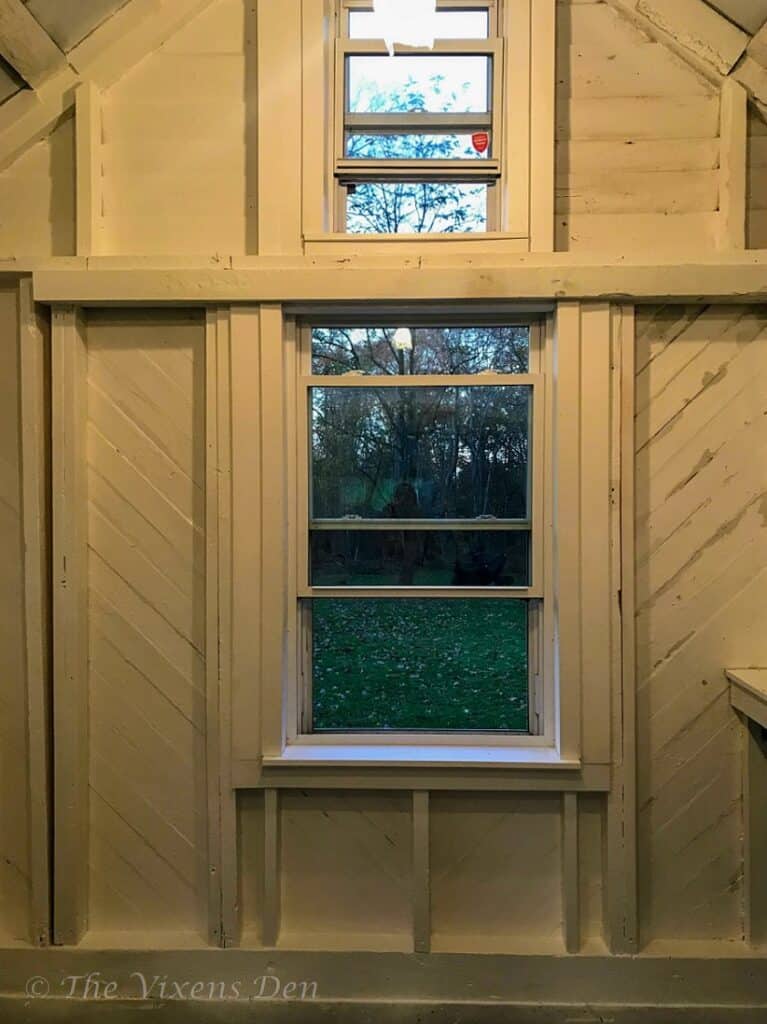
All that was left was to caulk some of the smaller gaps and cover the windows with plastic cut from plastic drop cloths.
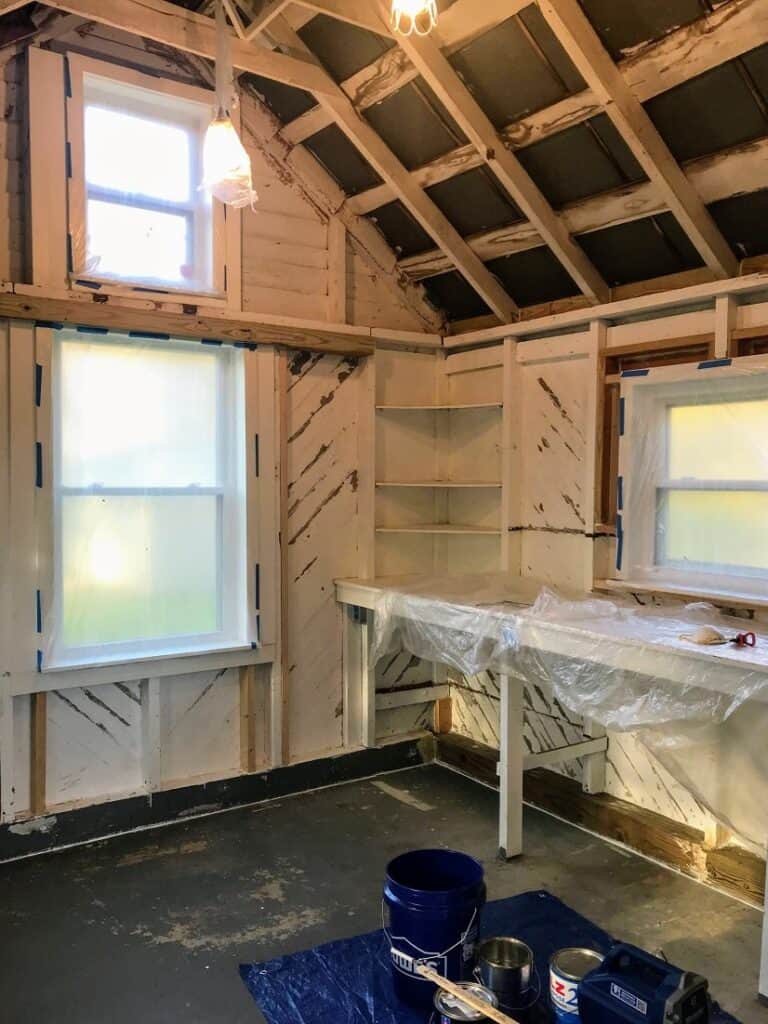
The main reason for covering the windows and light fixtures was because the original plan was to use the Magnum paint sprayer to paint everything. However, after running through the first coat of primer far too quickly, I realized that I wasn’t getting the coverage that I needed for these rough old boards. So I switched to plan B (are you sensing a theme here?) and brushed the paint on by hand.
Finally Painting
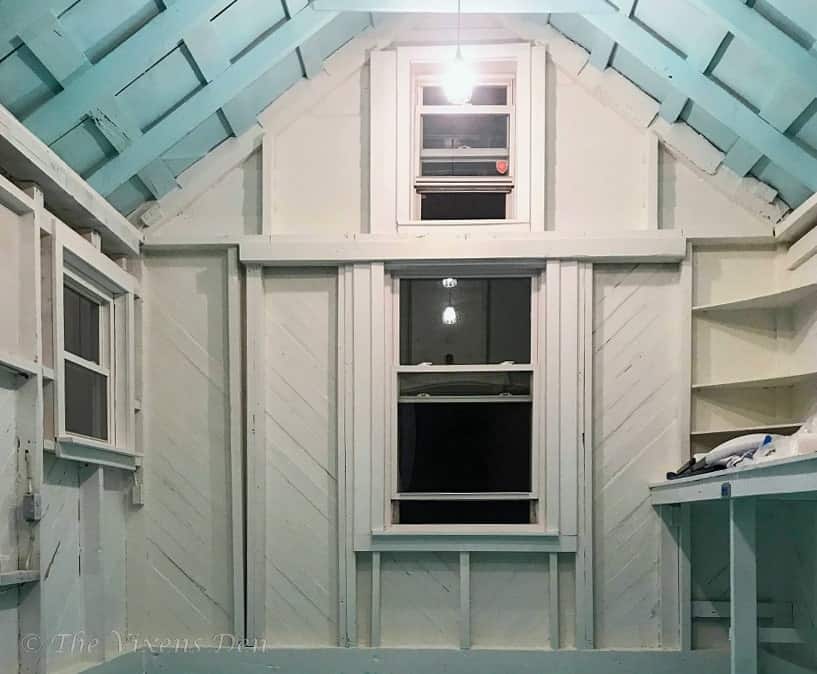
The primer that I prefer to use is Zinsser 1-2-3 Primer. It covers well and the can states that the primer has resin mixed in which should prevent bleed-through. The topcoat paint is Sherwin-Williams Emerald Acrylic Latex Paint in Alabaster. This is a nice soft white with warm undertones that aren’t too yellow, so it doesn’t appear beige in the shadows. I applied one coat of Zinsser and one coat of Emerald with a second coat of Emerald to touch up some spots that soaked up the paint.
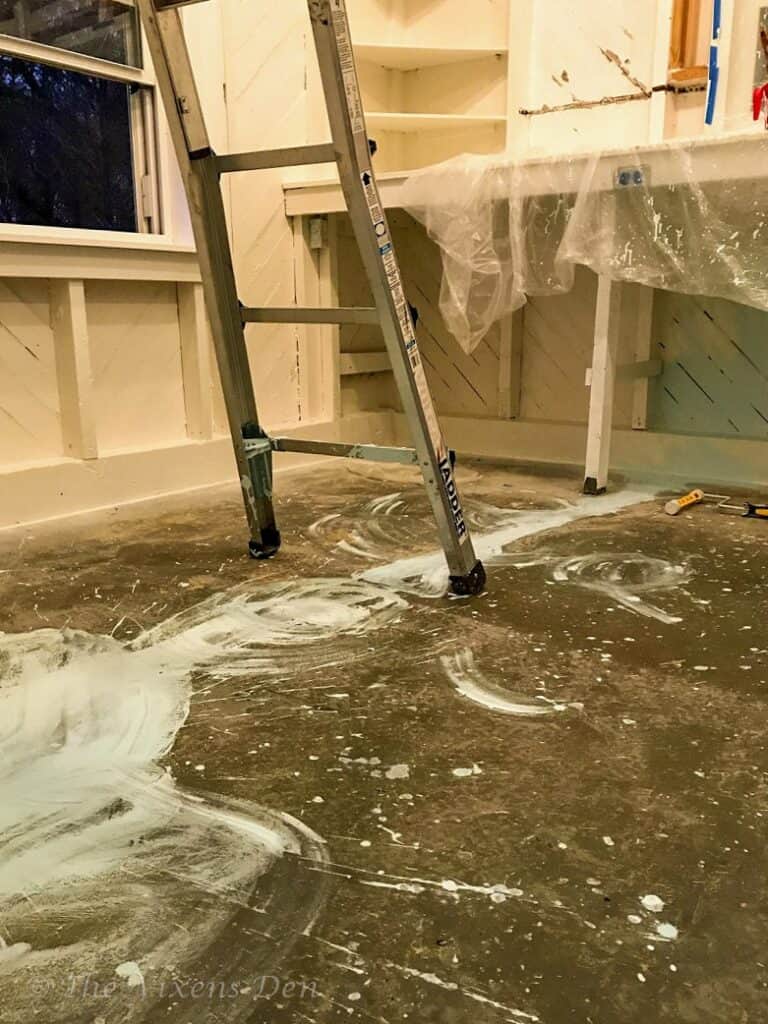
Next, I painted the underside of the tin, which is where things started to get a little tricky. A small mishap with a cup of paint left the concrete floor looking as if it was the scene of a Smurf massacre.
It was worth it, however, as the tin roof turned out beautifully! It’s now a happy bright blue sky.
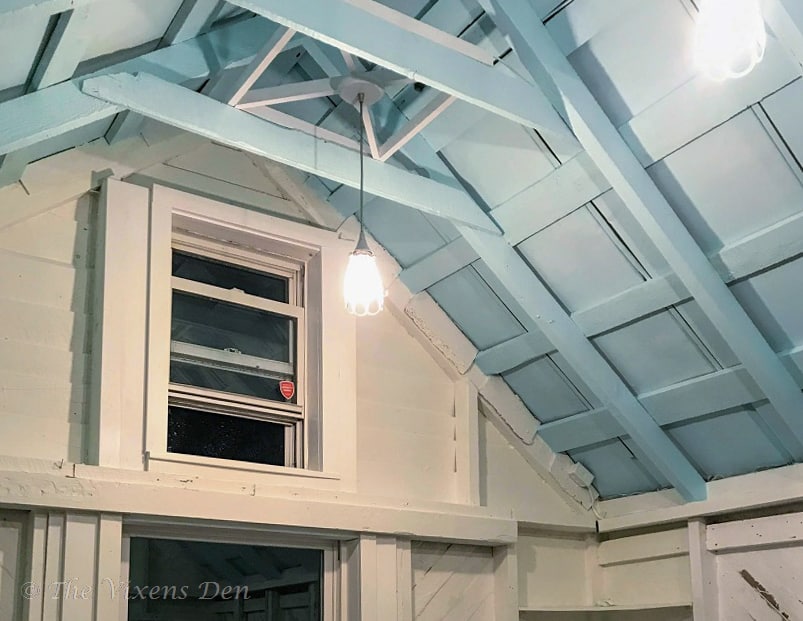
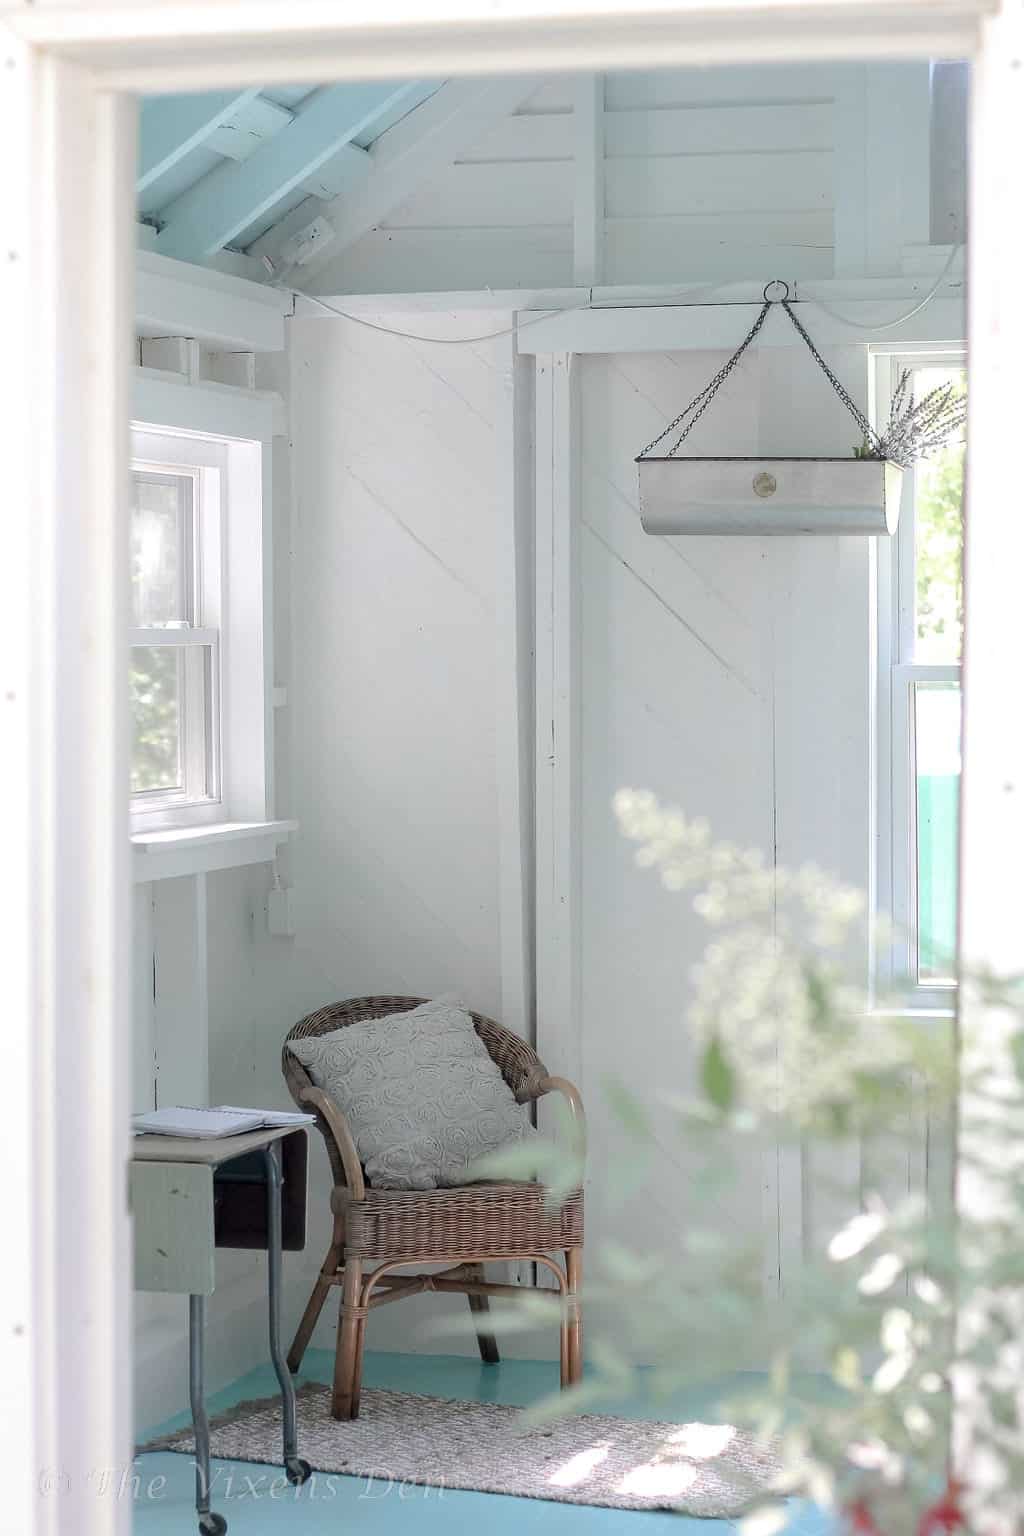
It’s amazing what a difference a little paint can make in creating a happy space. Would you have believed that this dark little shop could have become such a bright and happy she-shed?
Now for the biggest makeover of all! The concrete floor is up next in this beautiful transformation story. Join us for the next edition of this exciting saga, and don’t forget to sign up to receive an email when new projects are let loose in the world!
Good post. I certainly love this site. Keep it up!
Thank you so much!
Saved as a favorite, I really like your website!