She-Shed Take 6: Installing Recycled Windows
Do you remember the grand plan? The one with a bright and airy she-shed, filled with all my favorite crafting and painting supplies as well as a soft cozy corner to curl up with a book and nap in the afternoon while birds sang outside the window?
The plan with a checklist of just a few items that needed to be tended to before I could move into the said corner for a nap?
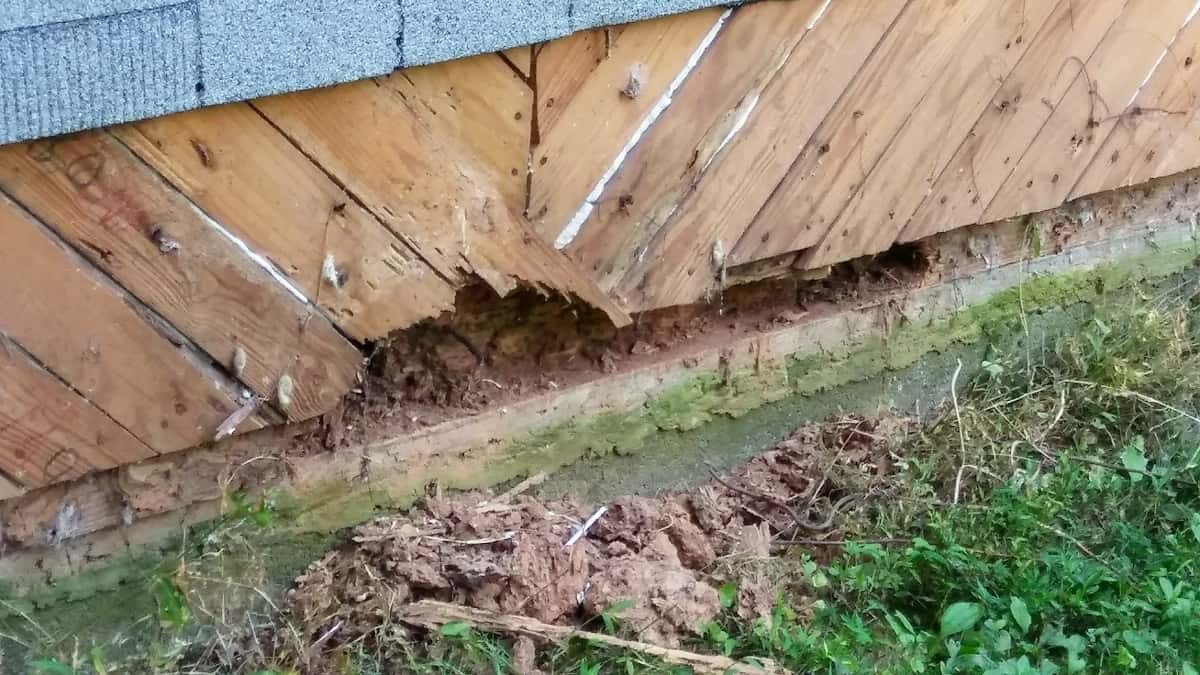
That same plan that nose-dived after I discovered years of termite damage and then began walking the much more tedious than expected paths of tin roof repairs, insulation, and pest prevention?
Well, I still wanted at least part of that plan. The part with bright open airy windows so that sunlight could spill through the tree branches and light up my little shop just like in those masterfully edited photos on my Pinterest board.
But you see, there was just one problem. All the windows of my sweet little she-shed were on one side. All of them!
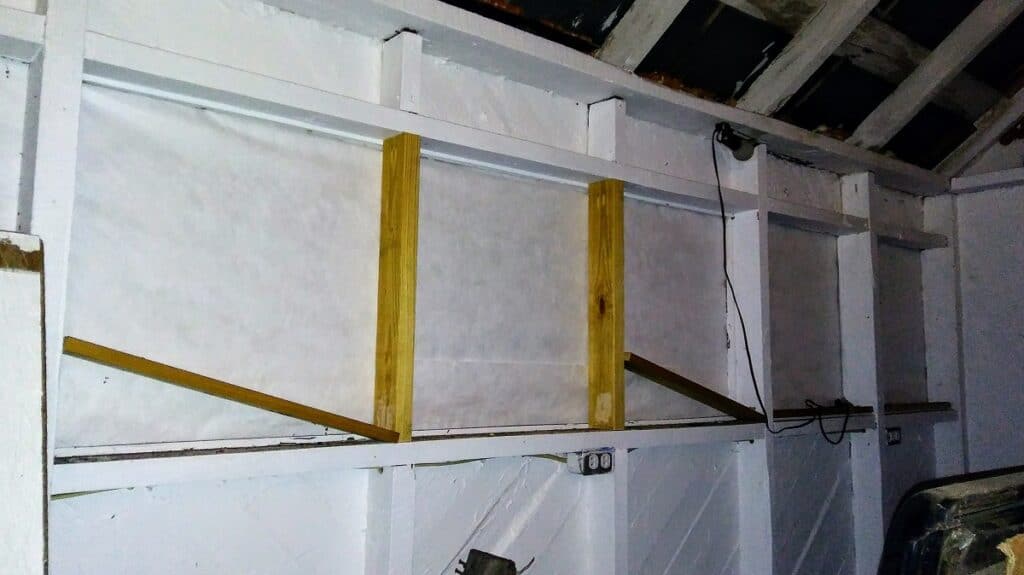
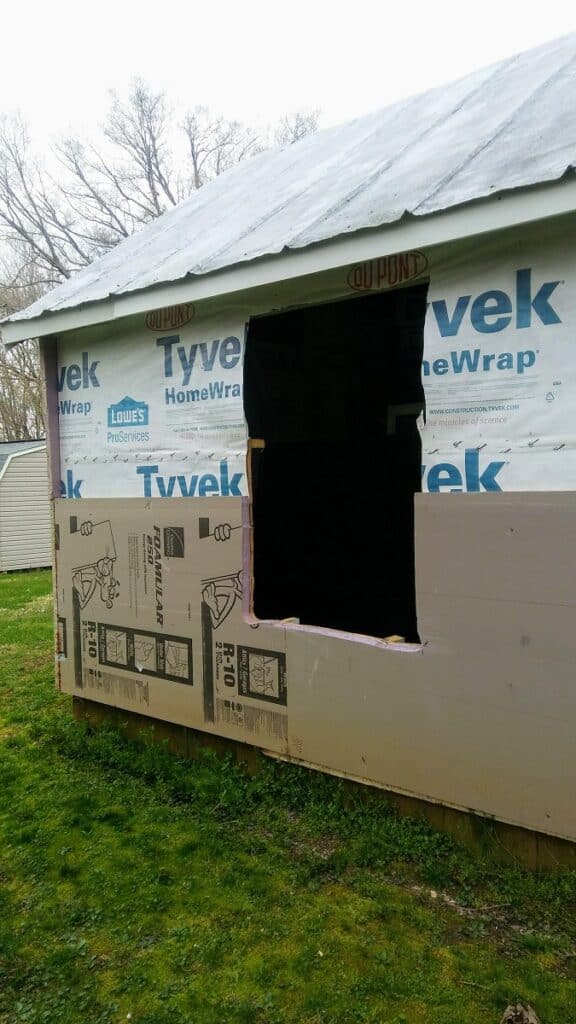
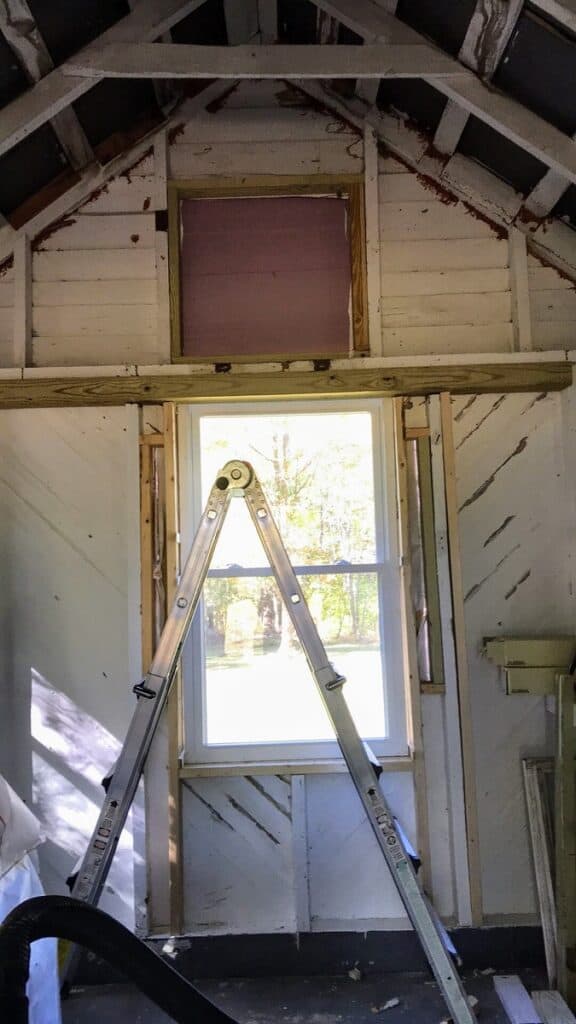
You can’t see all of them, but there are a total of seven window openings under the Tyvek wrap. I decided that I could work with this. I would add two new window openings in the back and two across from the bank of seven windows and that would allow a lovely cross breeze. I could feel it ruffling my hair as I thought of it. I grabbed the reciprocating saw, cut some not quite so straight openings, and framed them in with 2x4s.
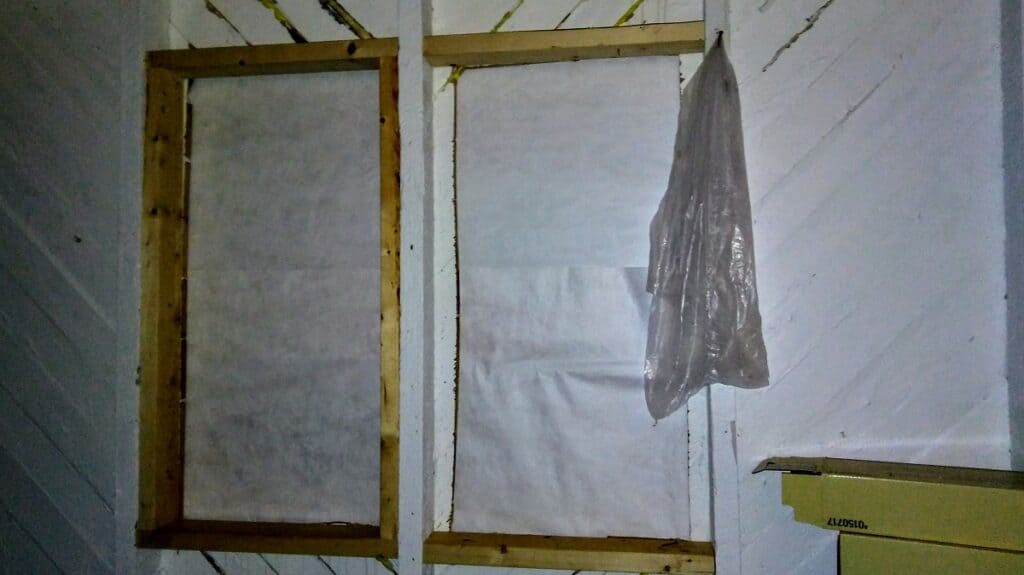
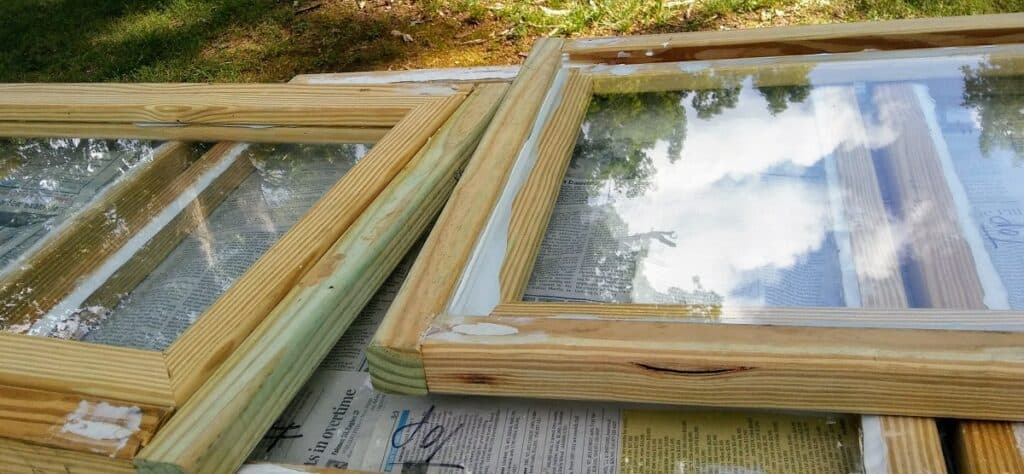
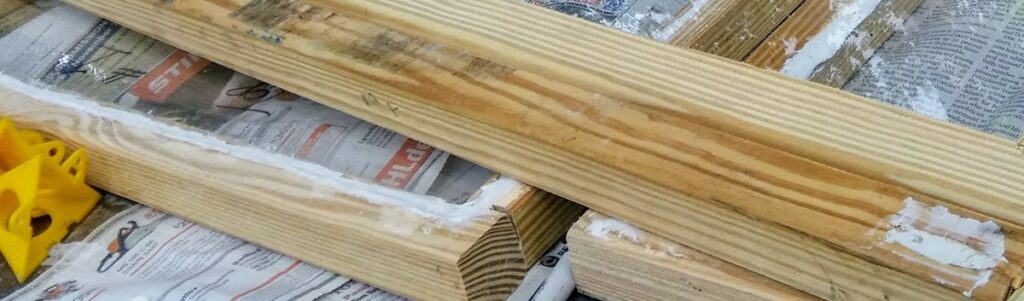
I wanted to go the inexpensive route and build the windows myself since I had already spent so much on fancy Tyvek and fancy two-inch foam insulation and fancy screws to install said insulation. So surely I could cut costs by building some inexpensive cottage windows out of 2x2s and reclaimed glass from storm windows at Restore. I had seen some adorable windows of that style in the crafting shed at a local lavender farm. I was sure I could make my own too. And so that’s what I did.


hand made windows
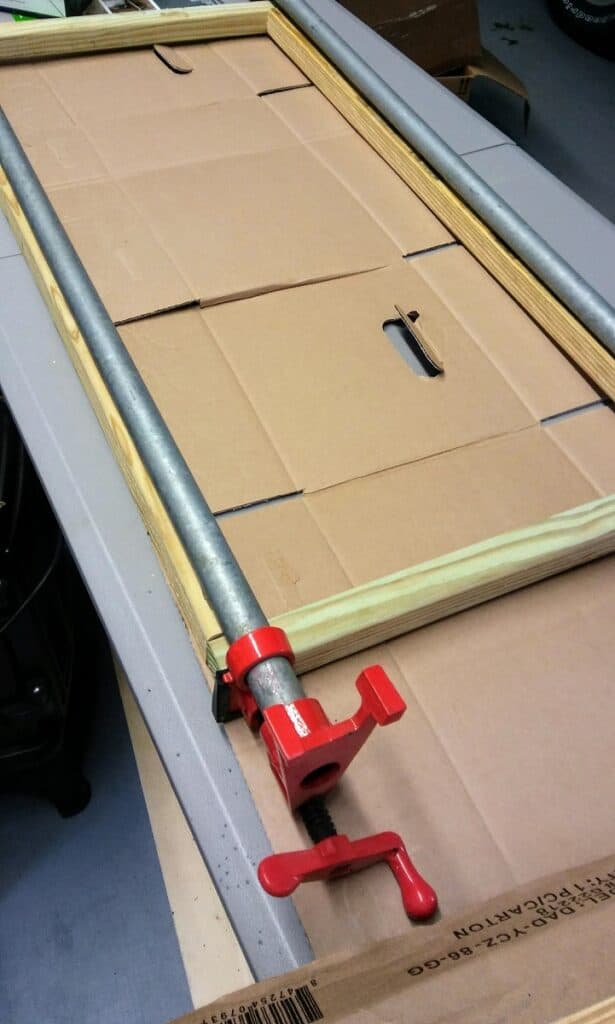
But then, somewhere in the midst of all the frame assembling and glass cutting and pocket hole puttying, my dear husband poked some holes in my happy little adventure.
DH – Those will take up an awful lot of room when you open them.
Me – Well I’m going to open them so they open upwards, not out into the room.
DH – How are you going to keep them from falling down?
Me – Well, with a gate latch of course! It will catch and hold and it won’t fall down at all. And I don’t need that much room. It’s not as if I’m building a full-fledged woodshop where I’ll be swinging around large boards or pieces of furniture.
DH – Okaaaay. I thought you said this is going to be a workshop.
Me – (scoffing) Of course it’s a workshop! It’s just not a GUY’S workshop! I’ve got this sweetie, no worries.
DH exits stage left, casting confused and not so convinced glances, but leaves me to it.
And then it happens. The logic sets in. Do I really want to have to swing my windows open into my workspace? I mean, it is only about 12 feet by 14 feet. Which isn’t very big, especially once you factor in the workbench and storage cabinets. Plus, these windows don’t have screens. And while I am planning on attaching screens to the outside, what about water? Can I really build these windows well enough to keep water from seeping between the frames and inner walls?
Oh my gosh!
TERMITES!
And with that, my windows and I began to crack.
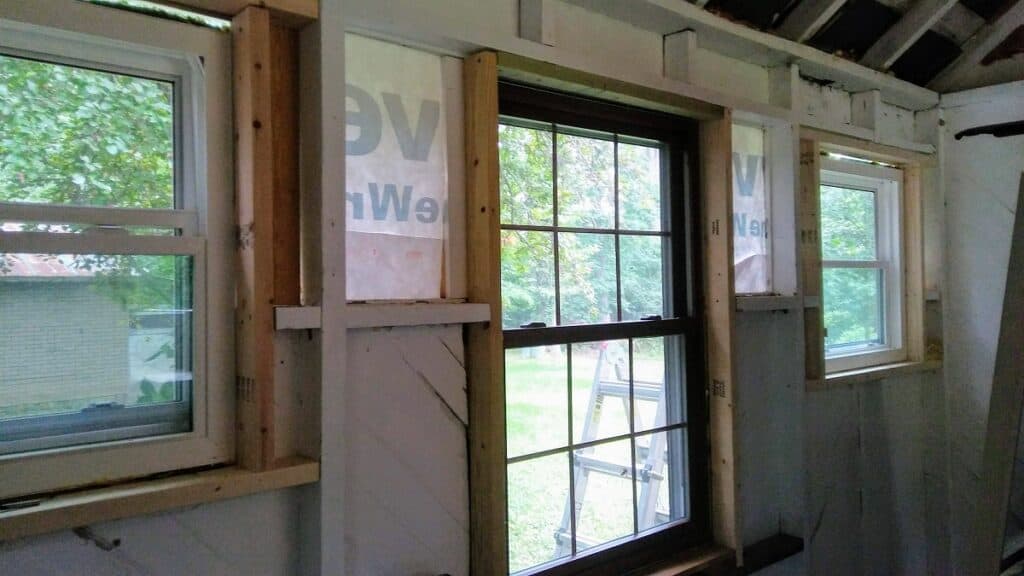
It is at this point that I began haunting the local Restore with such frequency that they knew exactly what I was looking for when I walked through the door. I’m lucky they didn’t call the cops for stalking them. But, it worked. In about three separate trips (over about six months’ time) I managed to acquire a total of six used vinyl windows. Very fancy, indeed. But definitely larger than my original cottage windows.
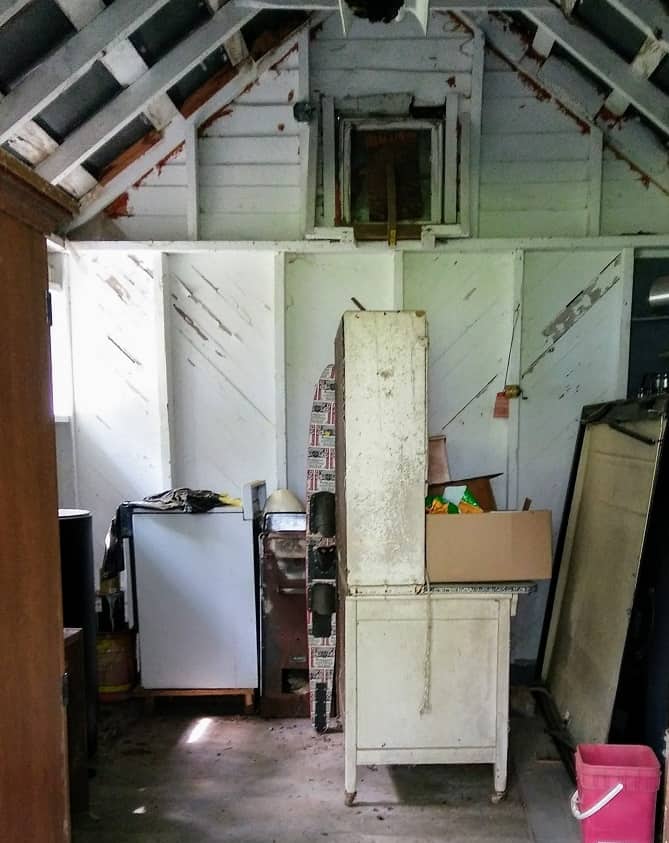
And so, I grabbed the reciprocating saw; again. And my poor dear husband nearly had a heart attack when I started cutting giant holes in the side of his grandfather’s building.
He was sure the thing was going to collapse.
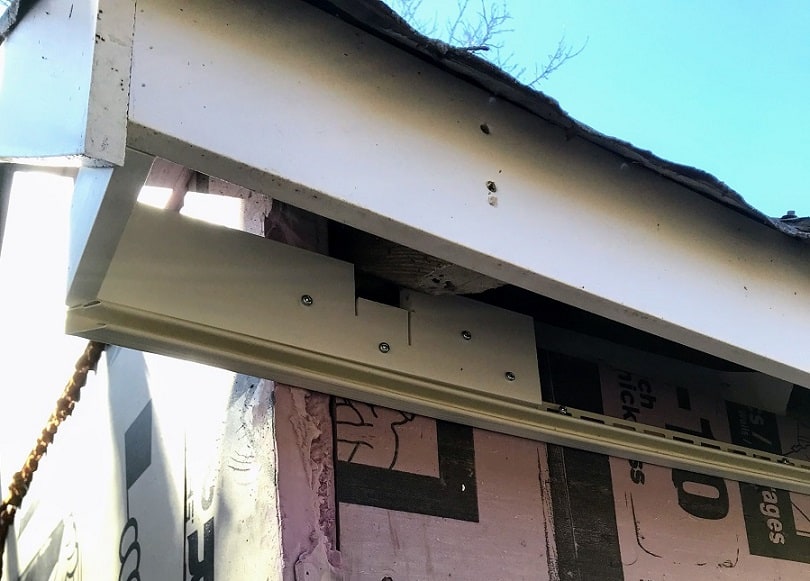
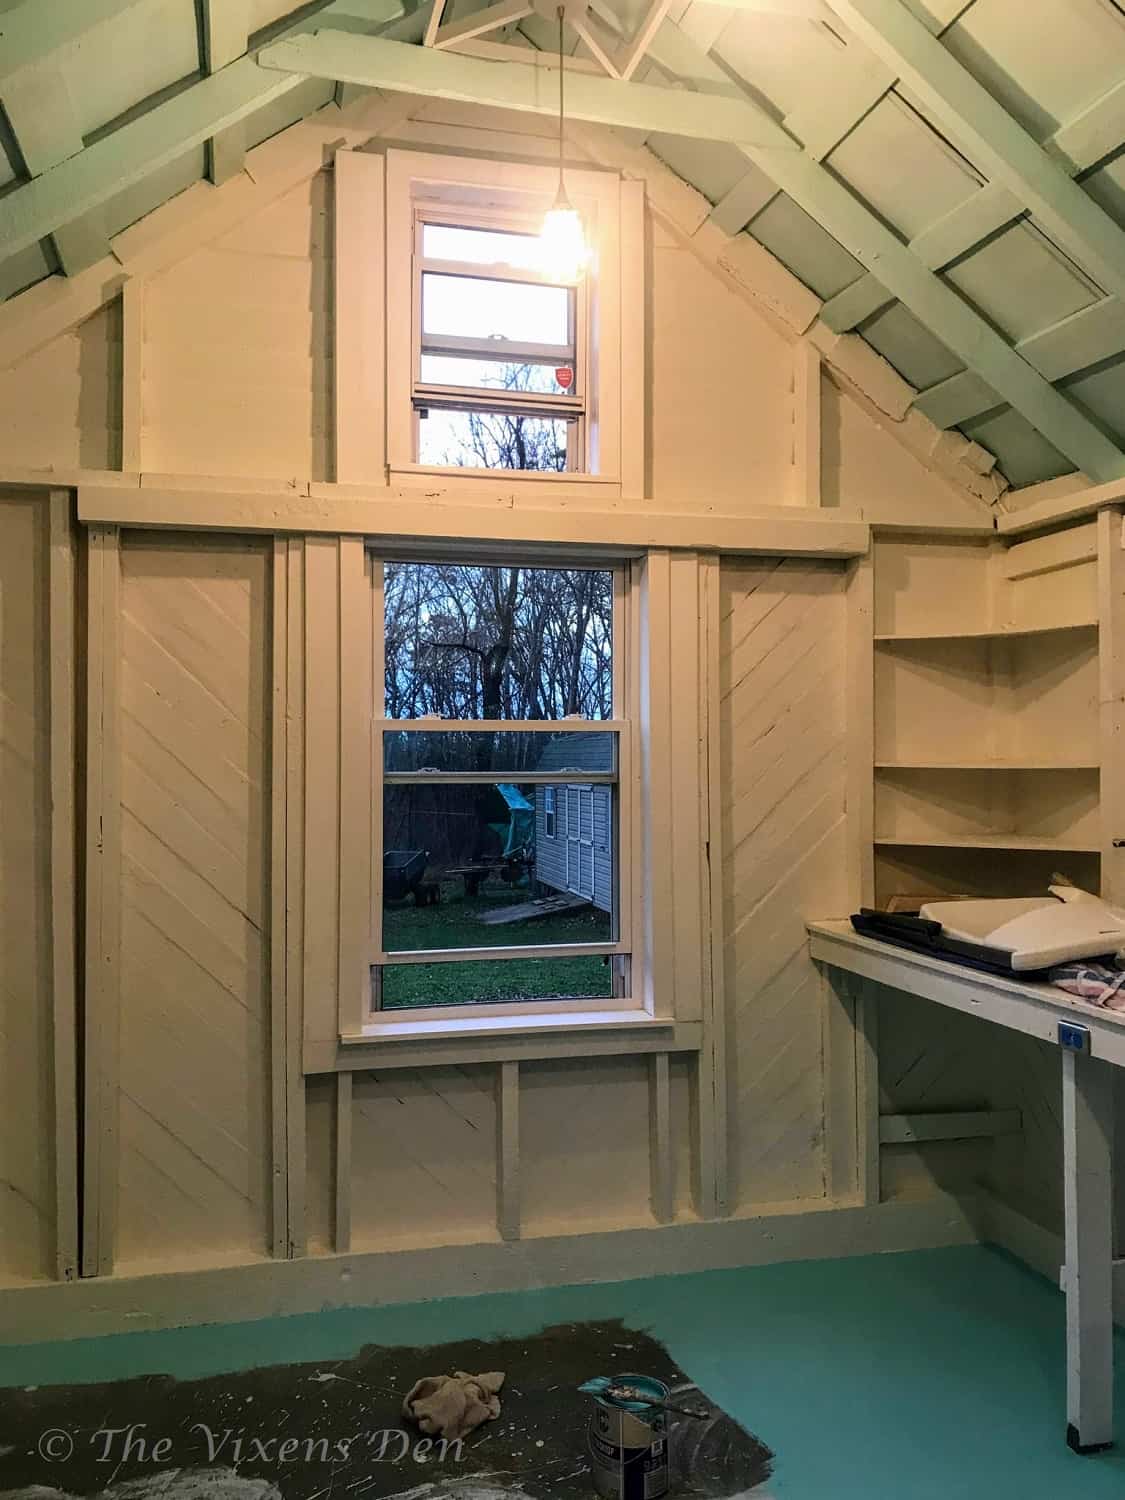
Actually, he’s still convinced it’s going to collapse. But it hasn’t, and it won’t. Because while I did remove quite a bit of support structure, I also added a lot back in order to install the windows. I even turned the hole from the woodstove smokestack into a window.
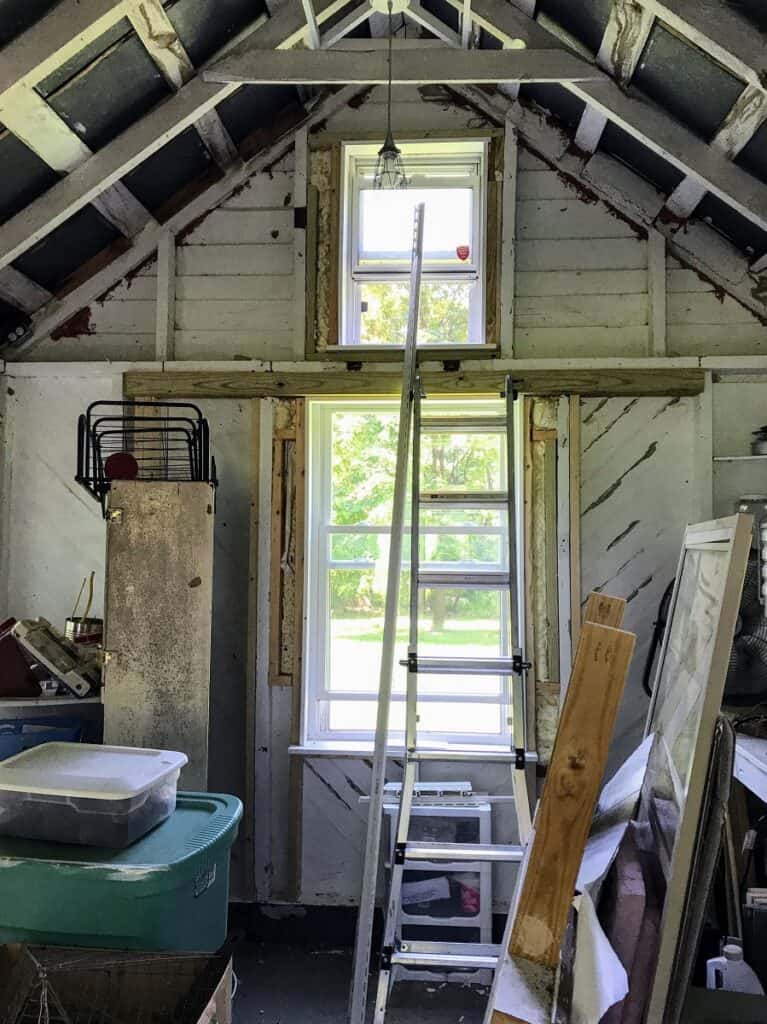
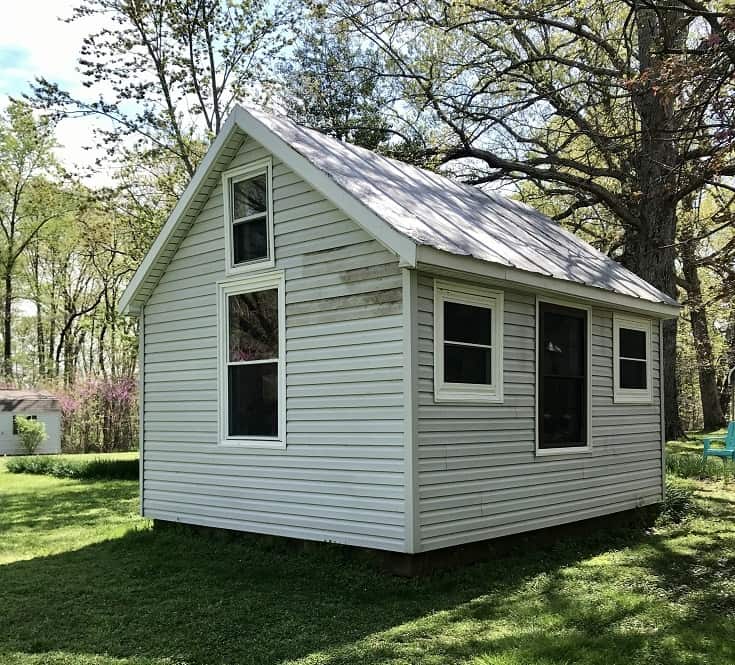
I will never be hired to install windows (thank heavens), of that I can guarantee, but I am pleased to announce that each and every single one opens (mostly) and closes (mostly). These are recycled windows after all, so some of them are a little quirky and only three of them truly match, but that’s okay. This entire project is a little quirky.
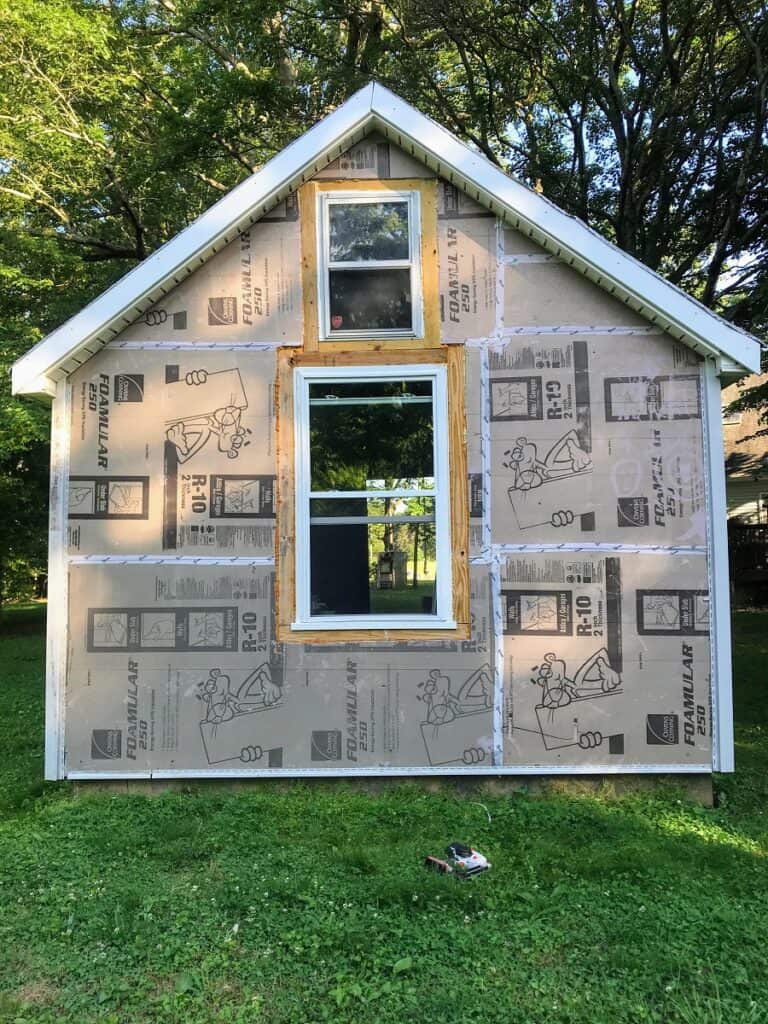
How about this for a transformation?
And all of those adorable little cottage windows that I built? They’re still hanging out in the corner, waiting to be transformed into something extraordinary.
So would you have stuck to the original plan with that much time invested or flipped a complete 180 with me and accepted that the end result is worth the lost time and expense? Or, do you have another idea that might have worked just as well? Let me know in the comments and sign up so that we can stay in touch.
[mailerlite_form form_id=1]