She Shed Update: Faux Brick Accent Wall Tutorial
Do you remember when I said that I wanted to preserve these beautiful slat walls? The walls that were built from shipping crates from my husband’s great aunt’s store? The walls that are considered a piece of his family history?
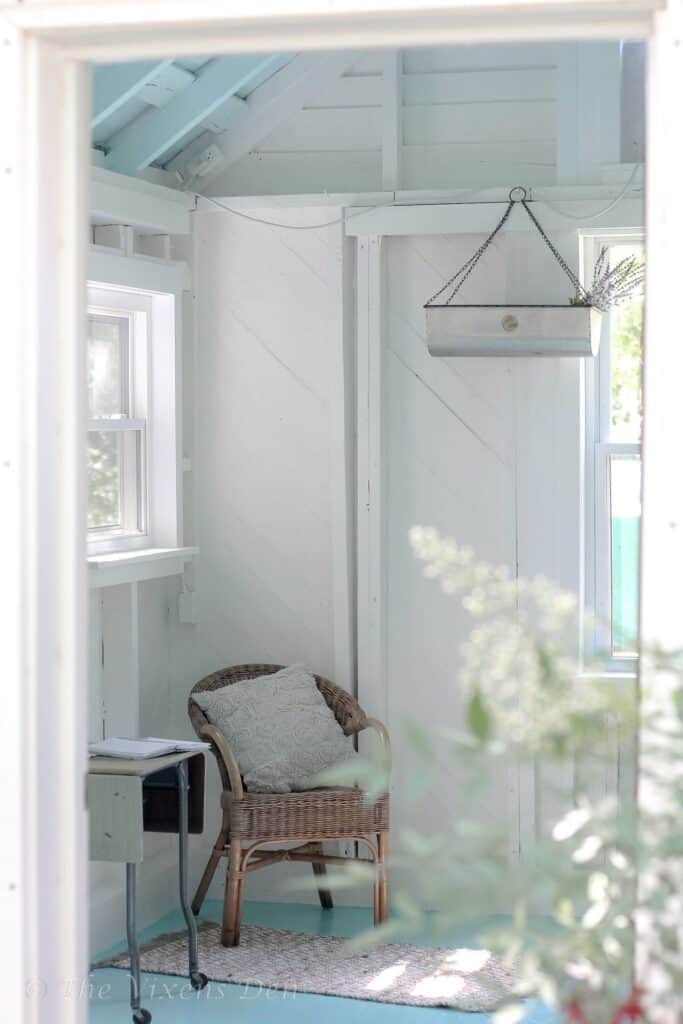
Yeah. Me too.
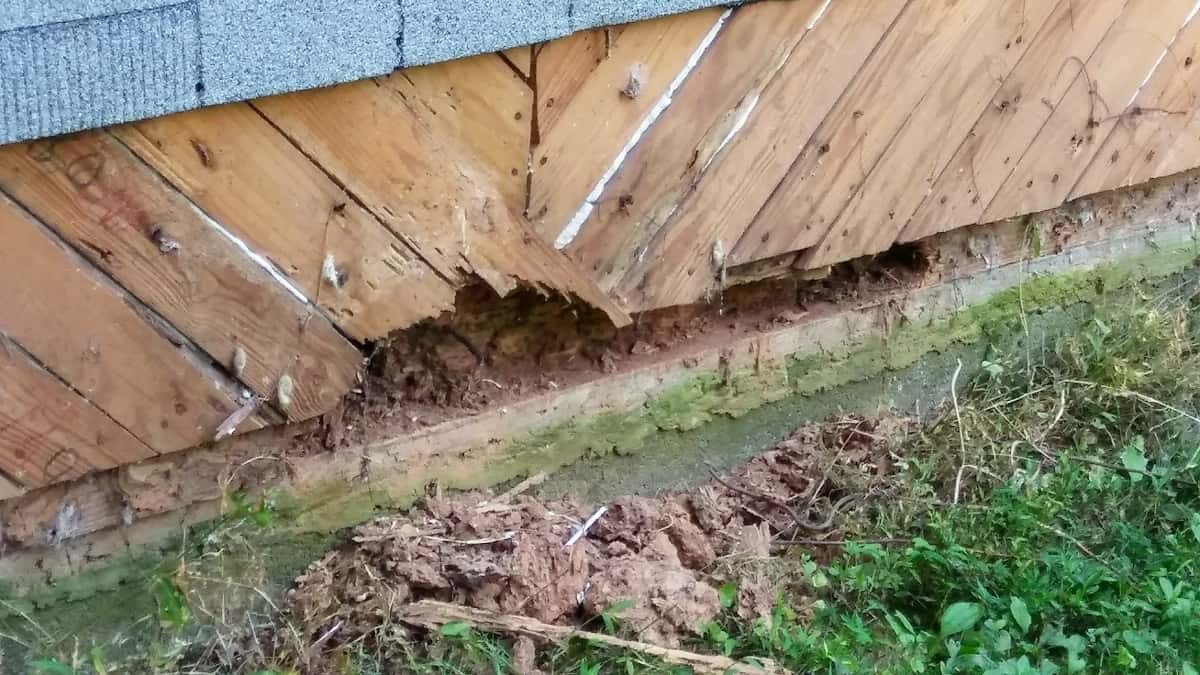
Unfortunately, that piece of amazing family history didn’t photograph so well when I was staging furniture pictures. There were so many odd lines, because of the additional support beams from the terrifying termite invasion. And my beautiful blue floor wasn’t always the right platform for every piece.
So, as any good DIYer would do, I changed it.
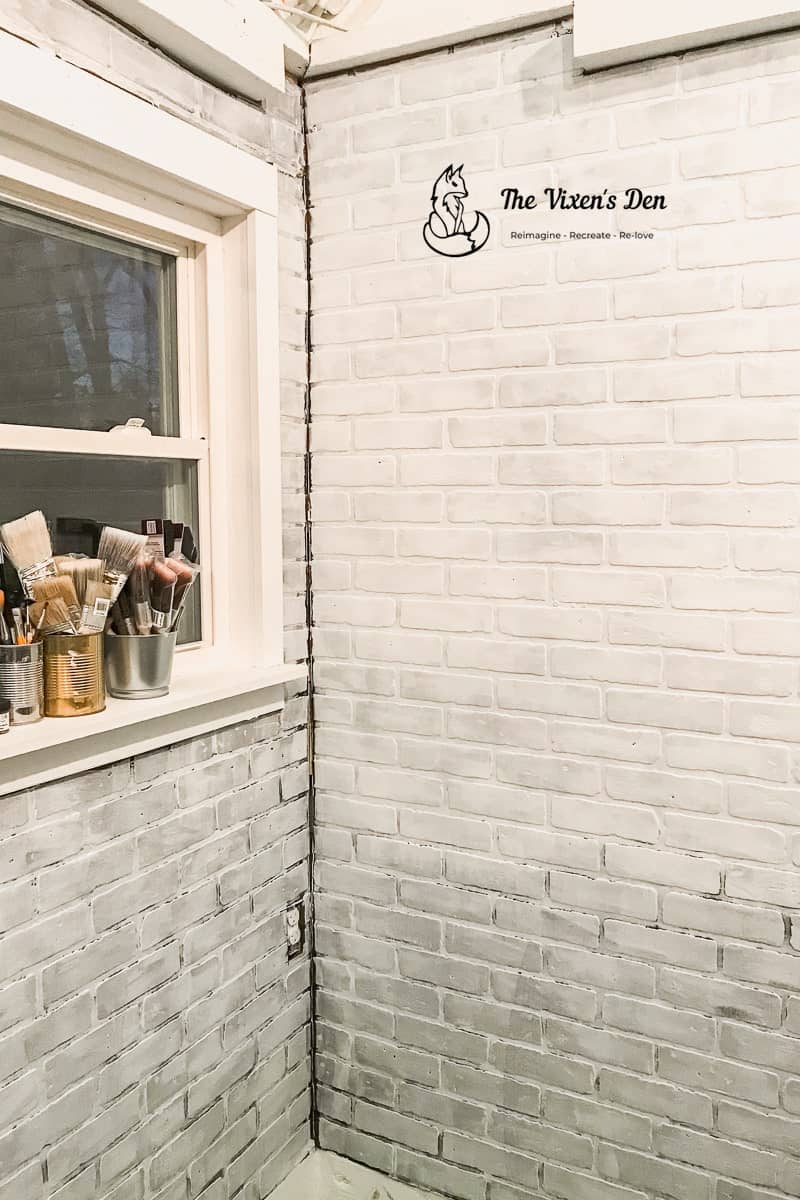
Welcome to the new she-shed staging wall!
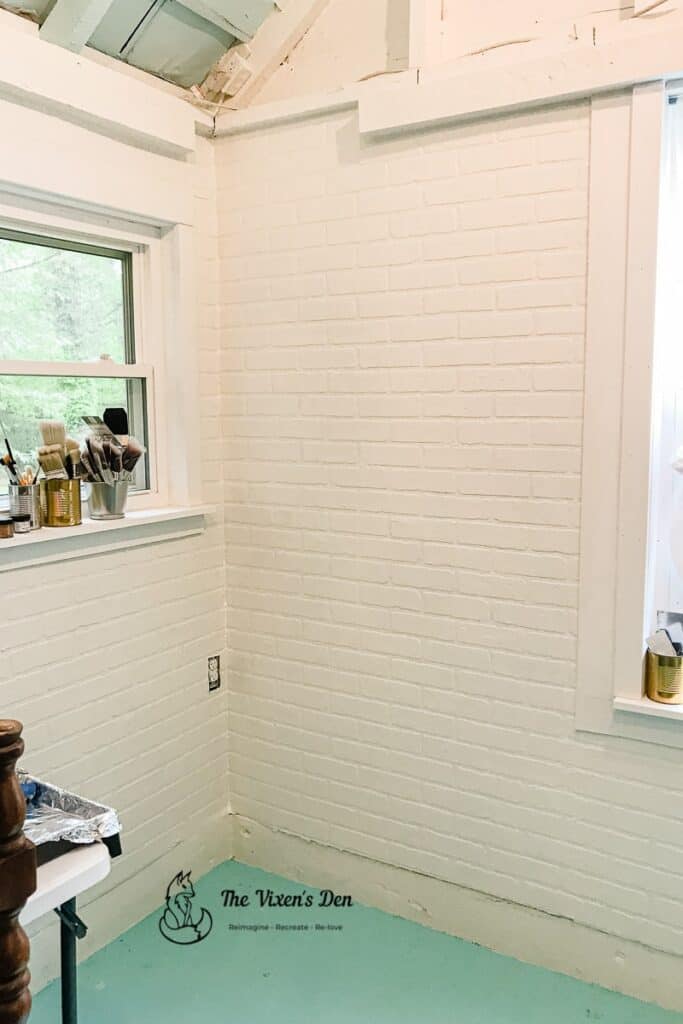
Isn’t it lovely? I adore the look of painted, old brick. This brick wall paneling was just what I needed to create a subtly textured backdrop that doesn’t distract the eye with wonky lines.
In case you’re interested in creating your own brick walls, here are the tools, materials, and lessons learned from building this faux brick accent wall.
THIS POST CONTAINS AFFILIATE LINKS TO PRODUCTS THAT I HAVE OR WOULD USE.
AS AN AMAZON ASSOCIATE, I EARN FROM QUALIFYING PURCHASES AT NO COST TO YOU.
YOU CAN SEE MY FULL DISCLOSURE HERE.
Tools and Materials
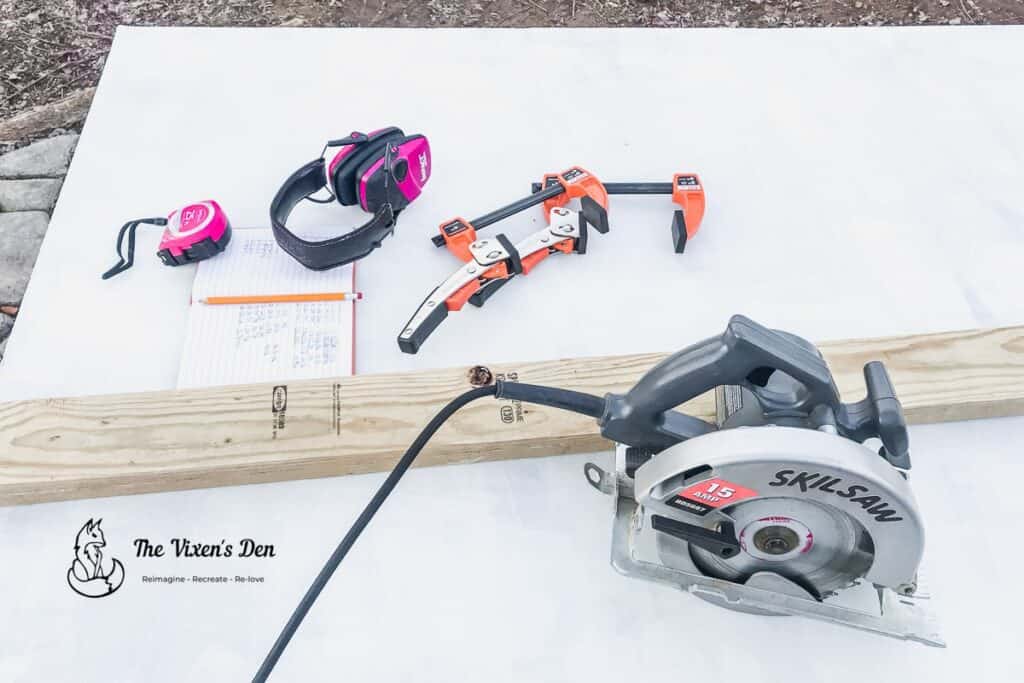
Tools
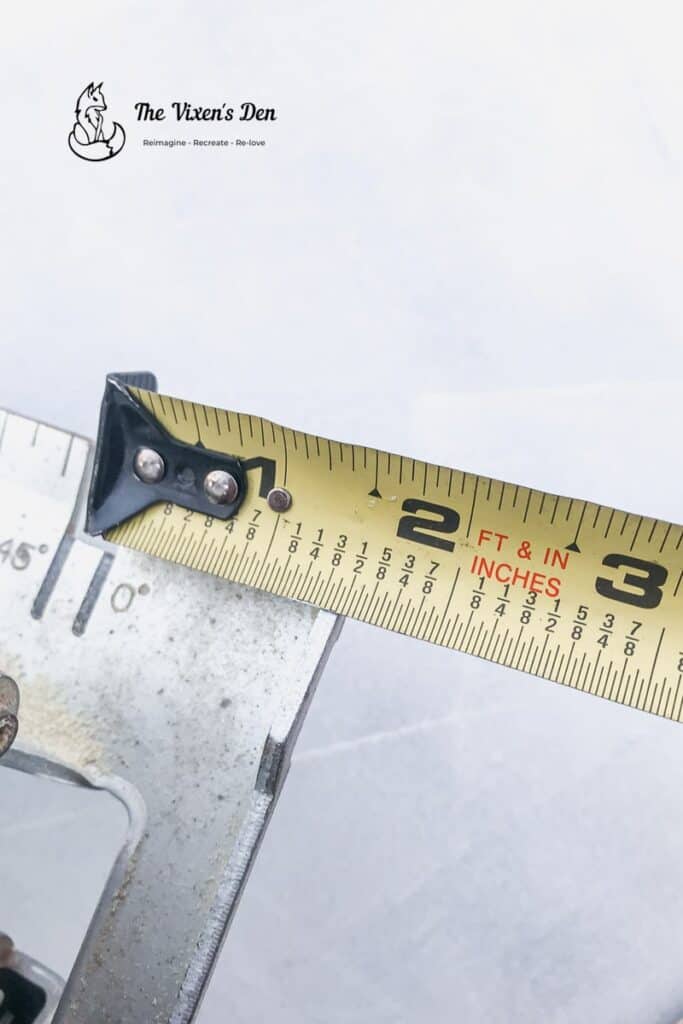
- Measuring tape
- Pencil
- Clamps (these are AMAZING!)
- Circular saw
- Fine toothed blade
- Caulk gun
- Paint roller frame
- Paint tray
Materials
- Brick wall panels
- 2x4s (one for ripping the wall panels, more as needed for nailers)
- Drywall screws
- Brad nails
- Receptacle spacers
- Foam roller
- B-I-N 123 Primer
- Caulk
- Paint
Prepping
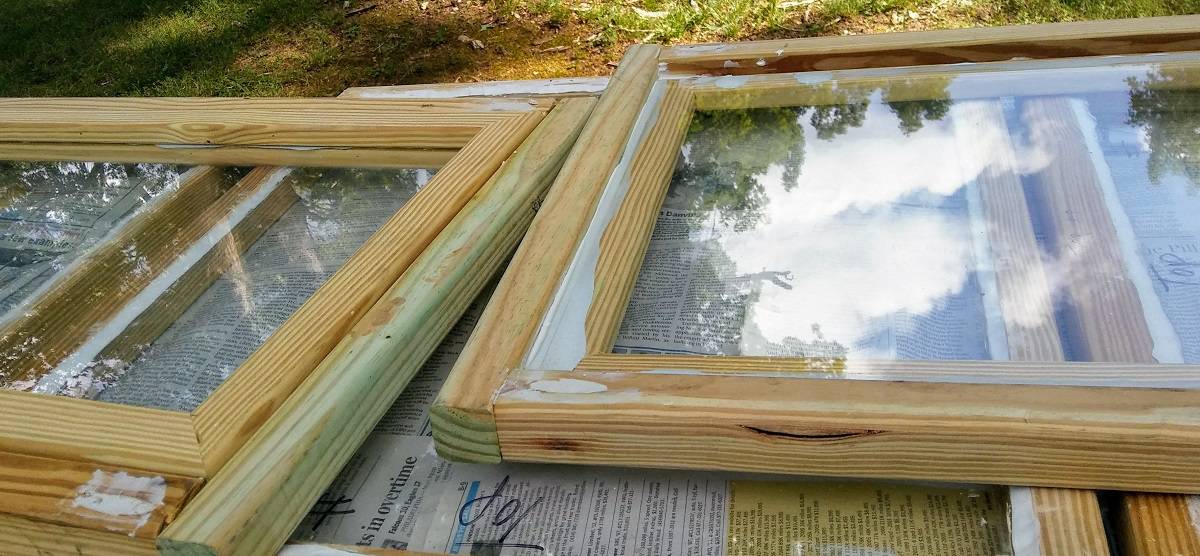
Since this space is not truly “conditioned” (it doesn’t have heat or air conditioning running 24/7 to keep the humidity at a certain level), it was suggested that I seal the back of the paneling before installing it. I used one of my favorite all-around sealers and primers: BIN 1-2-3. I love it because it not only seals the surface to prevent moisture from getting in, but it also keeps tannins from seeping through to the surface. I rolled on two coats with a 6-inch foam roller and let it dry overnight.
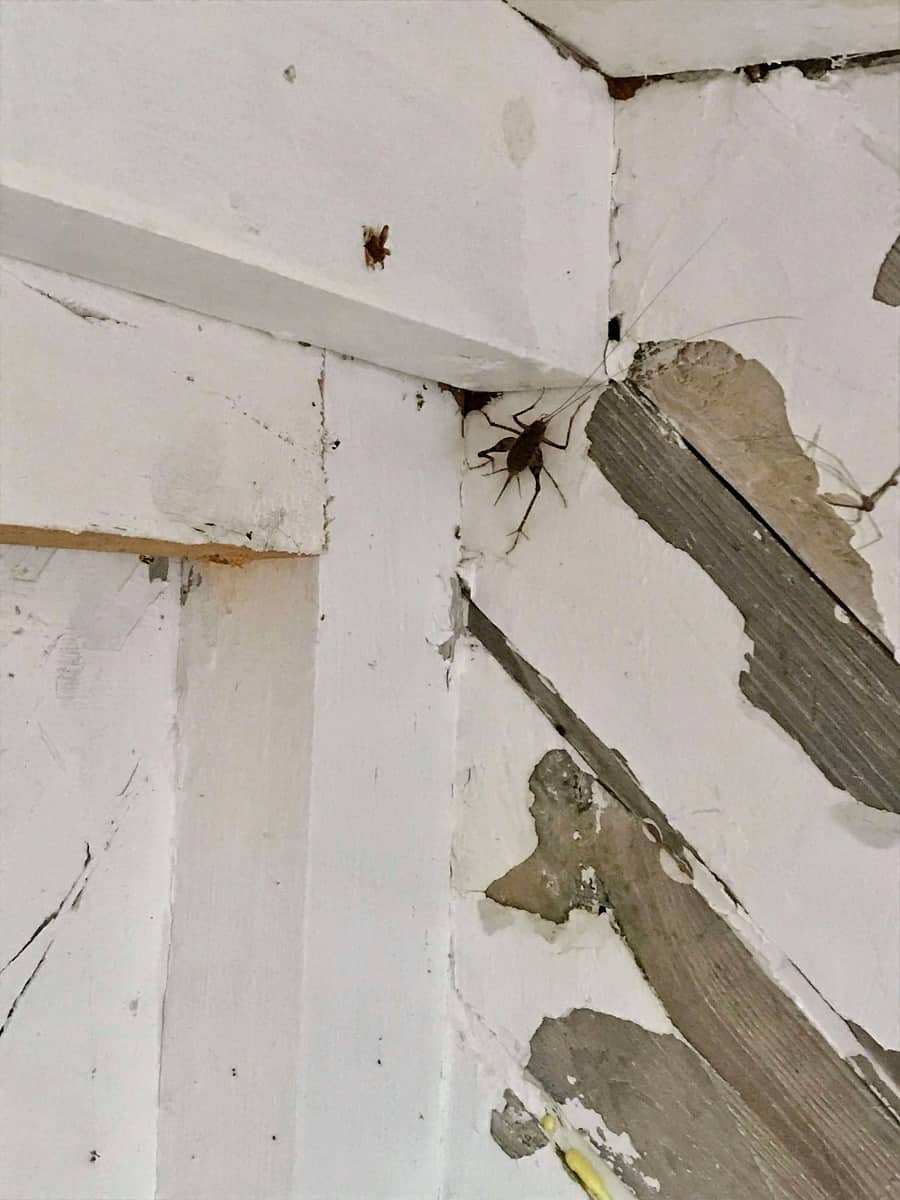
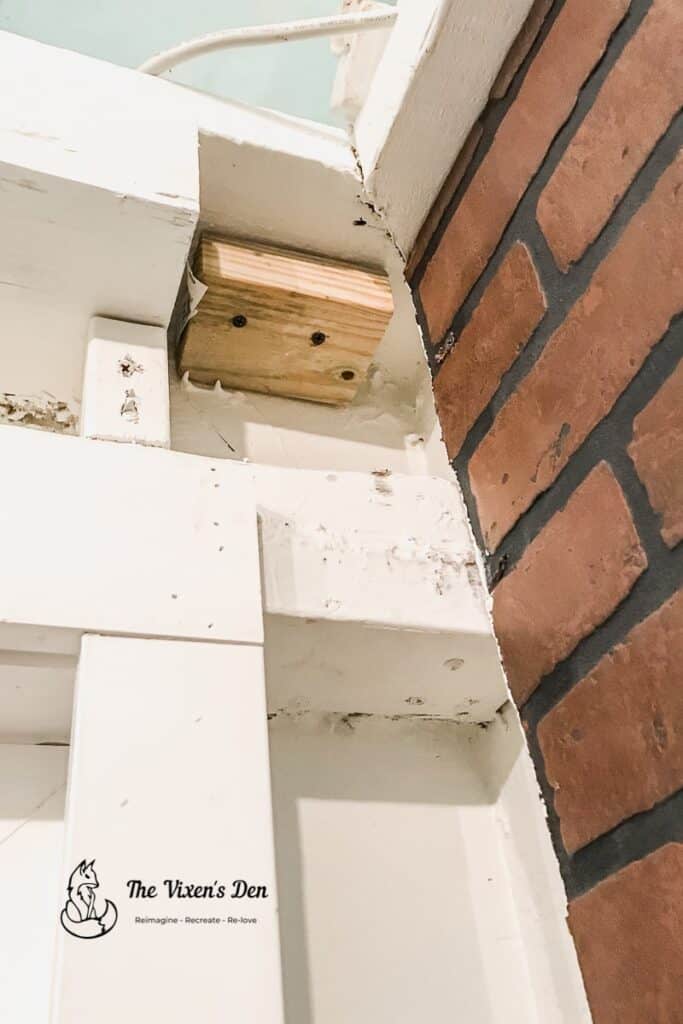
I added in some nailers along the edges using scrap 2x4s and extra-long screws. There were a lot of wonky cuts and some shimming to keep from pinching the electrical wiring. It’s an old building, so I expected that. Sometimes, you have to accept the fact that you won’t have a perfect finish. Embrace the uniqueness. (My life’s mantra. lol)
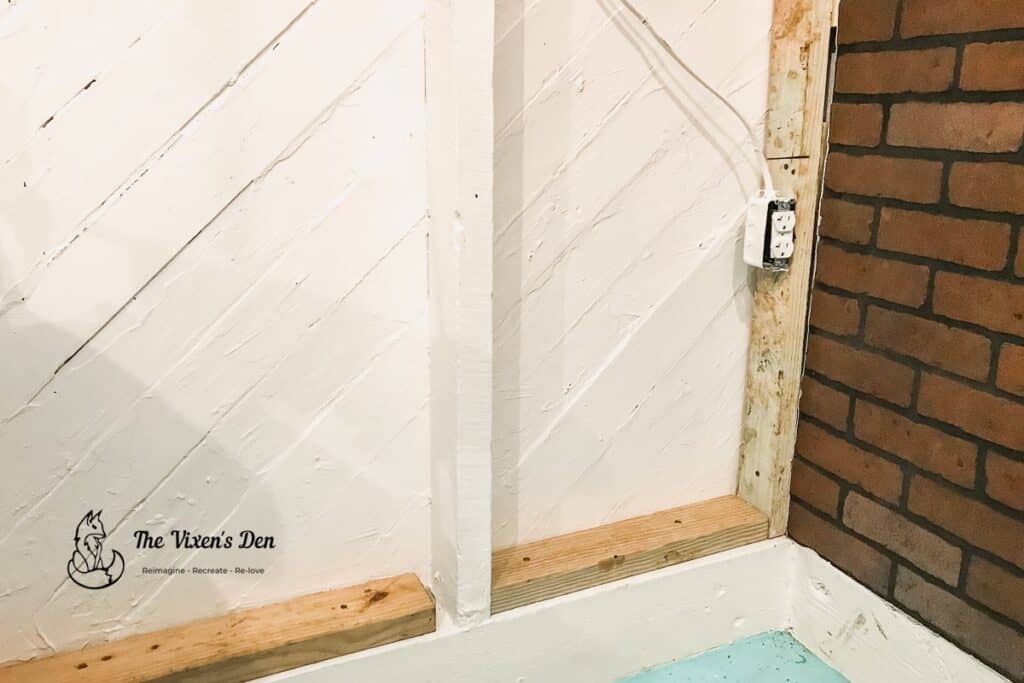
I did have to relocate this receptacle, so it doesn’t line up with the rest of the receptacles on that wall, but it’s still there and functional. I added these spacers so that I could easily attach the faceplate and not have a gap between the receptacle and the faceplate.
Cutting the Paneling
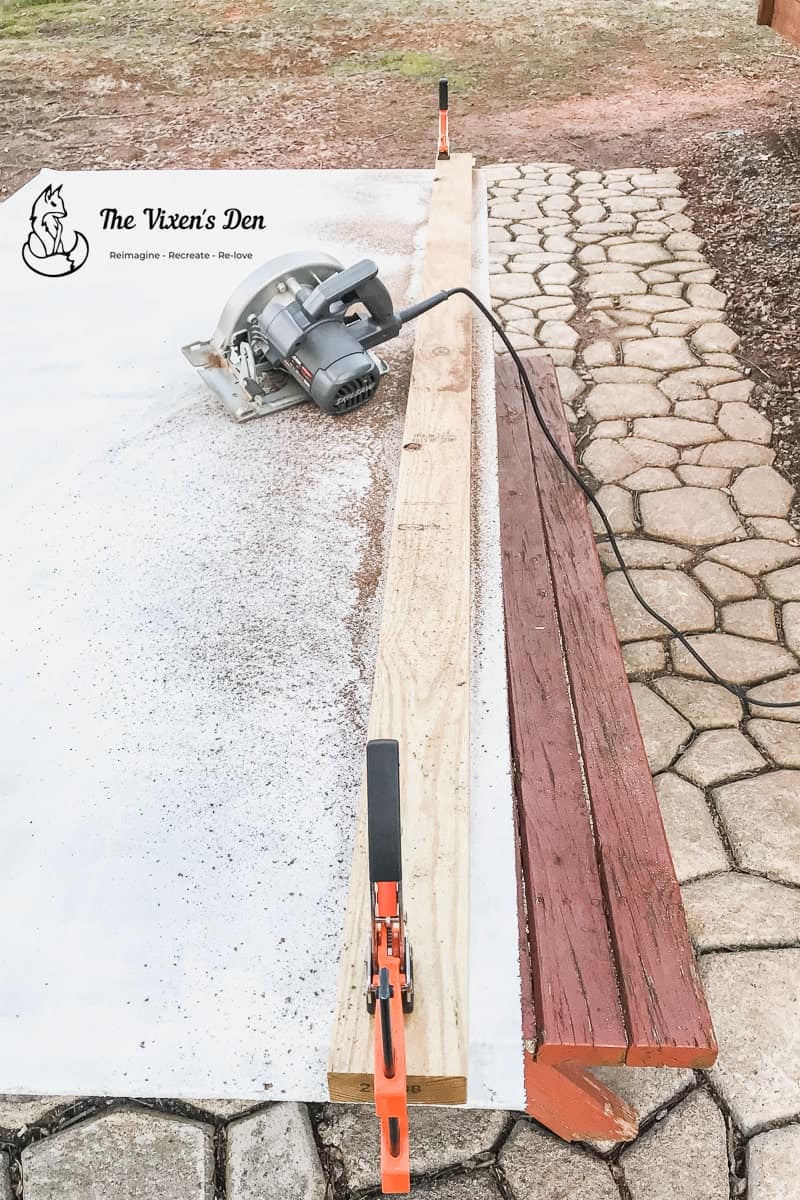
I have a history of wavy and irregular saw cuts. In order to cut the paneling in a straight line, I measured and struck marks for the width of the cut on the paneling. Then I measured and subtracted the width of the circular saw fence and penciled in the final cut lines. I clamped a 2×4 against the final cut marks and was ready to rip! (See what I did there?)

I tried to figure out all of the cuts to fit ONE piece of paneling around this window, header, and receptacle….
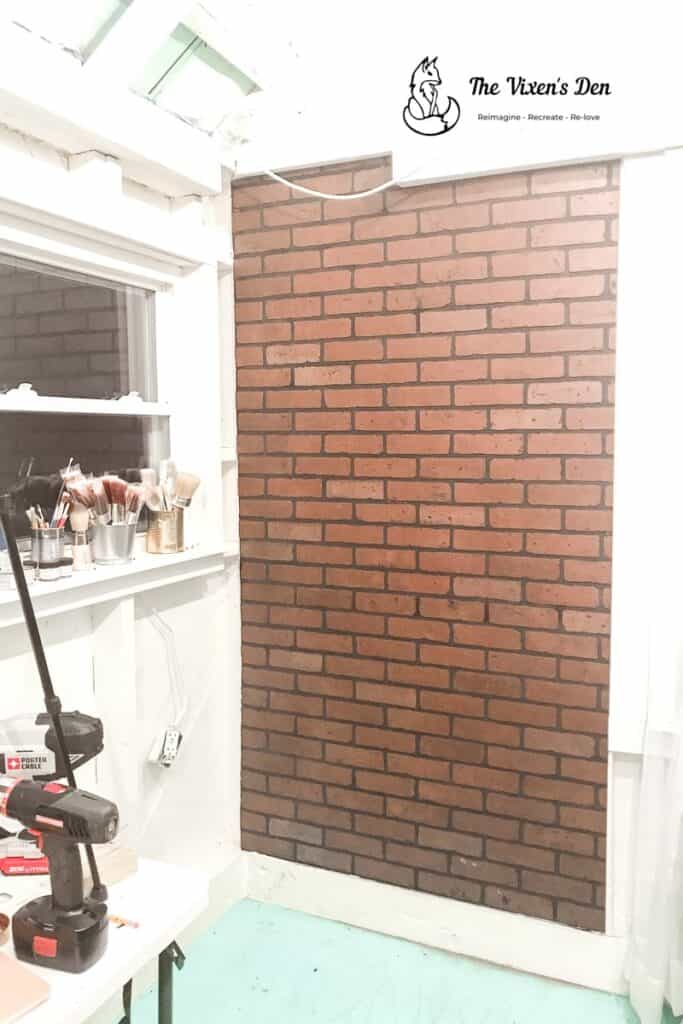
It didn’t work out so well for me. It was close, but I ended up having to cut pieces apart and put them back together around the window anyway.

Hindsight is 20/20 tip: It takes less time to measure and piece things together from the beginning than it does to try to cut one piece and then end up having to re-cut and piece everything together anyway.
Installing Wall Paneling
Hindsight is 20/20 tip: Mark the studs before installing the paneling.
I wasn’t certain if this was going to be permanent, and the studs are so wonky that gaps were a given, so I decided not to glue the paneling. I fastened it to the studs with a combination of screws and brad nails. I used drywall screws and was expecting the nice little indentation that I experienced when hanging drywall. It creates a nice dimple that you can easily hide with a bit of spackling.
That didn’t happen.
Instead, the drywall screws sat right on the surface of the paneling board and didn’t budge any further. It was the oddest thing! This is why the finishing nails came into play. They have smaller heads and are easier to install quickly. However, in order to keep the nails from shooting too far into the board, I had to adjust the “pressure” down a bit.
Finishing Wall Paneling
Once all of the panels were in place, it was time to seal the seams and edges with caulk and prime with some more BIN 1-2-3! I applied two coats with a 6-inch foam roller.

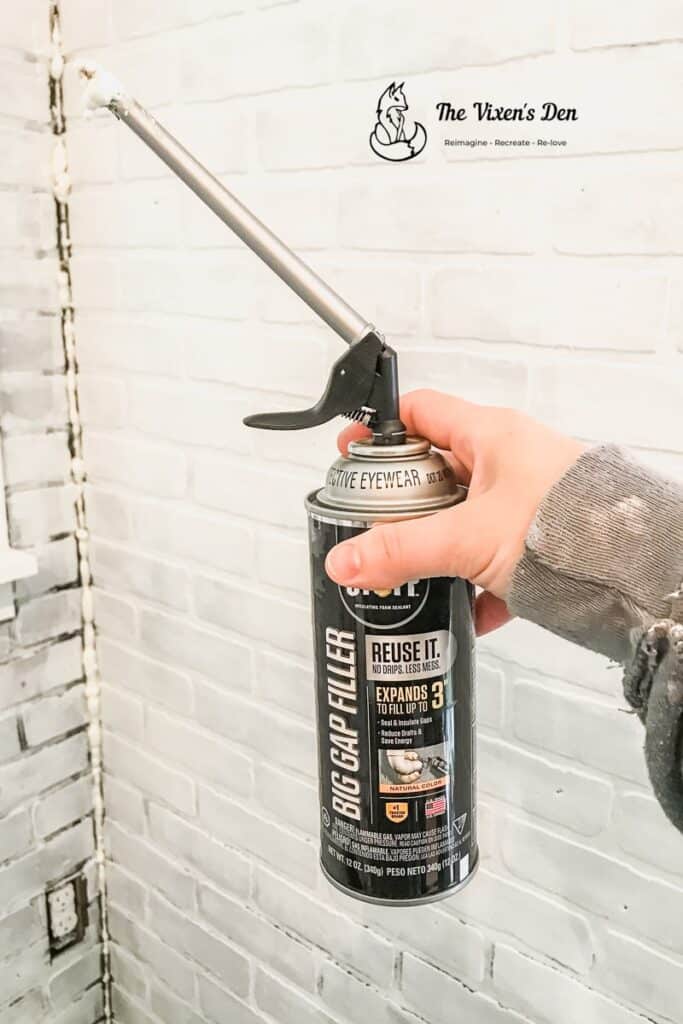
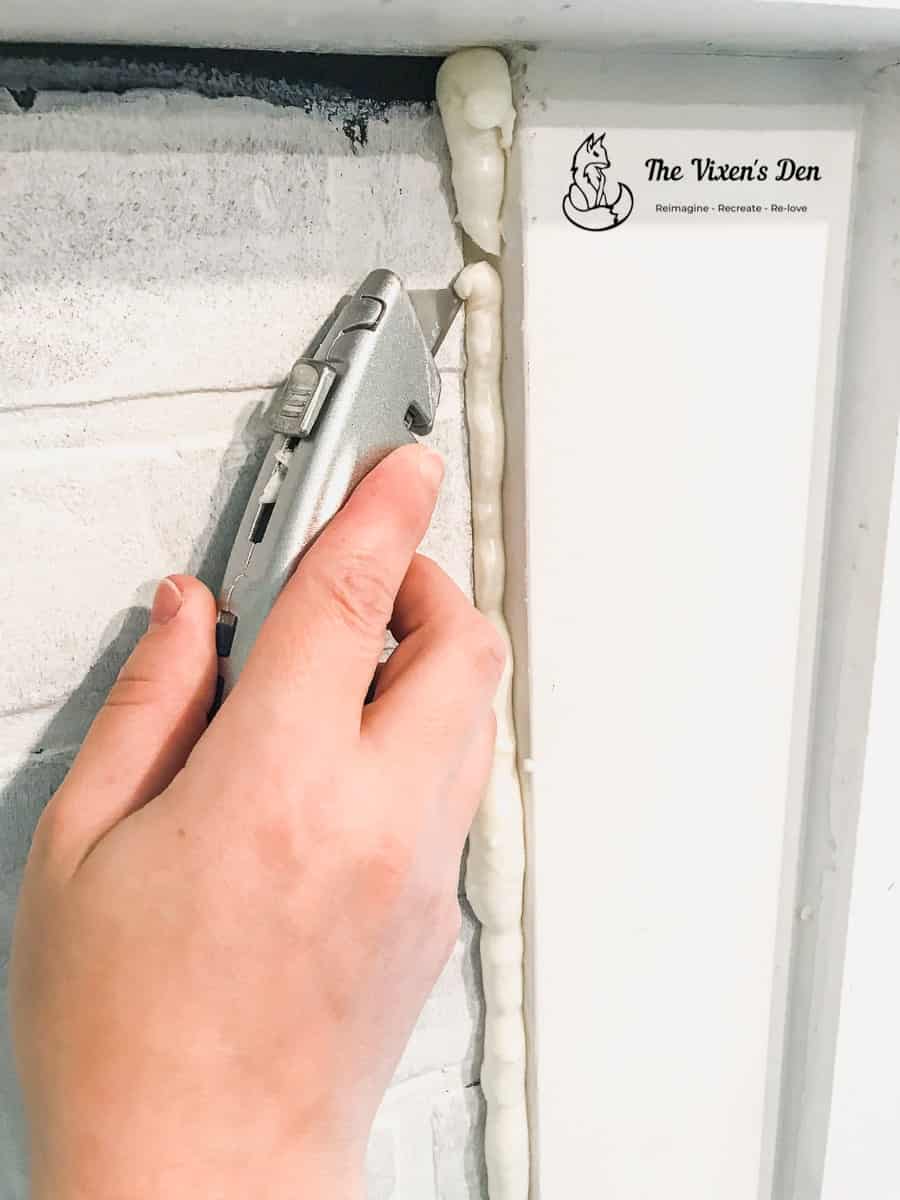
The corner seam was so large, that it required a little extra help from some expanding foam. After letting the expanding foam cure overnight, I trimmed the excess with a utility knife.
In order to hide the screw heads and give the paneling a truly aged look – I used Dap Vinyl Spackling to create a German Shmear technique. I used a combination of spreading with a spatula and smearing with my fingers to create texture on the bricks.
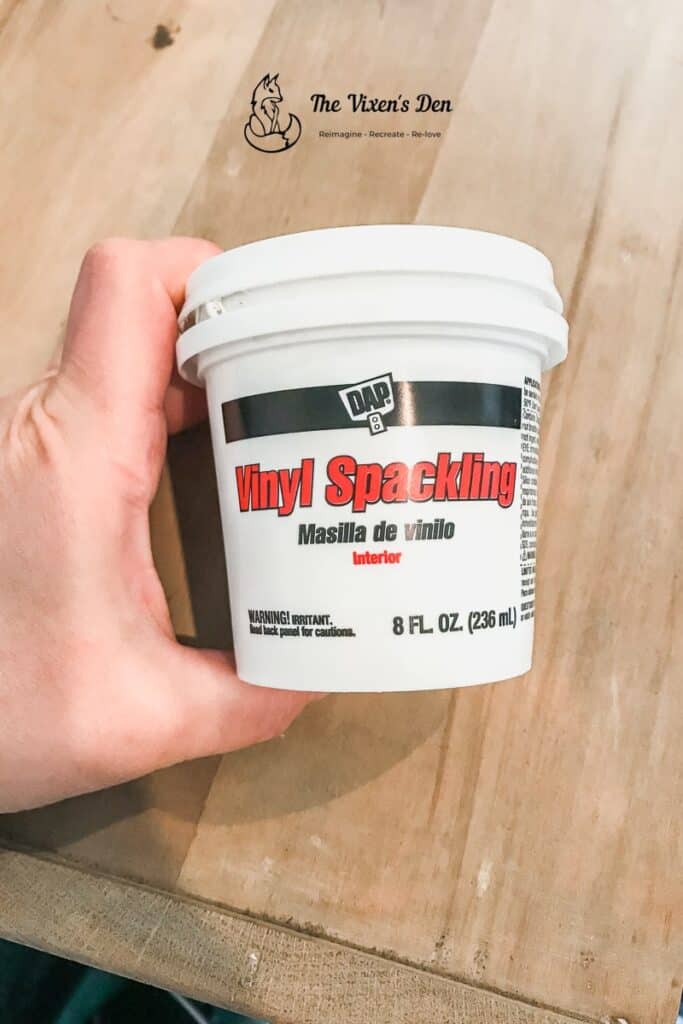
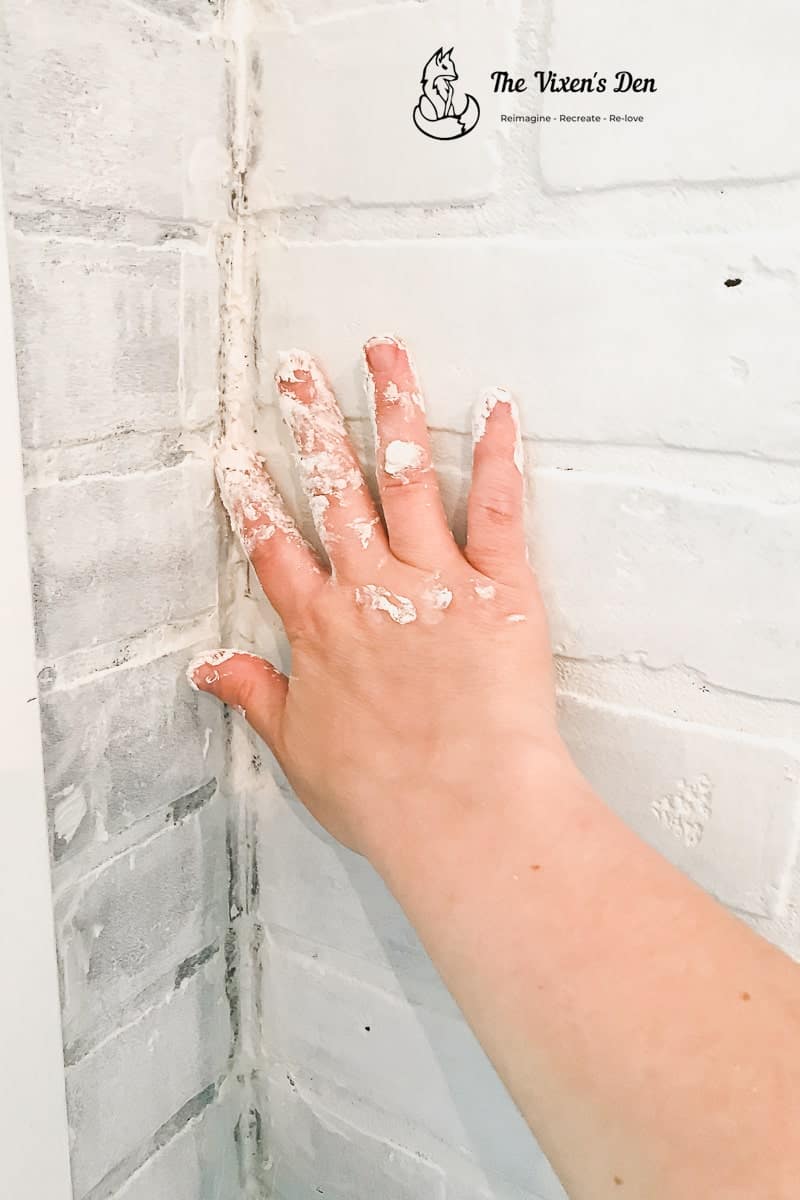
The German Schmear was the perfect way to cover up the protruding screw heads while also adding texture to the bricks.
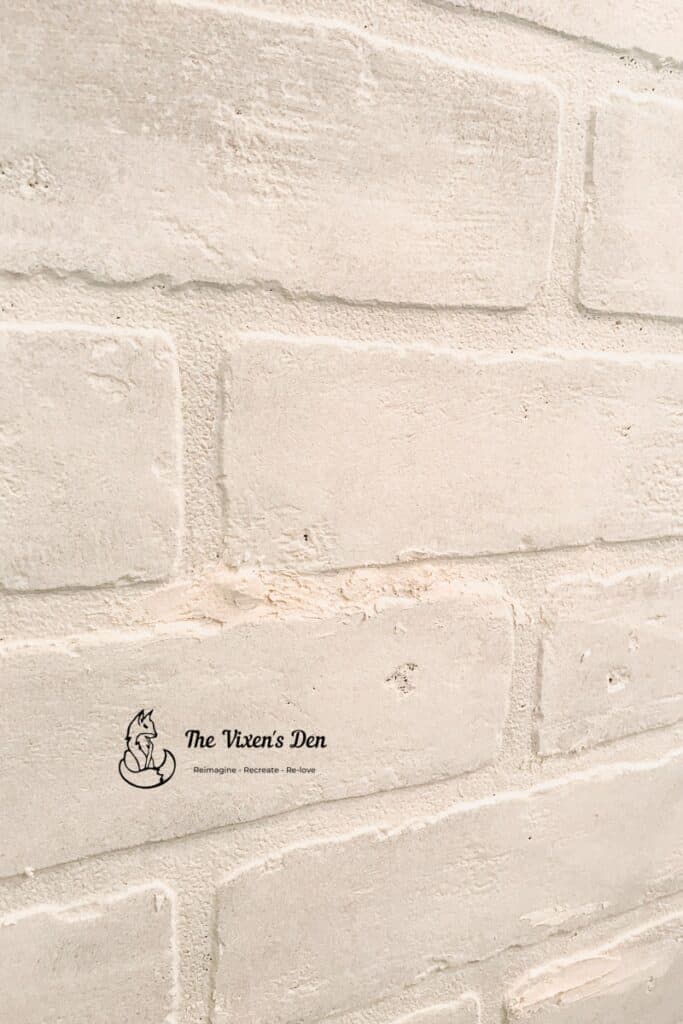
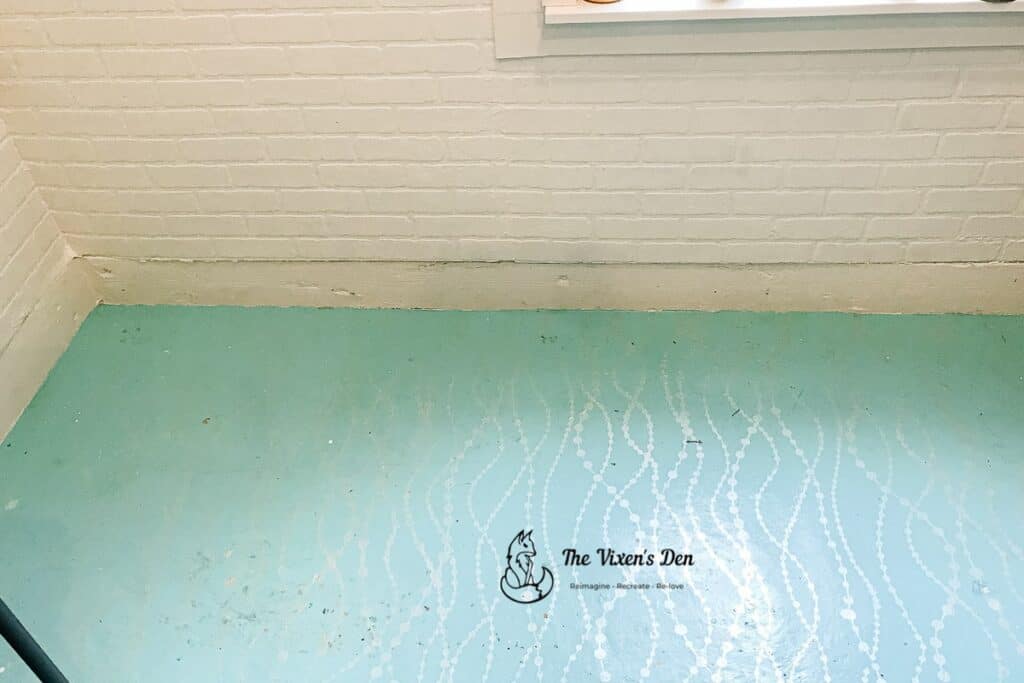
After letting the spackling dry for a few hours, it was time to paint the walls. When it comes to wall and floor paint, I’m a Sherwin Williams girl all the way! The rest of the studio is painted in Alabaster, so I rolled the same onto the brick accent wall.
Floating Hardwood Floor
With the wall finished, I now focused on a solution for covering up my beautiful painted and stenciled floor.
I could have just thrown down some rugs, but I really wanted something more durable.
We were blessed to have some engineered bamboo hardwood flooring left over from installing it in our home. This flooring has held up well in both low and high-traffic areas of our home. I have had some surface scraping occur when moving heavy objects without proper cushioning (whoops!) along with a few dents, but otherwise, it’s been very low maintenance and an absolute joy to clean.
The warm-toned flooring seemed perfect for this space. The first step to installing it was to lay down some tar paper as a moisture barrier between the wood and the concrete floor. Then I laid alternating rows of hardwood floor and tapped each piece into place.
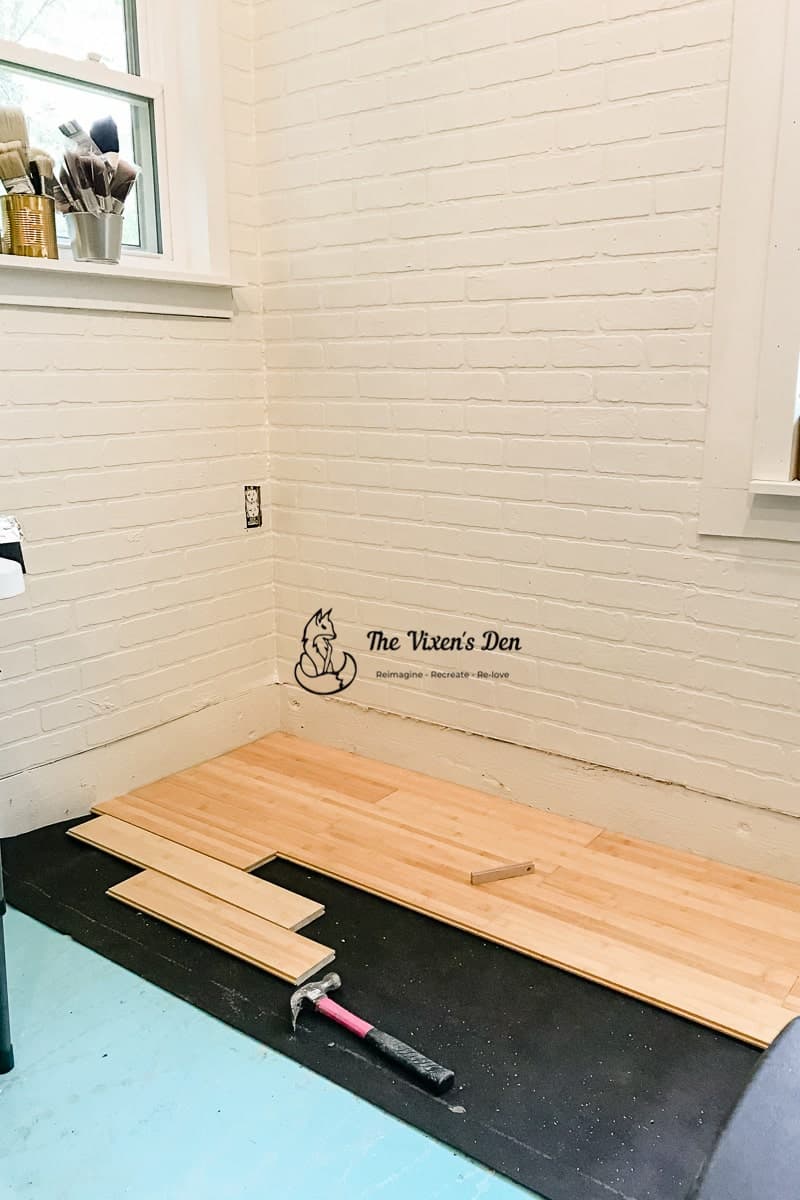
This flooring is designed to nail together and pin to the subfloor, but that wasn’t happening with this concrete floor. The pieces fit together quite snugly when I tapped them into place, so I felt comfortable installing it as a floating floor.
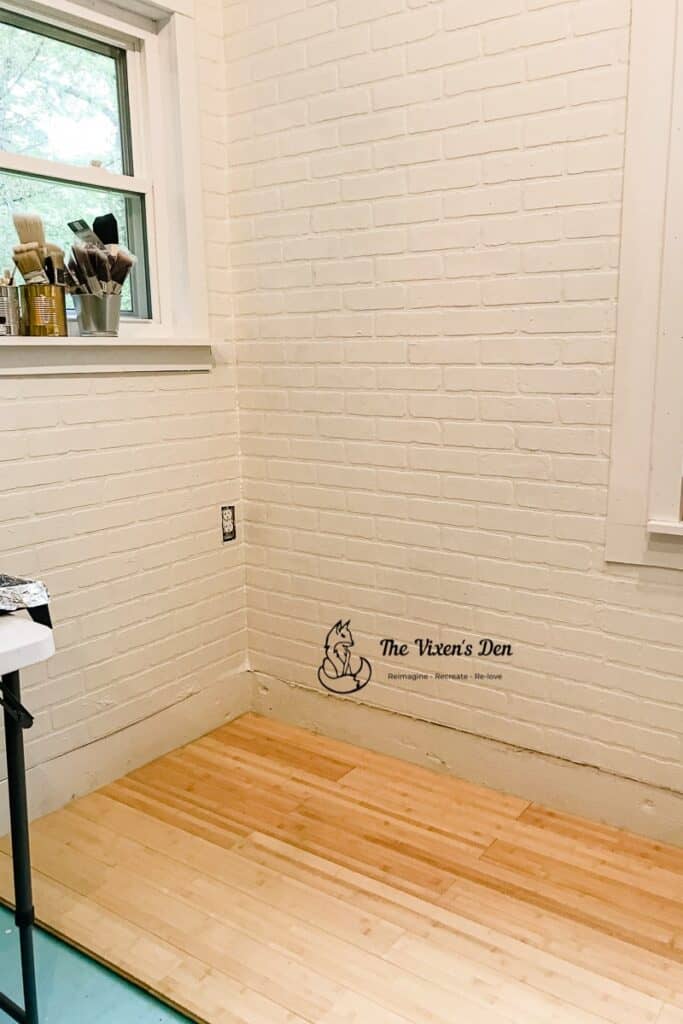
The final result was everything I had hoped for!
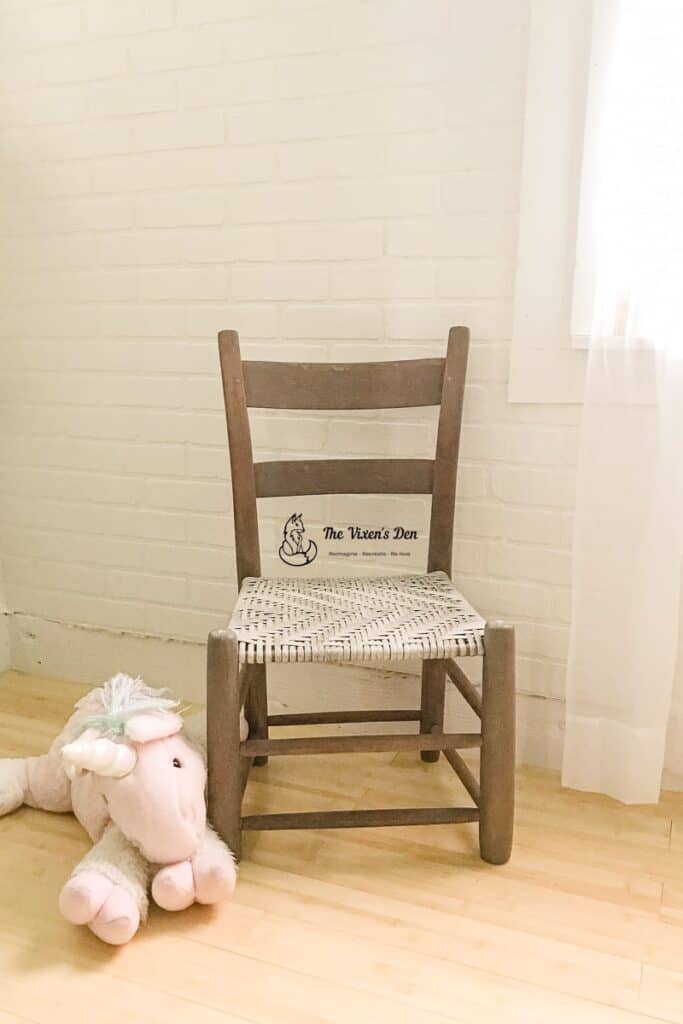
Faux Brick Wall Final Reveal
I absolutely love this new staging wall! It’s a cozy corner in my studio that creates the perfect backdrop for both photos and video.
Now that I’ve had a chance to work with this material, I’m planning to use it to create a backsplash in my kitchen! Let me know in the comments below if you’d be interested in seeing that as a future post. In the meantime, if you like this post then you might also like seeing how I painted and stenciled that gorgeous blue floor!
Thank you so much for stopping by! Be sure to sign up below so that you don’t miss any of the misadventures. Until next time, have a beautiful and blessed day!


Linked up to these lovely link party hostesses at:
Don’t forget to sign up so you hear all about the next misadventure! Until then, if you missed it, here is the beginning of this She Shed Makeover saga, or if you’re looking for a furniture makeover then you might like this Dresser upcycle.
THIS POST CONTAINS AFFILIATE LINKS TO PRODUCTS. IF YOU PURCHASE PRODUCTS THROUGH THESE LINKS, THEN I MAY RECEIVE A SMALL COMMISSION AT NO COST TO YOU.
I ONLY RECOMMEND PRODUCTS THAT I USE AND/OR HAVE RESEARCHED AND WOULD USE.